Showing posts with label Sewing. Show all posts

Wednesday, 8 February 2012

Handmade Hedgehog costume.

The school put in their weekly newsletter on monday that on friday Kai's year could dress up as either a fairy, a hobgoblin or some other magical creature in connection to them learning about A Midsummer Nights Dream.
I discussed it with Kai, who wasn't in the mood to dress up as anything so I suggested we pack his dinosaur all in one which could slip over his school clothes if he felt like it (it easily passes as a dragon).
On wednesday there was a notice put on the class doors saying that they could dress up as Fairies, hobgoblins or WOODLAND CREATURES, so once again I discussed it with Kai, this time he wanted to be a robin.
A Robin right, so he would need a red tummy, a beak, brown clothes & wings that wouldnt get ripped. The following day I popped up the shops & grabbed a brown fleece blanket from primark to turn into wings & feathers.
On the way home Kai states he wants to be a hedgehog, luckily I hadnt had chance to start sewing by then.
Hmmm, a hedgehog ... I could smell of burning as the gears slowly began to move in my mind.

I cut the blanket into a sports bib shape and checked it would fit over Kai's head.
Then I began cutting layer after layer of zigzags out of the remaining blanket before attaching these onto the back.
I also made 2 small ears & attached to hair clips that would be hidden underneath, & a cone nose, covered in the brown fleece & a black felt tip.


Kai's hair was spiked & he decided he didnt like wearing the ears but he was very happy with his costume.
Being a very chilly day I had to put a jumper on him which didnt go as well as the brown T-shirt underneath, but rather that than be cold.
Finally he wanted to add his own touch..........
But I told him there was no way he was going to school in my brand new, 4" high boots!!!!

Sunday, 30 October 2011

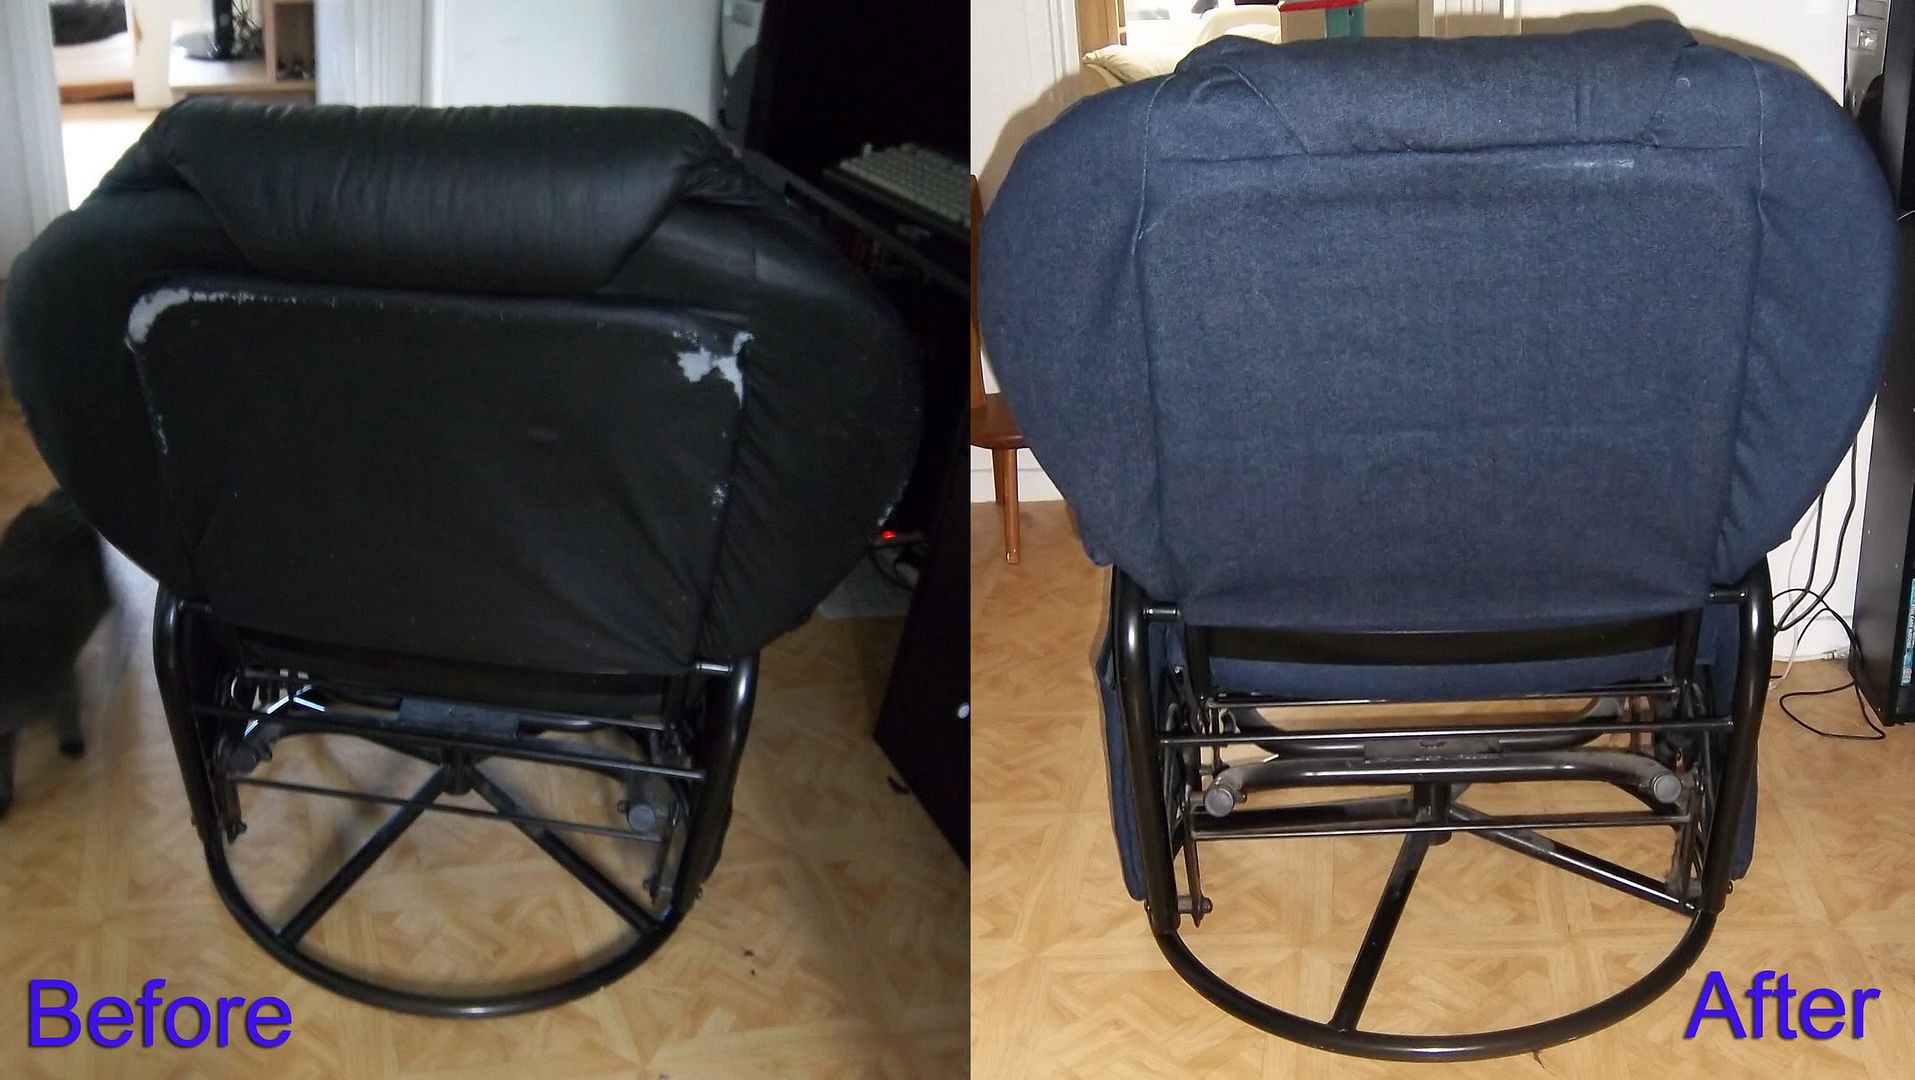
Recovering a Fancy Computer Chair

Ryans computer chair hasn't been standing up to the wear & tear its put through. As a heavy PC gamer, & as someone who watches TV on his computer the computer chair spends most evenings being sat on at somepoint. It also has to endure having cats sitting on the top of its back, clawing away. Then theres the kids spinning around on it, Kai enjoys curling up & falling asleep on it, as do the cats etc etc etc. As you can tell, its a well used chair, & with all the use the fake leather has been peeling off. It was looking shabby, and as its one of the main things you see when you walk through the front door I was concerned how it reflected on the rest of the house. Luckily my Mom had given me a roll of thick denim material ... which goes perfectly with the blue denim curtain at the front door, and I'm sure will wear a lot better than the original covers.

I covered the chair in 3 stages ... the back, the seat & then the arms. I carefully took each piece apart & used the old material as my pattern pieces. I frequently turned the air blue, let alone the seat as it was complex at times, and I managed to get through 15 sewing machine needles :-O

I added a bit more padding to the arms as the foam had flattened too much, I also added a couple more, shorter, internal pockets at the sides so we wouldnt have to reach right down to the bottom of the pockets (not far off the floor) to get anything out, very annoying when its a slim item.


Sunday, 27 June 2010

pushchair foot muff

With Kai being so long I had huge problems finding foot muffs to keep him warm while in his pushchair. I spotted some online that were fleece blankets buttoned up at the end and attached to the puchchair, I decided I could make similar.
I took my old fakeleather coat and cut a rectangle out of it which I hemmed with a piece of fleece on the inside.

At the top I fastened 2 elastic hoops and buttons. I then attached 3 buttons on each side from the bottom, about 2.5inches apart. and then 3 button holes after these on each side so when done up it creates a pocket
The elastic at the top can be looped around the tubing of the pushchair and done up on the buttons. The feet the slip inside the pocket at the bottom. The 3 buttons at the base allows it to lengthen it still, undo the buttons, and move down a hole (you will end up with buttons with no way to do up).
The fleece kept Kai warm, and the fake leather kept him dry. He was certainly was snug in there, even in winter, especially with his heated rice penguin.

Sunday, 20 June 2010

Recycling

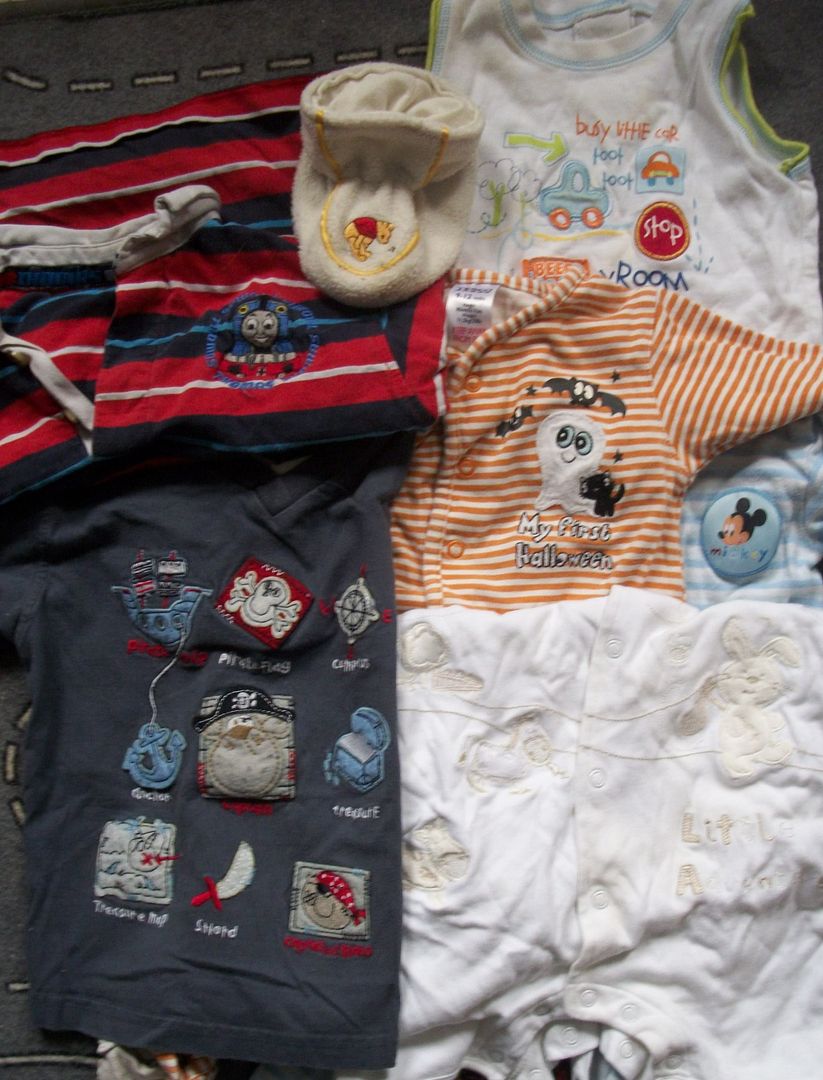
I have been having a good sort out of my sons old clothes, sorting out those to pass down, to ebay, & to recycle. Some items were to faded, or badly stained to go anywhere but the bin, but, as with many baby/young childrens items, they had cute images on.


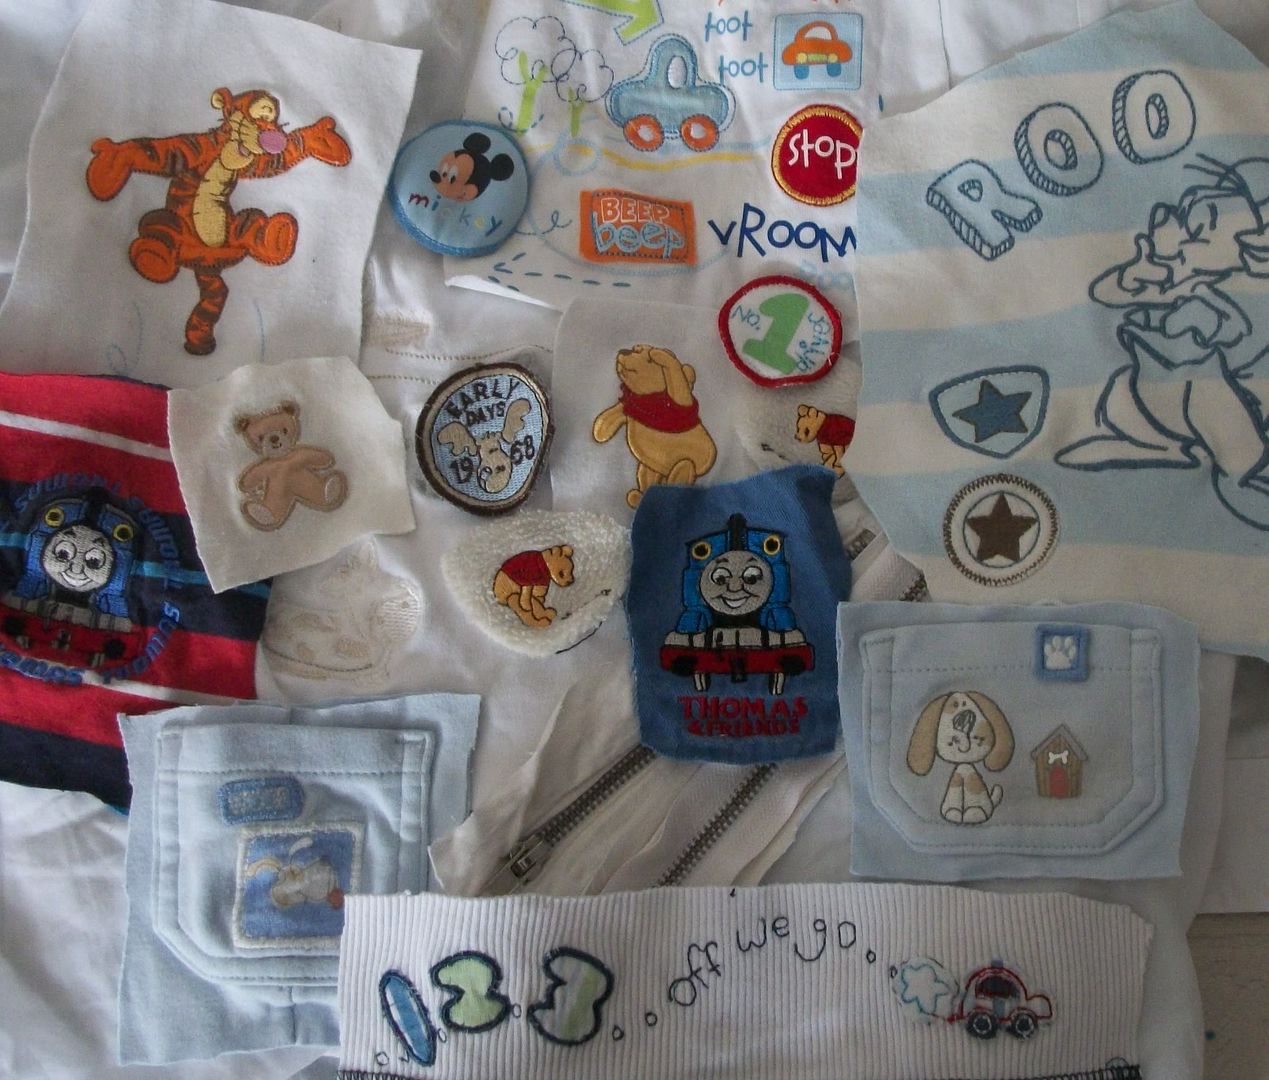
I roughly cut out the images, leaving as large a border as I could as I dont know how much I'll need when I use them.

I put them in a box so they are at hand should I wish to sew them onto another piece of clothing, or maybe use one that brings back memorys on a scrapbook page.

I also removed any fastenings such as zips, bottons etc, so these can be used again as well.

Sunday, 13 June 2010

No sew altered top

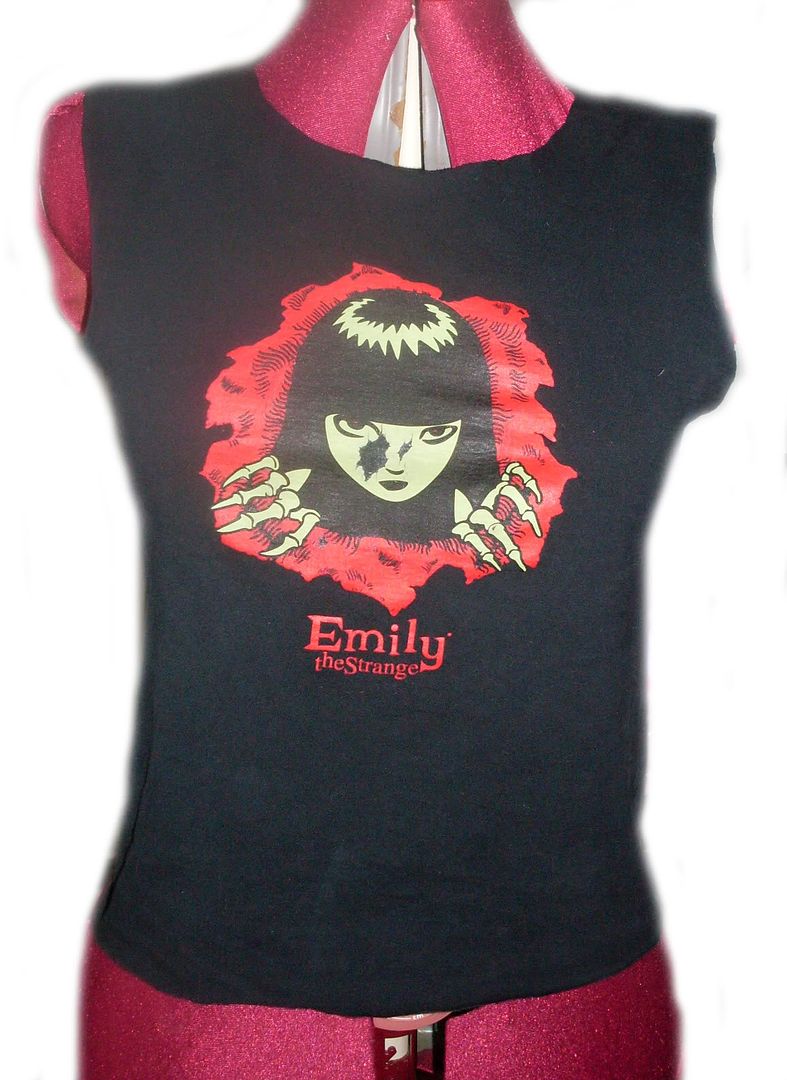
ok, I know, this is meant to sewing saturday but its my blog so meh! :-p lol.My favourite T-shirt is getting a tad tight for me, so rather than giving it up I decided to alter it.

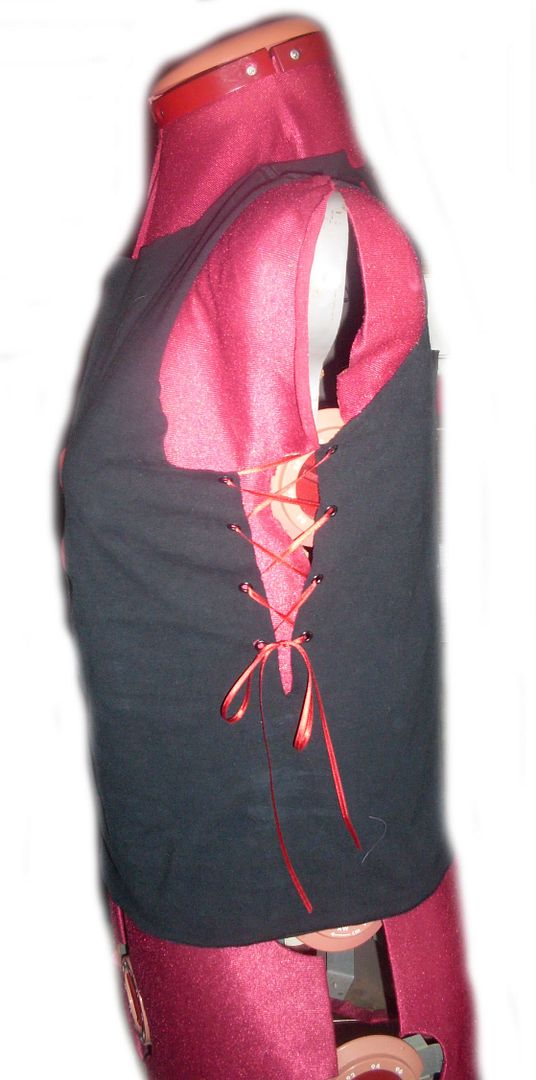
Unfortunately I started chopping before took pics, so this is my fav T-shirt minus the arms (they were getting a tad tight around the pits), the neckline (again, not enough give in it), and the bottom (so it matches the rest of the edges)

I made slits down the sides and added eyelets with my crop-o-dile which I then laced up with ribbon.


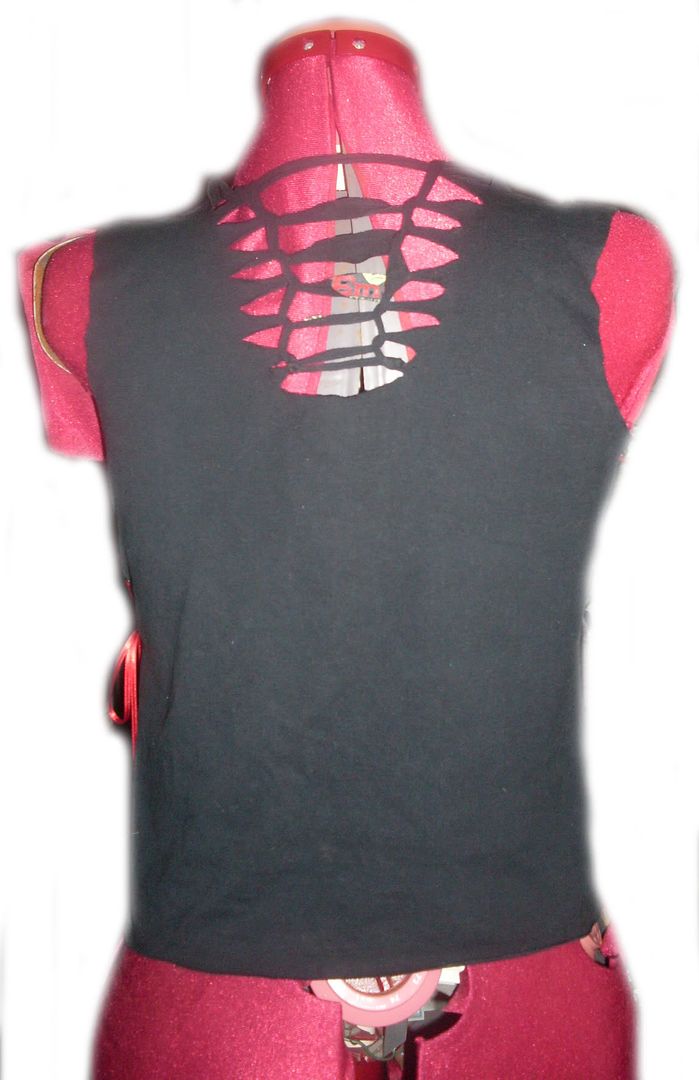
I then made slits in the back and weaved them together.
This is only the story so far....

The t-shirt is now too short, and rolls up. I need to find a way of lengthening it, hopefully to turn it into a long t-shirt without bringing too much attention to my lower waist (my particular problem area)

Sunday, 6 June 2010

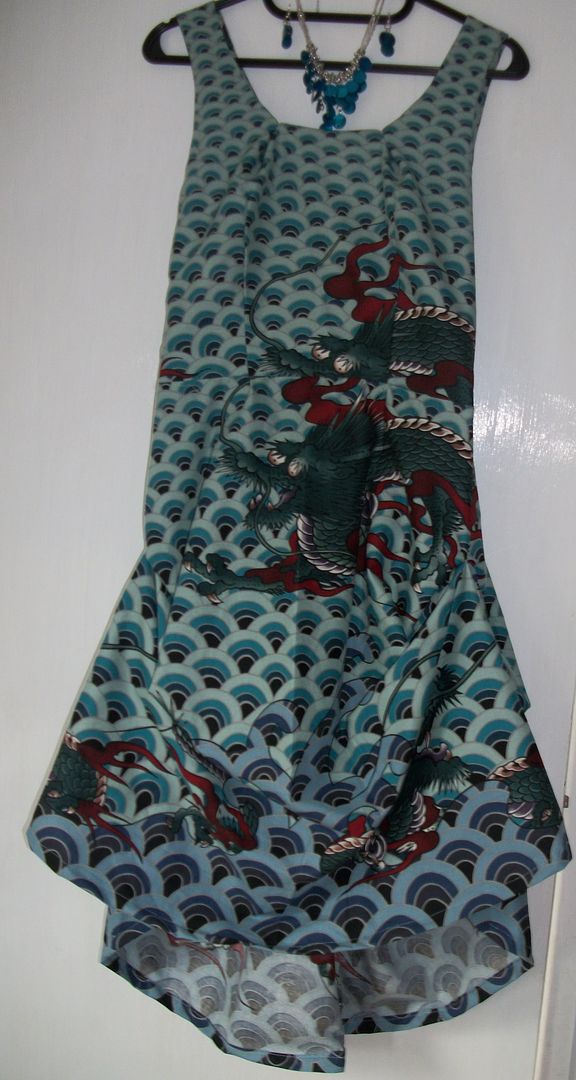
I've been wanting to make a dress out of my dragon material for ages (Alexander Henrys "Shibuki Dragon" fabric). I used the Sew magazines pattern from issue 4 to make a 1970's style dress. It was too long for me, but I didnt want to shorten it by trimming the hem & cutting off the lovely waves at the bottom of the material. Instead I hitched up the 2 sides and sewed them where they lay, bit like holding your skirt upto paddle, and then sewing it in position.

Wednesday, 26 May 2010

How do I love thee?.....

............. Let me count the ways.
I love thee to the depth and breadth and height
Your material can reach, when worn out at night
For the ends of the hem giving ideal grace.
I love thee to be worn of every day's .....

Ok, thats enough of me trashing Elizabeth Barrett Brownings work, but I do really like this dress
Unfortunately I cant remember where I found this image except that it was while googling, and have been trying to find the same fabric ever since.


Its just so ...... ME!!! I would love to make something similar, with the 1950's inspired halter net dress, corset style sides and Jack S material. That would make 1 fine summer dress!

Saturday, 10 April 2010

So Small

Having just done a scrapbook page on Kai's birth, and looking through all the old baby photos it struck me how small he was when he was born (I was quite relieved I hadnt gone full term though), and how big he is now; I dont mean the normal "hes such a big boy now he's 3", I mean the "he's only just 3 but has been in size 4-5 year clothing since before Christmas". So I decided to do a scrap page on his one time smallness.


I knew I wanted multiple photos, I'd also decided that I wanted to have them in black and white. I came up with a grid layout that used patterned paper squares as the grid, and photos or stickers on top of these. Having cut the squares and laid them out on the pale yellow bazzil I'd chosen, along with the pictures I decided it looked ..... a bit bare ... a tad flat... just not right. I came up with sewing the squares on free hand, mainly with a zigzag stitch, but the odd square with cross stitch just to give it a different look and texture. I tried to stick with pale yellows and blues through out with a little bit of other colours to give interest.

I didnt feel any journalling was needed except for his name, weight and title (though I do need to put his date of birth in somewhere)


I didnt have any little l b o or z's same used punctiation marks that came with the other letters.

Doing this has given me other ideas that I want to scrap, such as where the childrens names came from.

Sunday, 4 April 2010

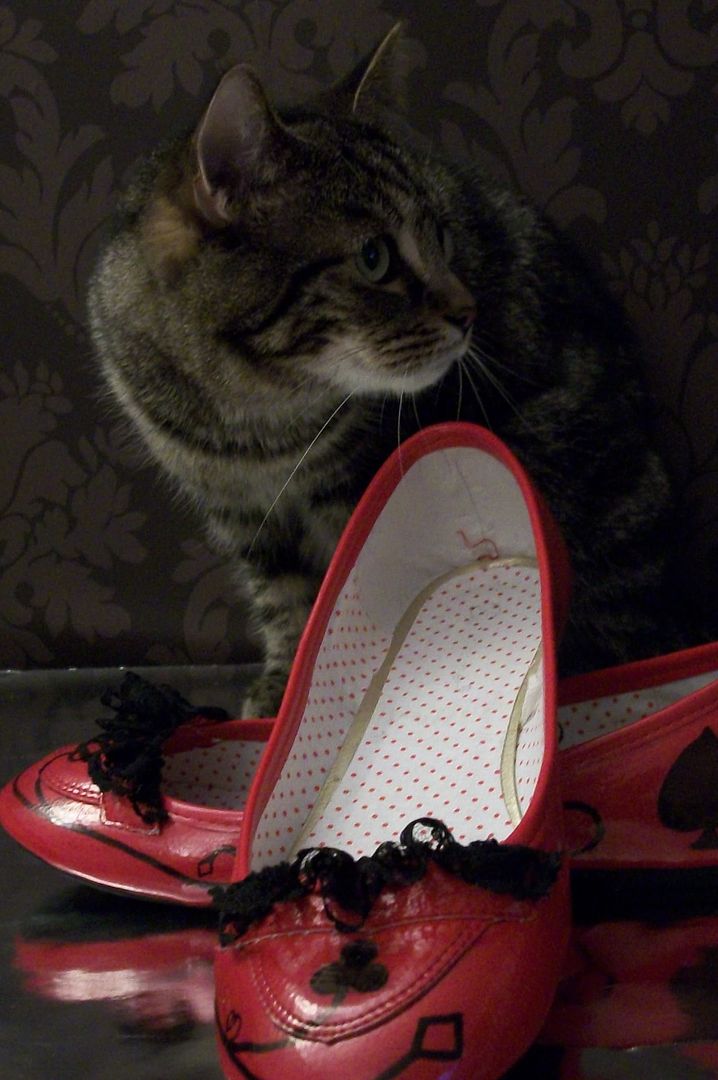
Red shoes, black lace and markers pens, ooo what fun!

I wanted a flat pair of pumps for the NEC, perfect for lots of shopping without aching feet, and had already planned that I was likely to alter them. Having a look round Primark I spotted a red pair of slip ons for £8


The tassle bits were horrible, and one wouldnt even lie straight down, but I could see that I could remove them easily, and liked the shape and colour of the actual shoe.
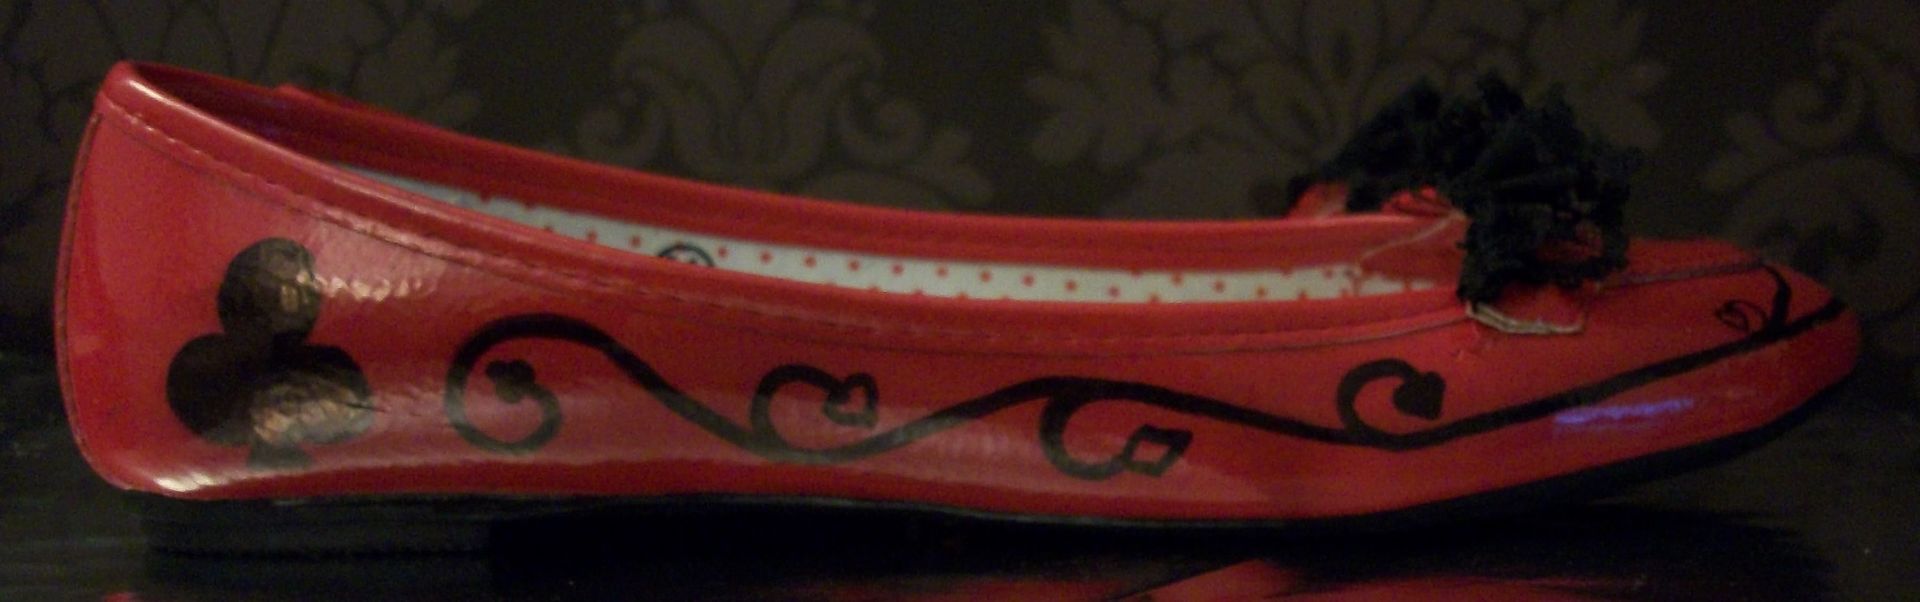
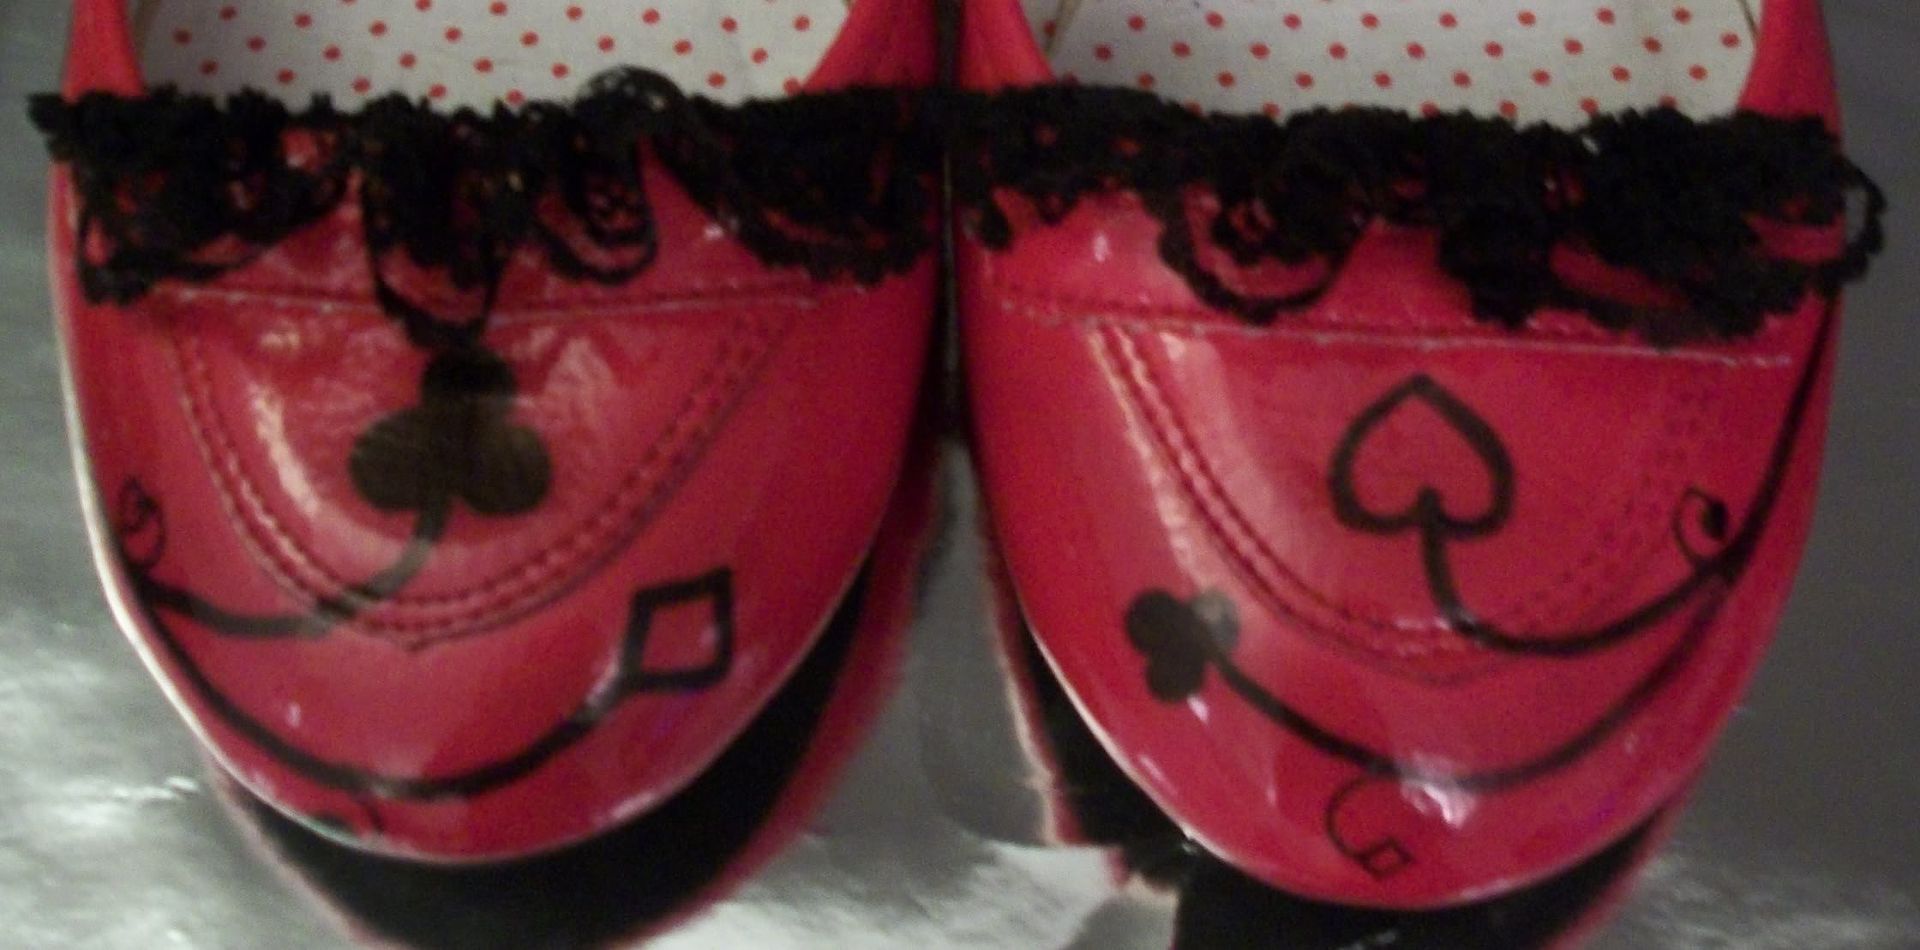
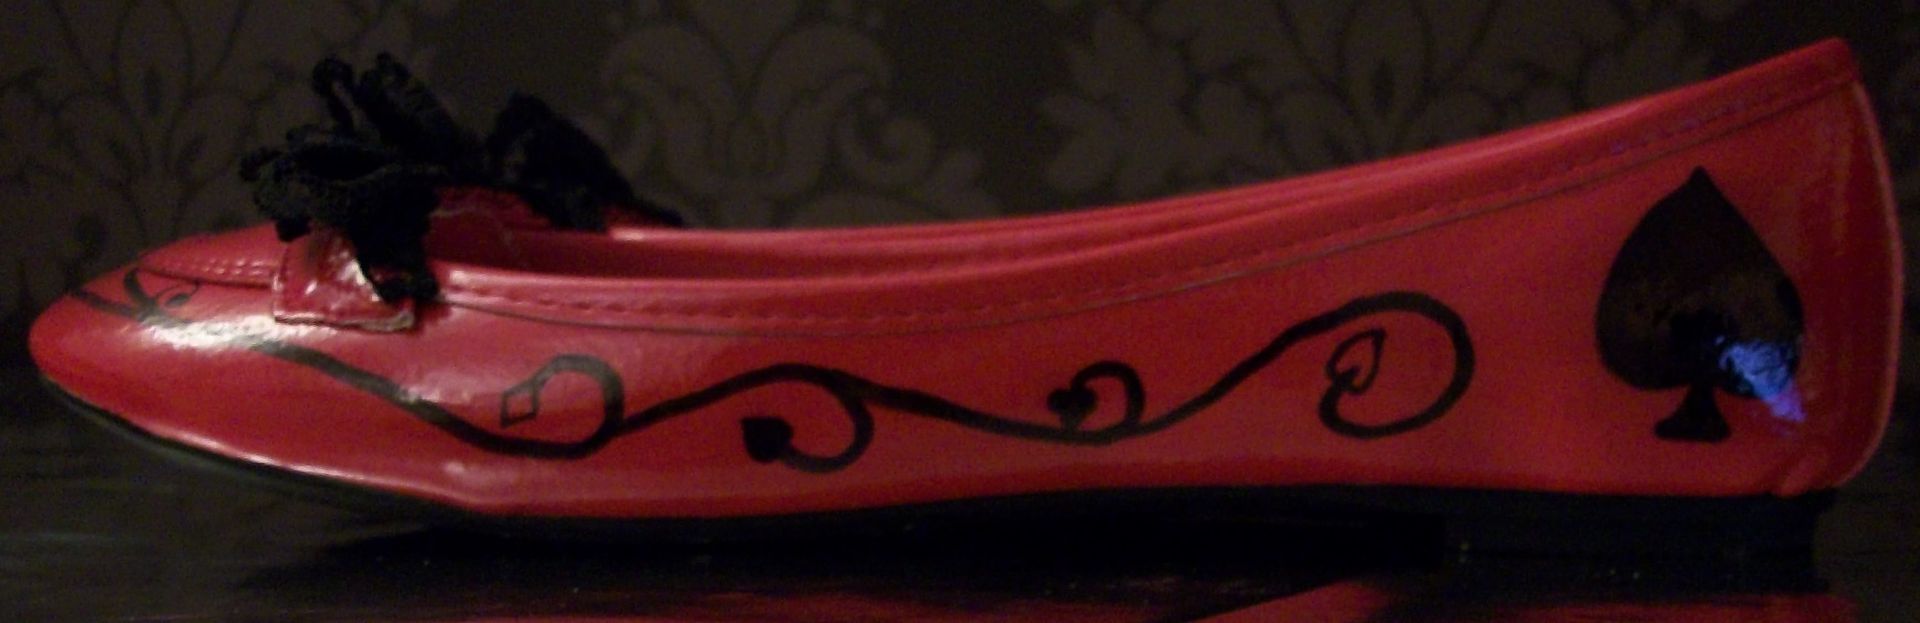
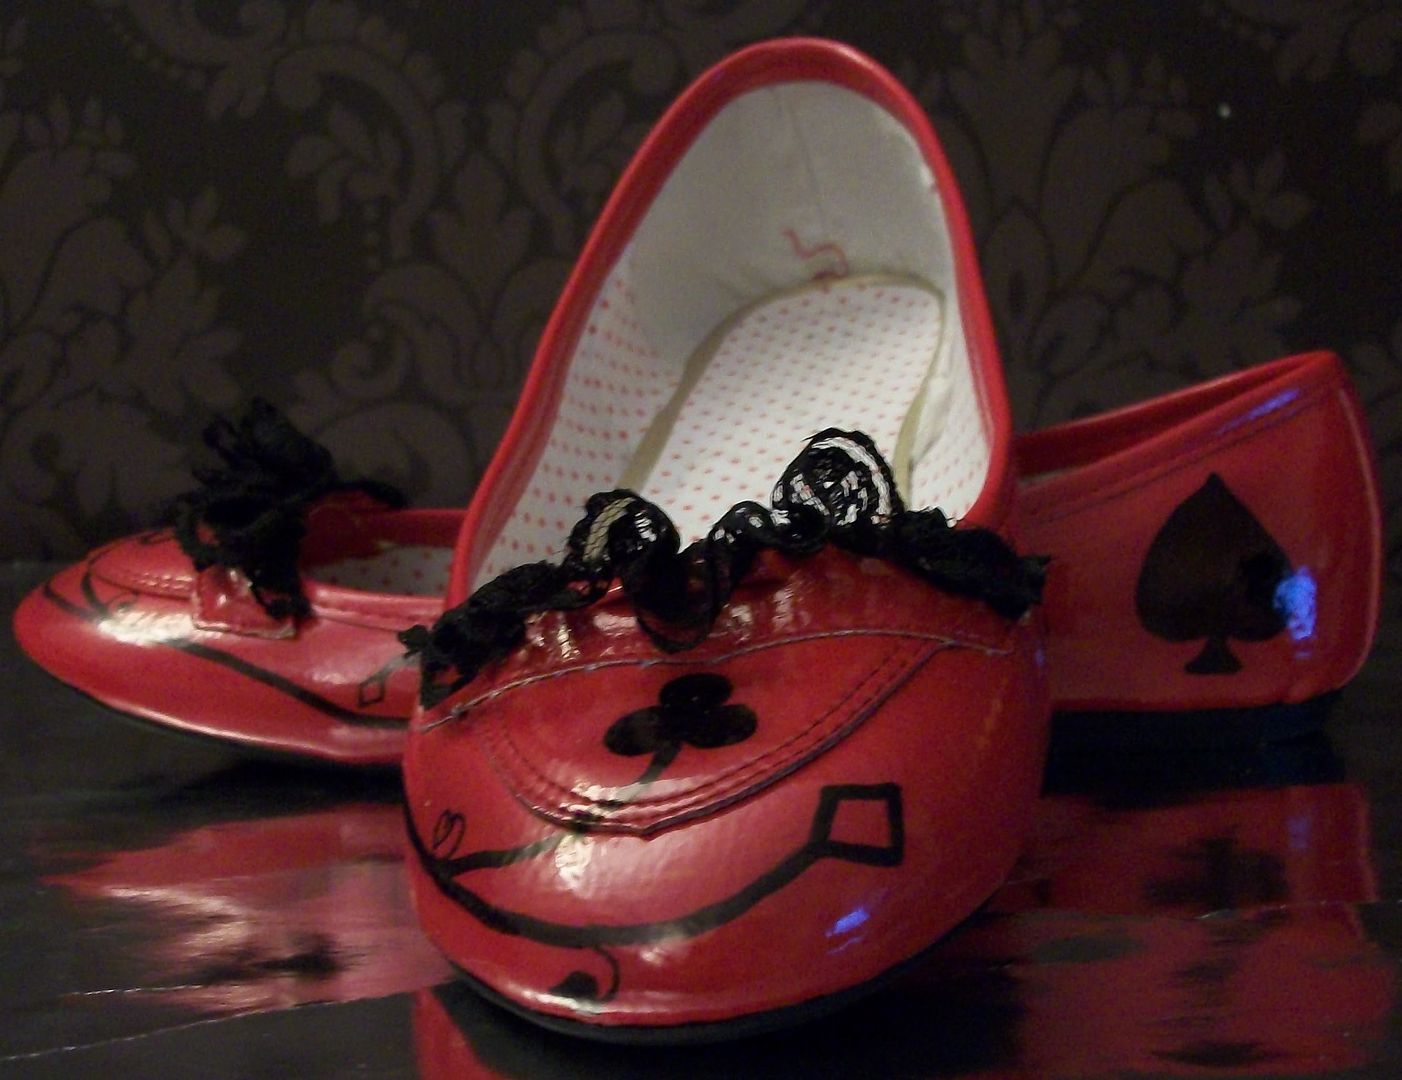
I started by removing the tassles. I then gathered some black lace and hand stitched it to the front.

I carefully drew a swirly card suits pattern onto the card in ink pen, and when I was happy with it went over it in black marker pen. I let this dry and wiped over it with a damp cloth to remove any ink left


The shoes are so happy they are even smiling themselves!
"I may not be a Cheshire cat but they're my shoes now, keep away, keep away"

“Fan her head!” the Red Queen anxiously interrupted. “She’ll be feverish after so much thinking.”

Sunday, 28 March 2010

Down the rabbit hole .....

It turns out that I dont even need to think to be creative, my subconcious can do it all for me!

A group of us were doing our semi-annual meet up at the NEC, and it had been decided we'd wear rabbit ears so we could find each other in the crowd.

While altering my clothes to wear on the day my OH noticed that everything had an Alice in Wonderland theme (I only noticed this with the shoes, lol) and commented how I'd taken the Rabbit ears idea and ran with it .... I personally hadnt conciously made this link, but hey, its either coincidence or my subconciousness is just as crafty :)

So heres the long T-shirt I started off with ....

It hung 1/2 way down my thighs, which is normally a very flattering length but with this it just looked frumpily straight up and down, even with my lumps & bumps **cough, cough** I mean curves

So I decided to gather up the side to give it a modern, more flattering shape. Before doing this I realised I needed to make any other alterations to make it easier, so I printed off a pocket watch/rose design onto a T-shirt trasfer sheet and cut out the design. I then ironed it on.
Following this I pinned lace to the end of the sleeves and bottom of the t-shirt and sewed it on using a stretch stitch.

Finally I finished it off by using a long stitch and gathering it up. I unfortunatley need to redo this & then sew over it to strengthen it. So heres us all at the nec with our wabbit ears on, of course I have to be different and make my own to match what I was wearing (& so they'd be black & red, lol). Not the most flattering pictures but I've had worse ;)


Next Sunday ... The matching shoes, first time I've sewn onto shoes!

Sunday, 7 March 2010

A sheet for a cape...

Thursday was yet again World Book Day, but Zack was on a school trip so they were told they could dress up on friday as their favourite book character instead. Zacks been reading the Charlie Bone series by Jenny Nimmo, about about a boy who ends up going to wizard school (& as I'm frequently told it is NOT like Harry Potter in anyway) so he asked to go as him. The back up plan was Jeans, white shirt and green jumper, which is Charlies everyday wear, but if I could find out what Charlies uniform was Zack would prefer that.
Well I went hunting, Zack said the uniform was described best in the first book, which he borrowed from the library ... sods law it was already out. Couldnt find anything about it online & all Zack could remember was blue cape.
I found loads of front covers to the books & decided the uniform looked like Jeans or grey school trousers with a white shirt, and blue tie. So my challenge on Thursday was to make a blue tie & cape with what I had in the house
I grabbed a blue bed sheet & started cutting. I'd decided the easiest way to do the tie was to make a tie shape, have it looped over at the top & wrap a rectangle round to form the knot. The loop at the top would be used to thread elastic through.

The cape could be a simple rectangle, sewing 2 pieces together saved hemming all the edges. Gathered at the top made it the trapezium shape I was after and I sewn a rectangular tube over these to keep them firm but neat. The tube was so I could thread the elastic through this as well.

All done and ready to wear the next day ....

heres the finished product...

He even untucked the cloak after putting his coat on so it billowed behind him .... I think its built into all boys genes to want to be a bit like Superman!!

Wednesday, 3 March 2010

Fabric dolls house

Welcome to Want to try Wednesday, a day to show off something I want to have a go at making (well durrr, like I need to explain that to you guys)
Isnt this FAB!!!

& the view from inside......

The pattern is on Dawns blog, Uk lass in US.

It is just so INSPIRING! I get so many ideas looking at it and am thinking of making a few for christmas pressies. Wooden barns for the boys, with a field when opened up for farm animals to graze on. I might even make the animals out of little baby socks.
Lovely little cottages for the girls, with a pretty cottage garden when it opens, maybe with embroidered ivy, or wisteria or roses climbing up the wall on the outside. Detail will all depend on when I can get the materials, when I start making it etc etc etc, very excited about it though.

Tuesday, 23 February 2010

Talk of Change .....

I have to admit that I have been a little despondent about my blogs and my crafty pieces lately, lacking a bit of confidence, so I've decided to spend a little bit of time on them and try focusing my craft blog. So, starting monday, what have I got planned .......

Mmm....mondays:
Mondays are about food, something I've recently cooked, tried out, or a recipe I've come up with/tweaked. On occassion it'll be a recipe I want to try, or a display, such as a cake, that just wows me.

Tip Tuesday:
On Tuesdays I shall be giving away tips that have helped me out, or maybe a tutorial on crafting, and sometimes blogging.

Want to make Wednesdays:
An item, tutorial or some other inspiration I've seen that I want to make or try out.

Papercraft Thursday:
Maybe a card, a box or anything else created out of paper. Sometimes a tutorial, sometimes just showing off what I've made.

Free Choice Friday:
I dabble in a lot of crafts, On fridays I will post items that dont fit into other sections.

Scrapbook Saturday
A way to try & get me scrapbooking on a weekly basis, I have a LOT of photos, and am always adding to them so need to keep going at this, so not only is it motivational but also shows you what I've been upto.

Sewing Sunday:
I keep meaning to sew, wether its just repairs or make something new, I just dont get round to it so now I must ;)
Sundays will be about showing you what I've made, or where I've got up to. Sometimes it'll be a tutorial on how I made something, other times it could be showing what I want to make, or a free pattern I've found.

So thats the plan anyway, there will be other things included as well such as blog hops, or something linked to a specific occassion.

The layout is also going to change slightly, so what I'd like to know from you is what do you like to see on a blog? what do you hate (I really dislike having to type in verification codes, choose a profile etc when posting a comment, I'd like to post a comment, not jump through hoops!)?

Saturday, 5 December 2009

On the 5th day of Christmas I gave to Choccy & Furry...

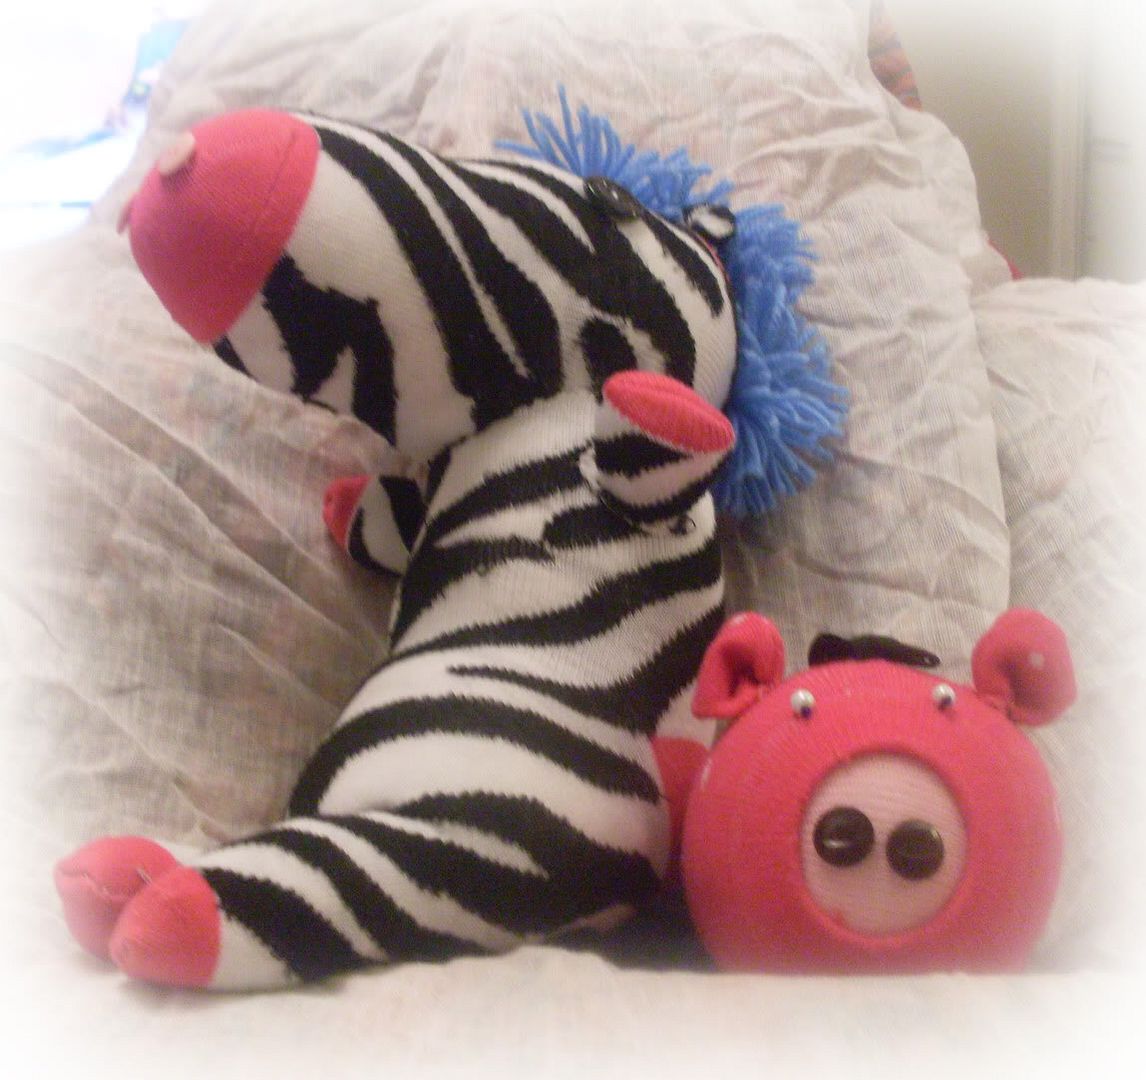
..an animal made out of socks (new ones :)

I loved making these! Another pig for Furry, made out of 2 socks, some beads, buttons and a ribbon. This is my favourite sock animal, its great for throwing around, and playing with.

When I saw the stripey socks I knew I had to make a Zebra sock animal, and this one developed an endearing beer belly :D Sadly it doesnt sit down properly but I think its punk hair do more than makes up for it,lol. I did try it with earrings and nose ring to enhance the punkness but it just didnt work.

To see what I received check out my other blog.

Sunday, 7 June 2009

Sock monkeys +


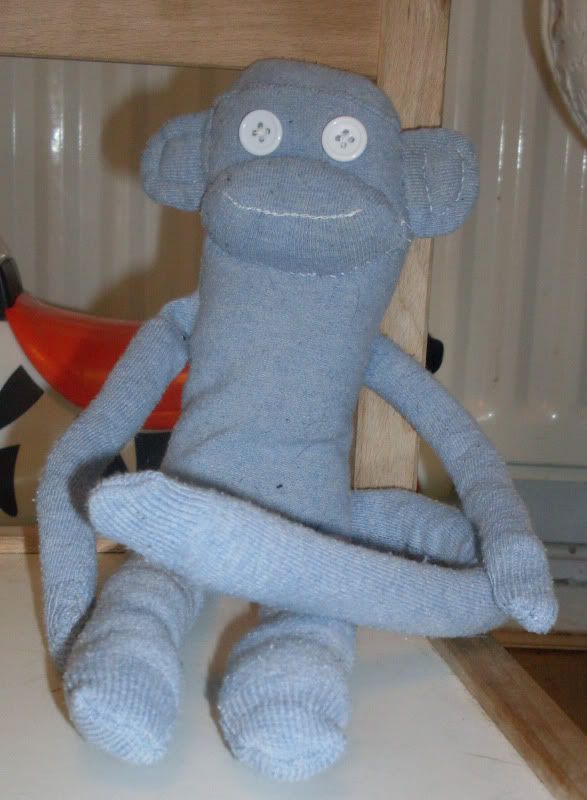
I took the plunge and made my first sock monkey last month, I used these instructions as I found them to be the clearest. I took the mankiest, oldest pair of sock out of my sock draw (though they were clean, just worn out) and hand sewed it just to make sure I could make one. I hadnt even got any stuffing in so used another pair of socks and cotton wool to fill it. I was quite pleased with the result and my two lads fell in love with him.
As my youngest was very much into Timmy Time I thought a sheep would be more loved by him so I put on my thinking cap. I had a brain wave that the inside of white sports socks are kinda furry inside, perfect for sheeps wool. So I popped into poundland and saw a pack of 2 cream sports socks and a black pair in a pack, only one pack left, woohoo.
So heres my sock sheep,.............I then made another sock sheep for my eldest son. At the age of 10 I didnt think he'd be all that interested but as soon as it was finished he wanted to take it shopping with us. He walked with it tucked into his hood with arms and legs sticking out, and the tail wrapped losely around his neck. It was definately a hit.
My OH joked that I should make LO a sock farm, which got me thinking. So my next challege is to try making a pig, cow, and duck. Soon as my sewing machine gets fixed that is, it decided to pack up after making these :(


Linkwithin

Related Posts Plugin for WordPress, Blogger...