Showing posts with label Altered. Show all posts

Sunday, 16 November 2014

Altered Baubles

Good afternoon folks, I've had a lovely time crafting this week, dabbling in different mediums, allowing myself to be lead by the inspiration Ive found at Frosty Festivities.

Jennifer altered a bauble by painting an owl on it, now my painting skills are somewhat limited but I have been wanting to alter a bauble for some time. Inspired by Riikkas post using broken jewellery & found objects I went rooting through my scraps, christmas decorations & broken jewellery tub.


Plain, cheap read baubles covered in black netting with red bats on (not that you can tell they're bats like this), some ribbon, black chains & beads and some red flowers. I really need to get some more red flowers so I can create some more as I really do like them.

I also found some clear baubles I'd had for a while & thought they'd make perfect little snow scenes, a miniature version of Jennifers Scene box frames. A couple of broken wooden christmas decorations would work perfectly.


I added little dots of glue on the back half of the bauble & covered in glitter, rather hard to see them in this photo. I then covered the base in Snow-tex, a product I'd bought the first time I went to Hobbycrafts at the NEC & has sat in my cupboard ever since


This little lady had broken wings so I cut a couple of petals off a paper flower and covered them in gold gilding flakes before gluing them on, along with a silver thread.
I covered the inside of the bauble with glitter glue with the thought it would look like it was snowing. I then attached gold stars to more silver thread and left everything to dry

Once dry I could stick the string to the bauble making to stars & angel appear to be floating (almost)

Saturday, 3 December 2011

Altered book: A Melshionary with a secret

I'd been mulling over what I could give to Mel for her Pay It Forward, while looking around pinterest an idea formed in my mind. I know Mel likes books, as well as Green & Blacks chocolate so why not combine the 2.
I started off with an old dictionary
I attached some chipboard which would become 3d detail, and using thick twine I made a few large stitches over the spine
Then I watered down some pva glue (50% glue 50% water) and painted the outer covers with it before placing on top of a sheet of tissue paper. I used a dry brush to smooth it over & get the tissue paper around the chipboard. I didnt worry too much about creases & wrinkles, it would all add to the finished effect.
Next I mixed up the colour I wanted, I was aiming for a tan brown, like the traditional leather bound books of old, so I mixed up my poster paints, add a drop of pva & covered the book with it. This took a little while to do as I had to wait between coats & also to the front & back.

Once dry I started on the inside, I found a page with what I thought had a relevant word in the corner, "bake", and carefully cut out a rectangle using a ruler & craft knife. I repeated this until I got to a satisfactory depth, removing the inner layers as I went.

I then pasted the edges with pva glue & put a large book on top so they'd glue nicely together.

When all dry it was time for the finishing touches, the title along the front & spine along with "a K publication" on the back. I used peel off letters for these.

To give it added durability I sprayed with clear plastic spray paint.


I bought the choccy bar, laid it in & ... aghhhhhhhhhhh....it was too long. I contemplated nibbling the end off but that just wouldnt be nice now would it, so I cut a bit more from the bottom of the gap.

& so it was finished, a Melshionary with a secret hiding place.

Mel was very happy with it, she tweeted these photos she took of the finished item, Green & Blacks retweeted the photo of the inside!! My books famous ... well, kinda :-)

Tuesday, 22 November 2011

CCWCC - Altered Noel


It is my pleasure & Honour to be joining in with the Creative Craft World Christmas Countdown 2011. The standard of projects are amazing, beautiful & theres something for everyone.
So on with my project...
I bought this letters in January, super cheap, yet again they're back in fashion & you can pick some up in most shops selling christmas decorations. I dont know about you but black & sparkly just doesnt say "Christmassy" to me, even if I do have a black christmas tree. They screamed out to be altered.
To start off with sand all the glitter off, & rough the other painted surfaces a bit with sand paper - this gives the 1st coat something to stick to.
See, its not perfect,  it doesnt need to be as long as theres no glitter left giving a nice smooth surface to work on.
Paint the letter, I used spray paint. Do as many coats as necessary to cover the letter following the instructions on the paint.

 Now to pick some pretty papers, I chose a sheet with words & positioned my letter so  "Jingle Bells" would remain whole. I drew around with a thick black pen so you could see it easily, I wouldnt recommend doing this yourself, use a fineline pen or a pencil, otherwise you'll be having to wipe pen off your letters. Dont worry about little mistakes, I didnt :-)
Cut inside of the line & stick onto the letter. I used modge podge, and then covered it all over with a couple of coats. Now you can decorate. I added ribbons, charms, highlighted images with glossy accents, & embellishments.
Here is 3 sets I did to give you a few more ideas.

Sunday, 30 October 2011

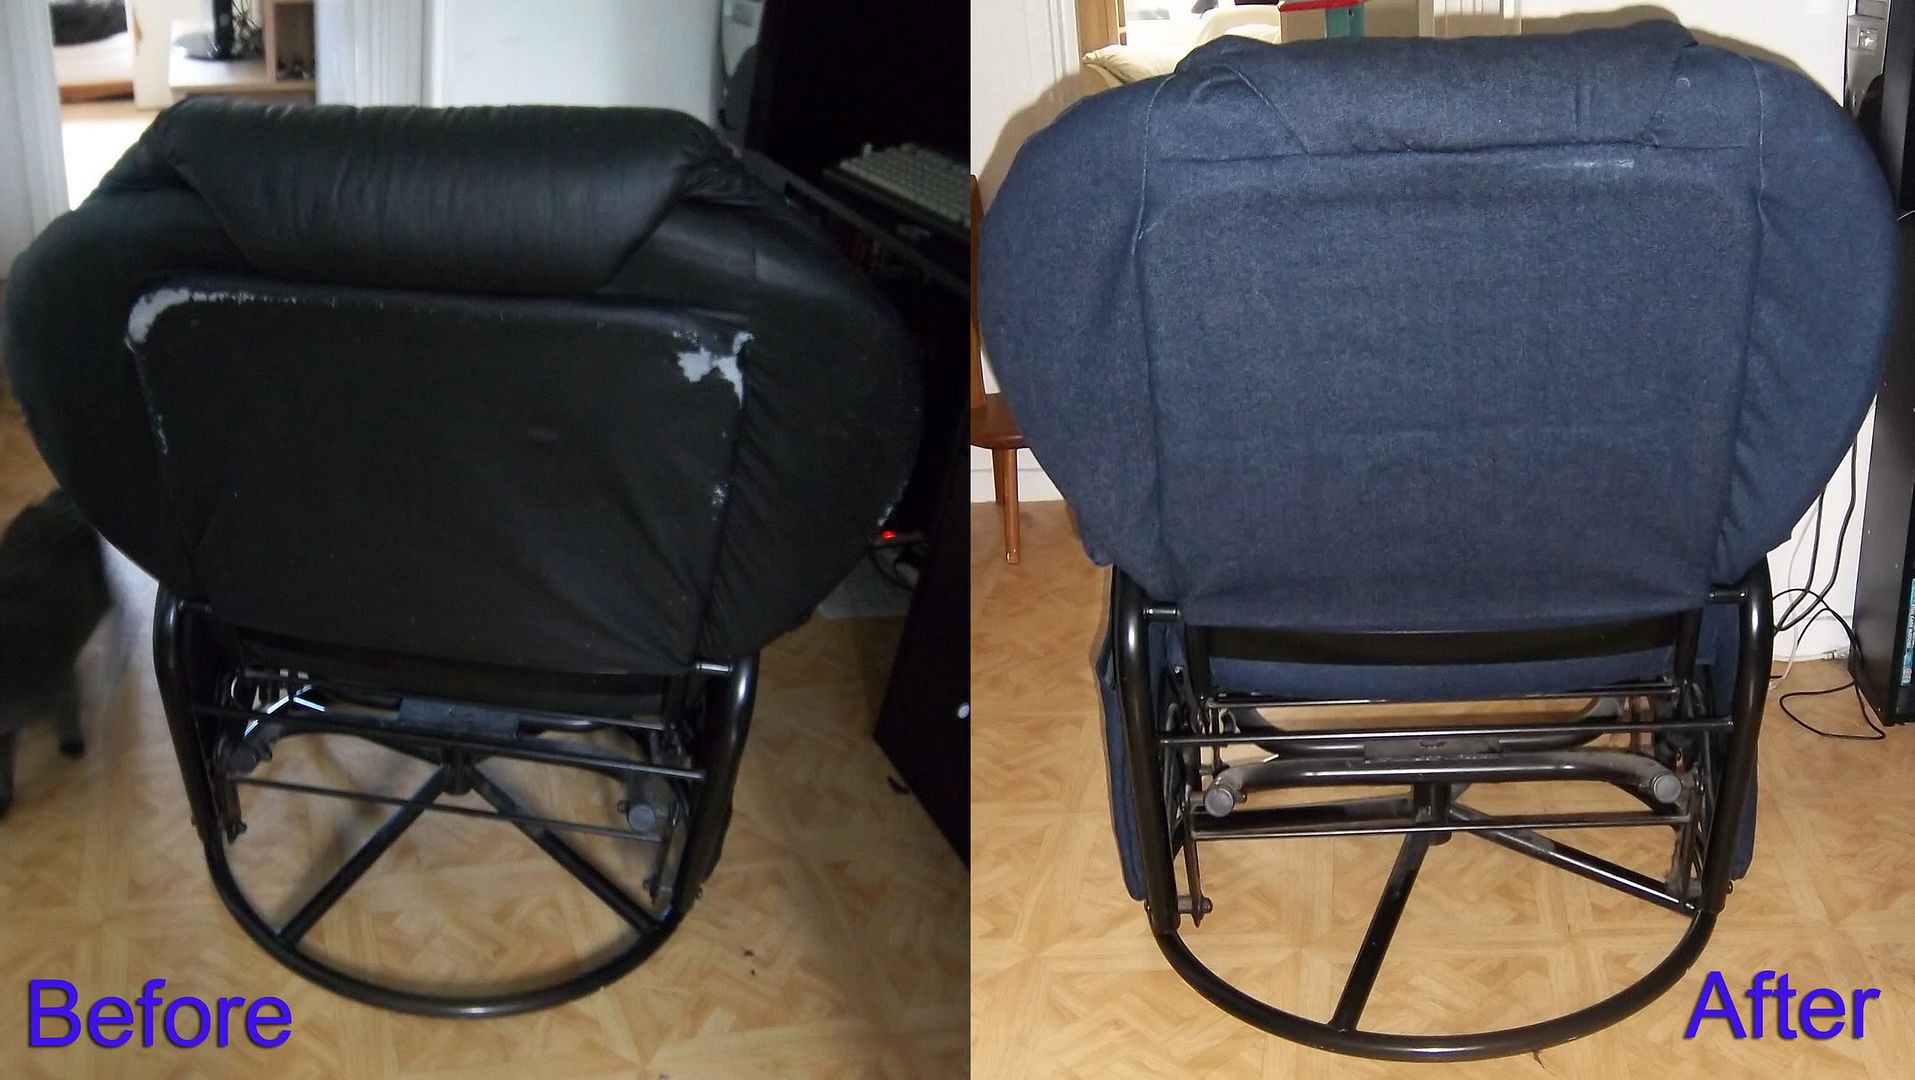
Recovering a Fancy Computer Chair

Ryans computer chair hasn't been standing up to the wear & tear its put through. As a heavy PC gamer, & as someone who watches TV on his computer the computer chair spends most evenings being sat on at somepoint. It also has to endure having cats sitting on the top of its back, clawing away. Then theres the kids spinning around on it, Kai enjoys curling up & falling asleep on it, as do the cats etc etc etc. As you can tell, its a well used chair, & with all the use the fake leather has been peeling off. It was looking shabby, and as its one of the main things you see when you walk through the front door I was concerned how it reflected on the rest of the house. Luckily my Mom had given me a roll of thick denim material ... which goes perfectly with the blue denim curtain at the front door, and I'm sure will wear a lot better than the original covers.

I covered the chair in 3 stages ... the back, the seat & then the arms. I carefully took each piece apart & used the old material as my pattern pieces. I frequently turned the air blue, let alone the seat as it was complex at times, and I managed to get through 15 sewing machine needles :-O

I added a bit more padding to the arms as the foam had flattened too much, I also added a couple more, shorter, internal pockets at the sides so we wouldnt have to reach right down to the bottom of the pockets (not far off the floor) to get anything out, very annoying when its a slim item.


Thursday, 23 June 2011

Cot Bed Creations .... Part 4

This week I'm showing what I made out of Kai's cot bed that broke
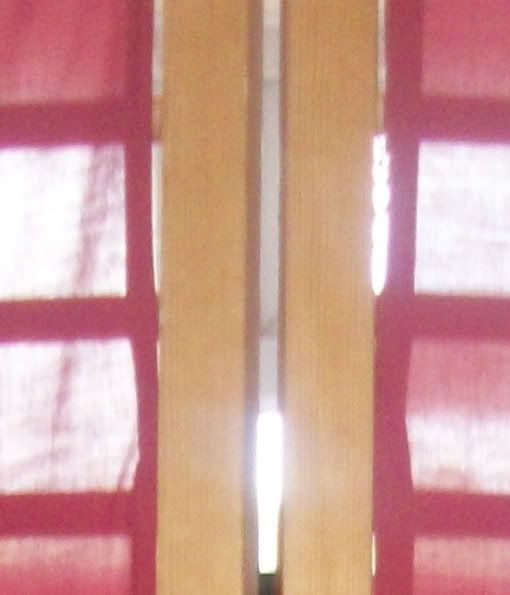
On Sunday I gave the picture clue....

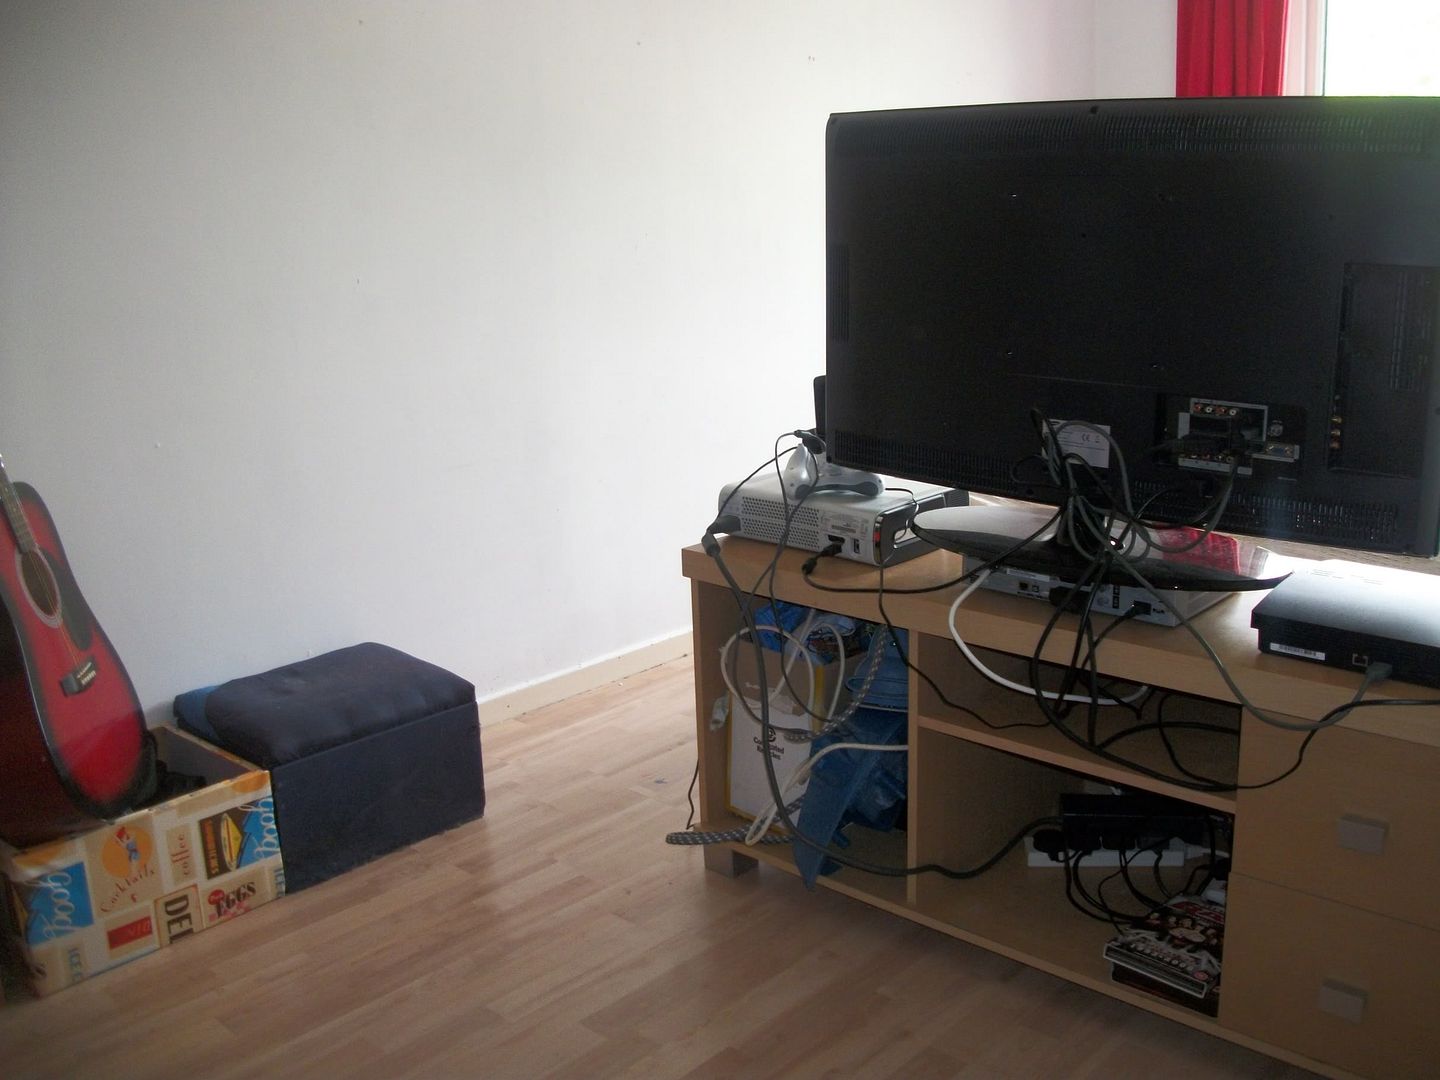
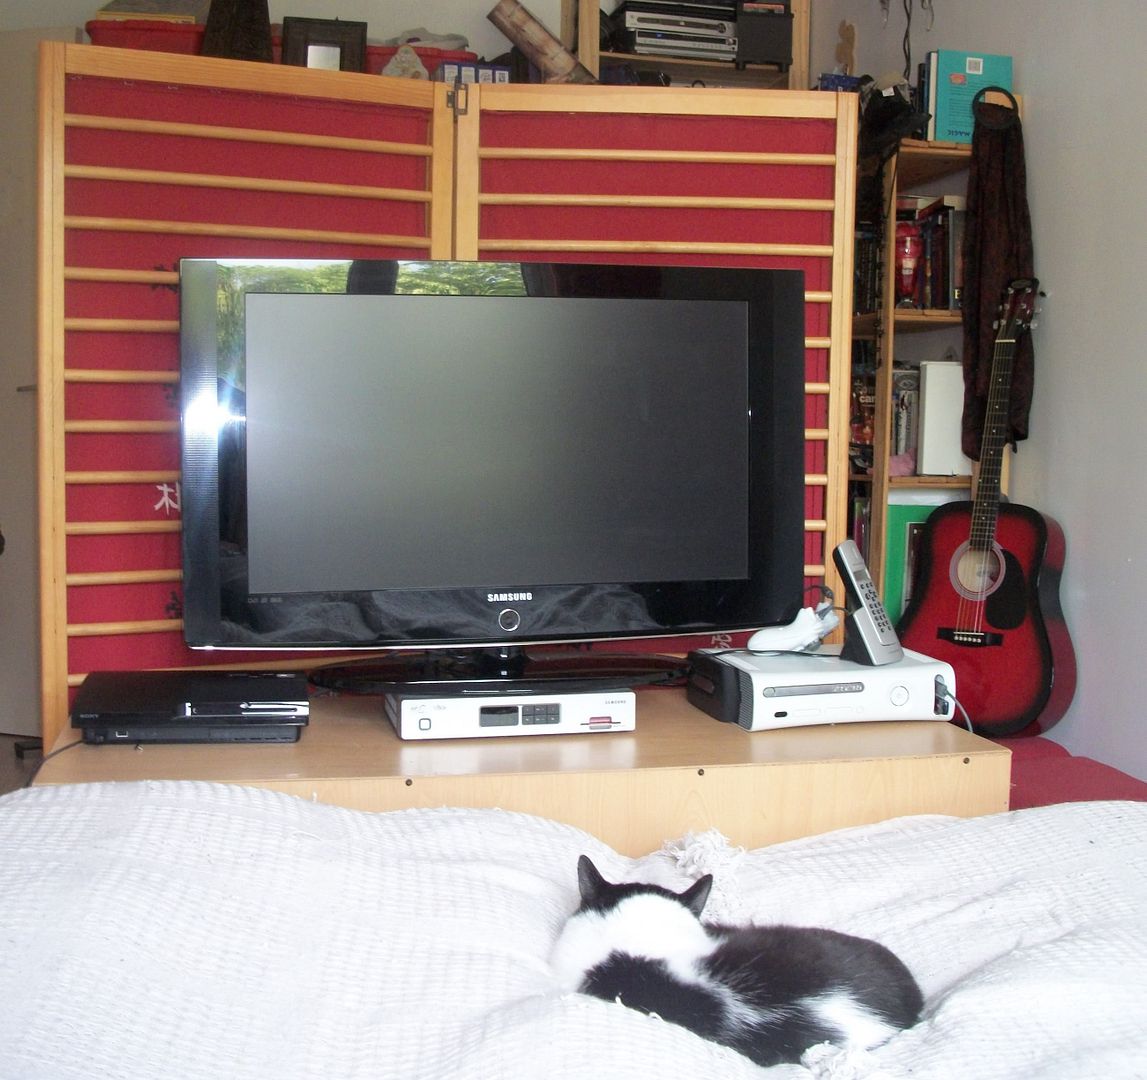
We had a move round of our bedroom, now that the weather is sooooooo much warmer we prefer to sleep closer to the window. Unfortunately it means the view as you walk into the room isnt as neat as I'd like...
Ryan & I began discussing chinese screens to hide it, far too expensive to buy but with the simplest ones being a basic frame, material & hinges I thought I could probably make one. Then **TING** light bulb moment!!!!

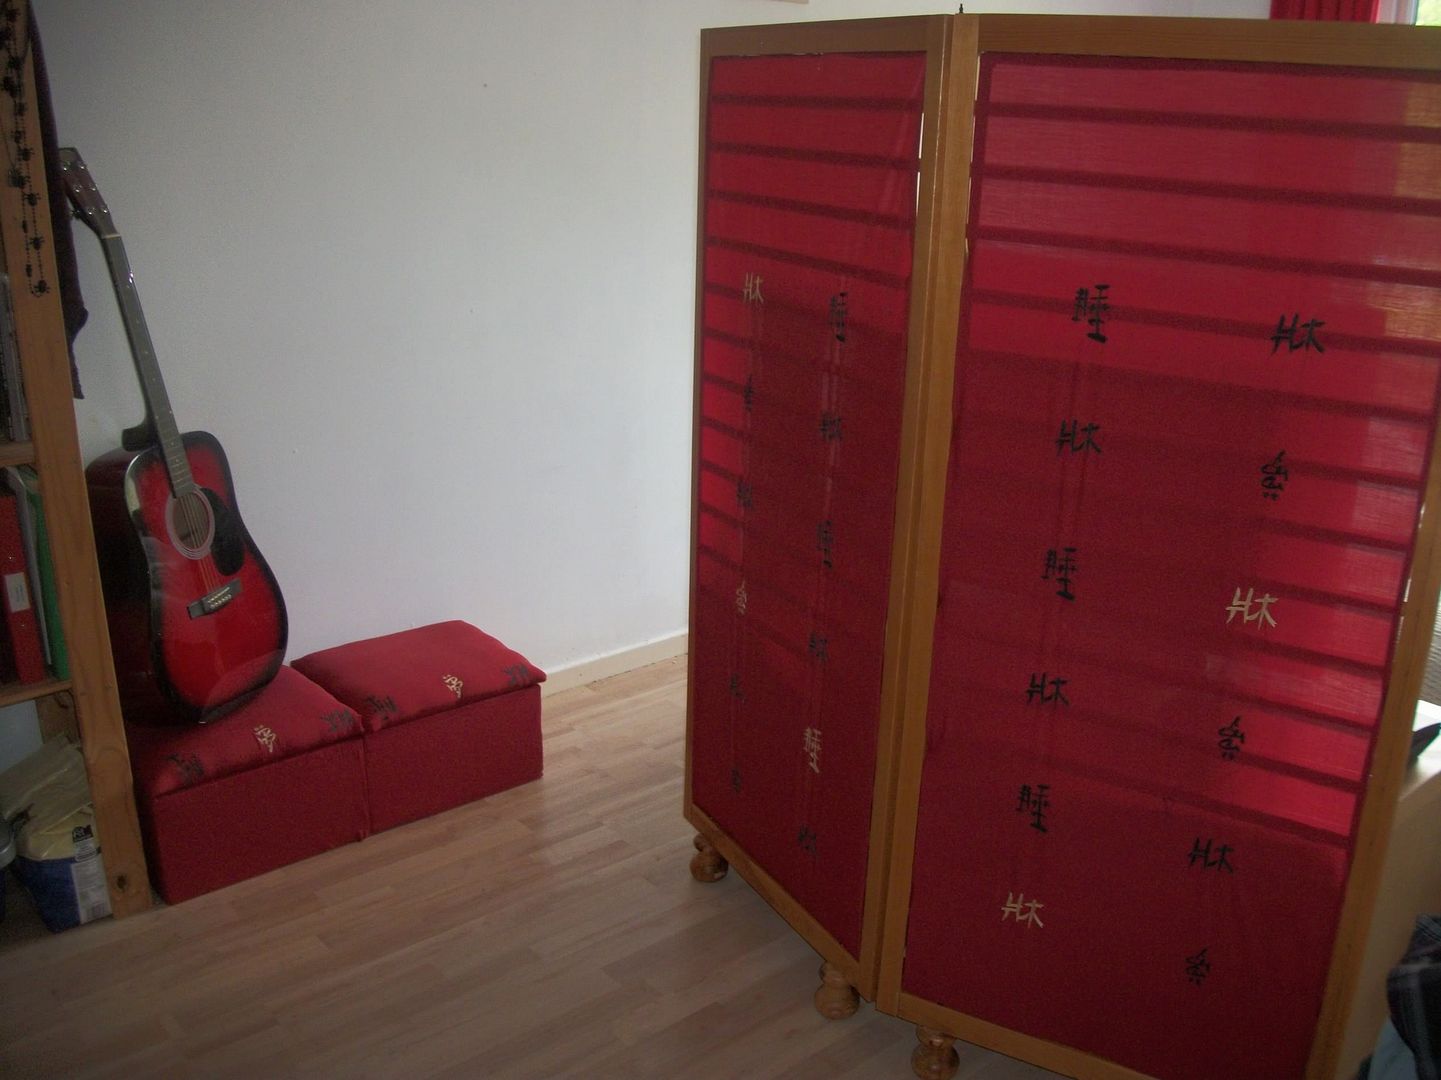
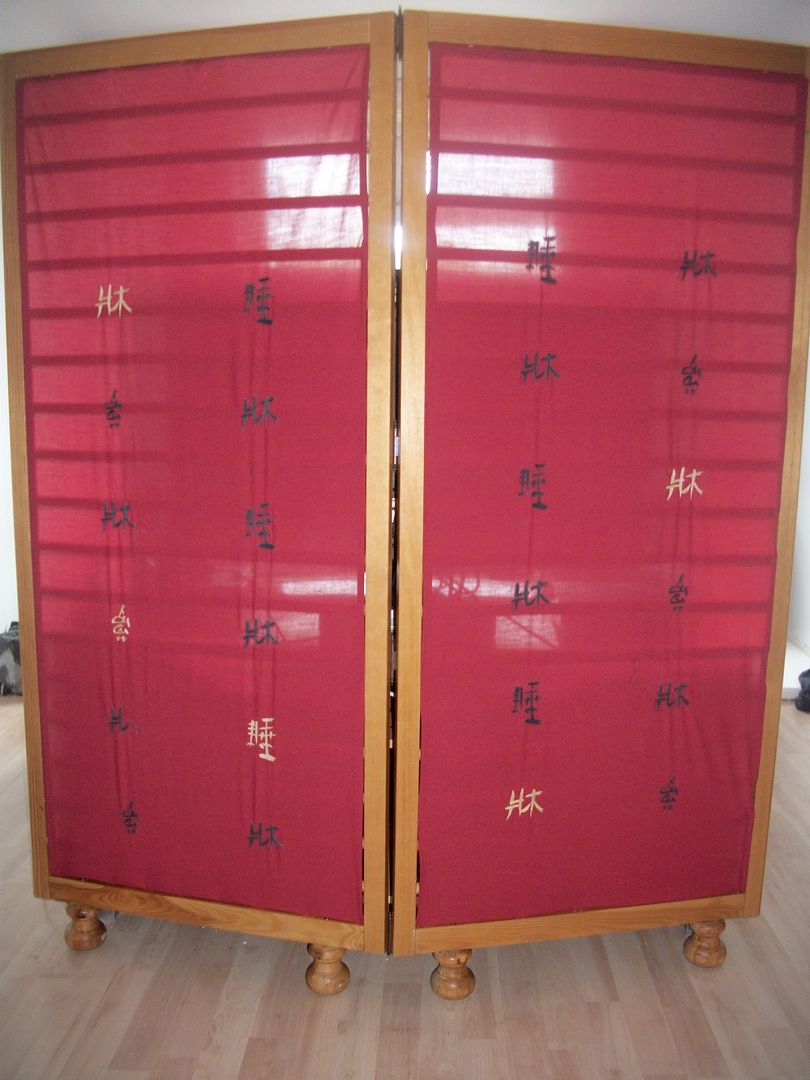
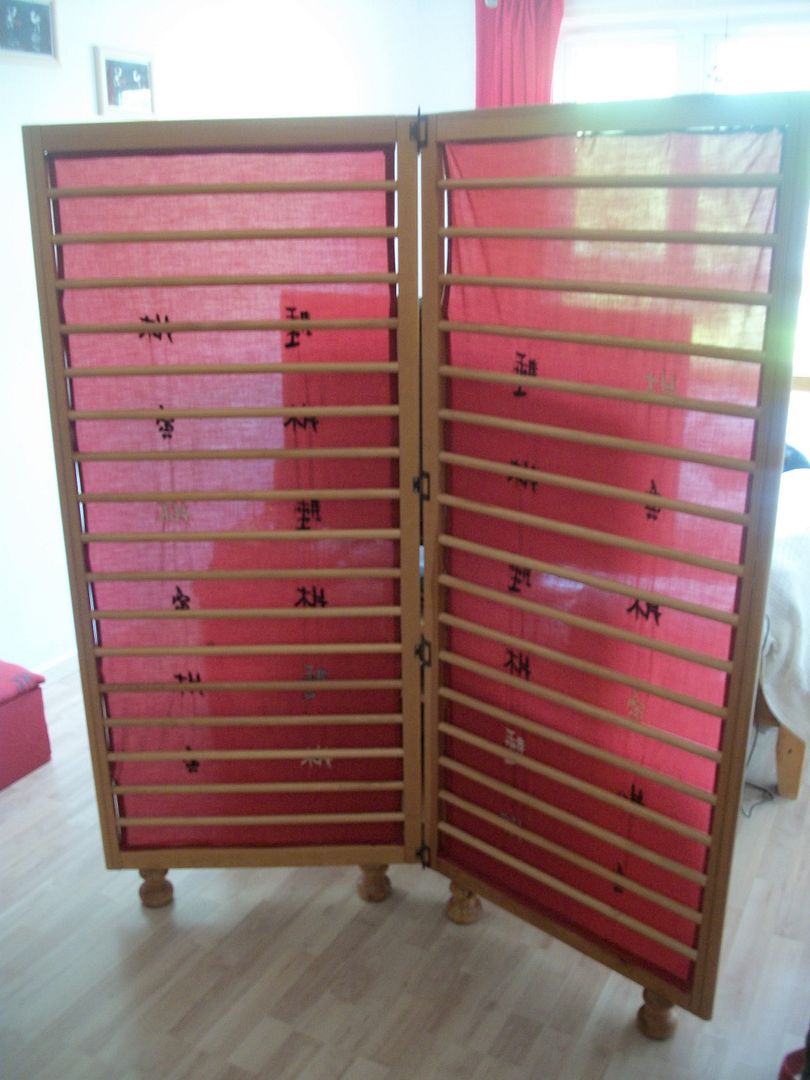
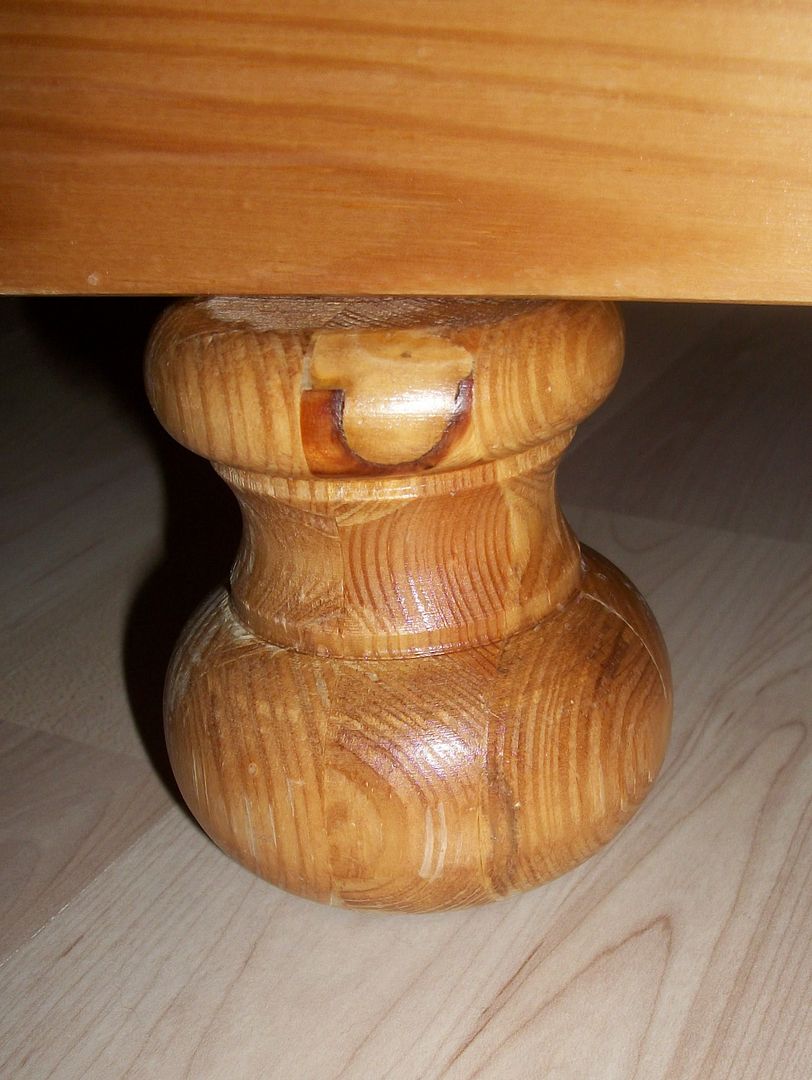
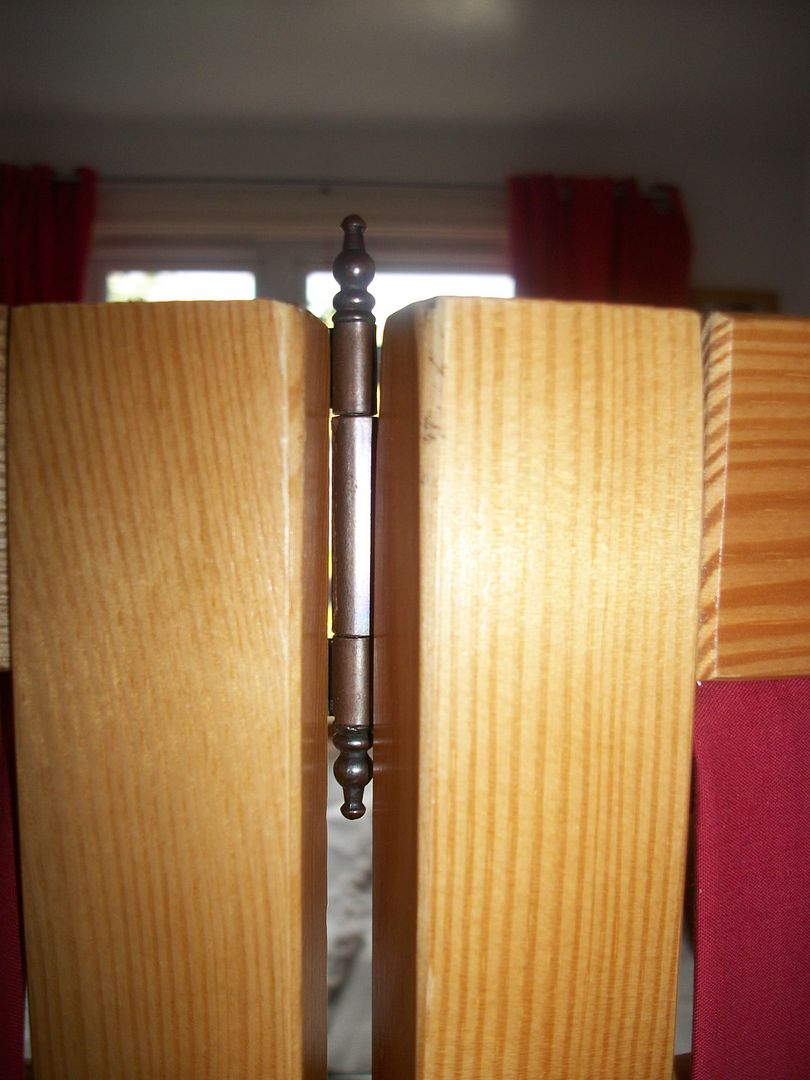
My new chinese screen!!! made from the cot sides, 3 hinges, cot feet, a duvet cover & tacks.
I love how the light shines through & shows the bars of the cot, it remonds me so much of the traditional chinese sliding paper walls/doors you see on tv.
Have you noticed my pouffes? Also covered with the duvet cover to match.

View from the bed.
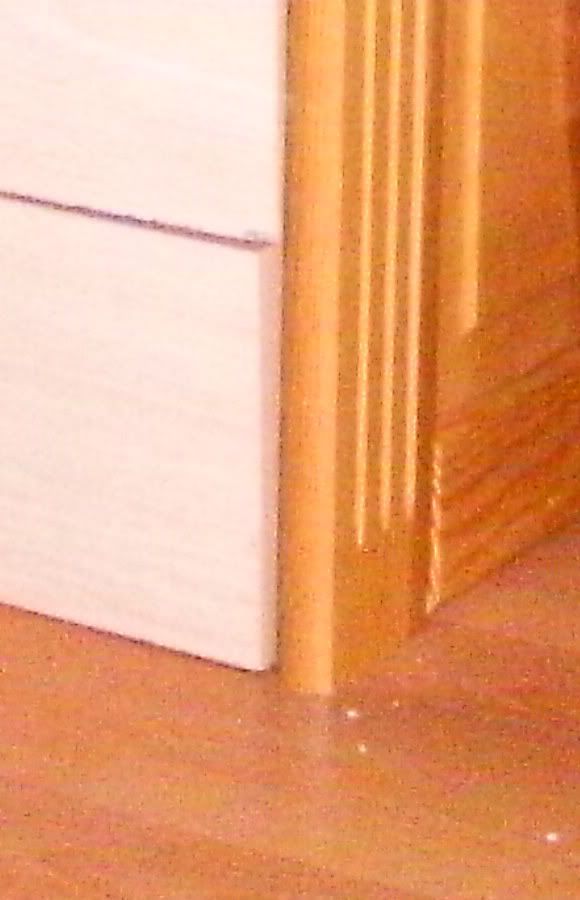
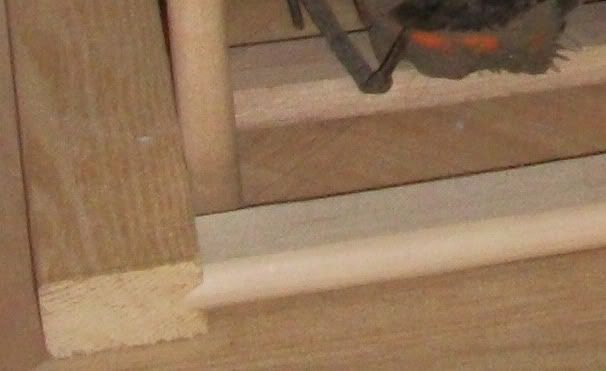
A few close ups .... click to enlarge.


The duvet cover was bought by Ryan one day when we were out browsing the shops, not long after we'd started seeing each other, when I spotted it in Next & said how nice it was. Unfortunately it was waaaaaaaaay more than I'd spend on a quilt cover, next time I saw Ry he had bought it for me :-)
The buttons to do it up had fallen off (lazy me for not sewing them back on) and it was starting to wear, so this has given it a second life.

The pouffes my Grandad made when I was younger - every now & then I'll recover them when the covers wear or to match the room.

So not only is this probably the BEST looking thing I've EVER made, but they also mean a lot to me as well. 1 chinese screen & 2 pouffes that cost me nothing, I already had everything I needed in the house.

To see what the cot bed originally looked like check out THIS post, also to see the rest of the picture clues.

Well I hope you've enjoyed seeing what I've made from Kai's cot bed this week, and that I might have inspired you to recycle some of your own furniture.

Wednesday, 22 June 2011

Cot Bed Creations - part 3

This week I'm showing what I made out of Kai's cot bed that broke
On Sunday I gave the picture clue....

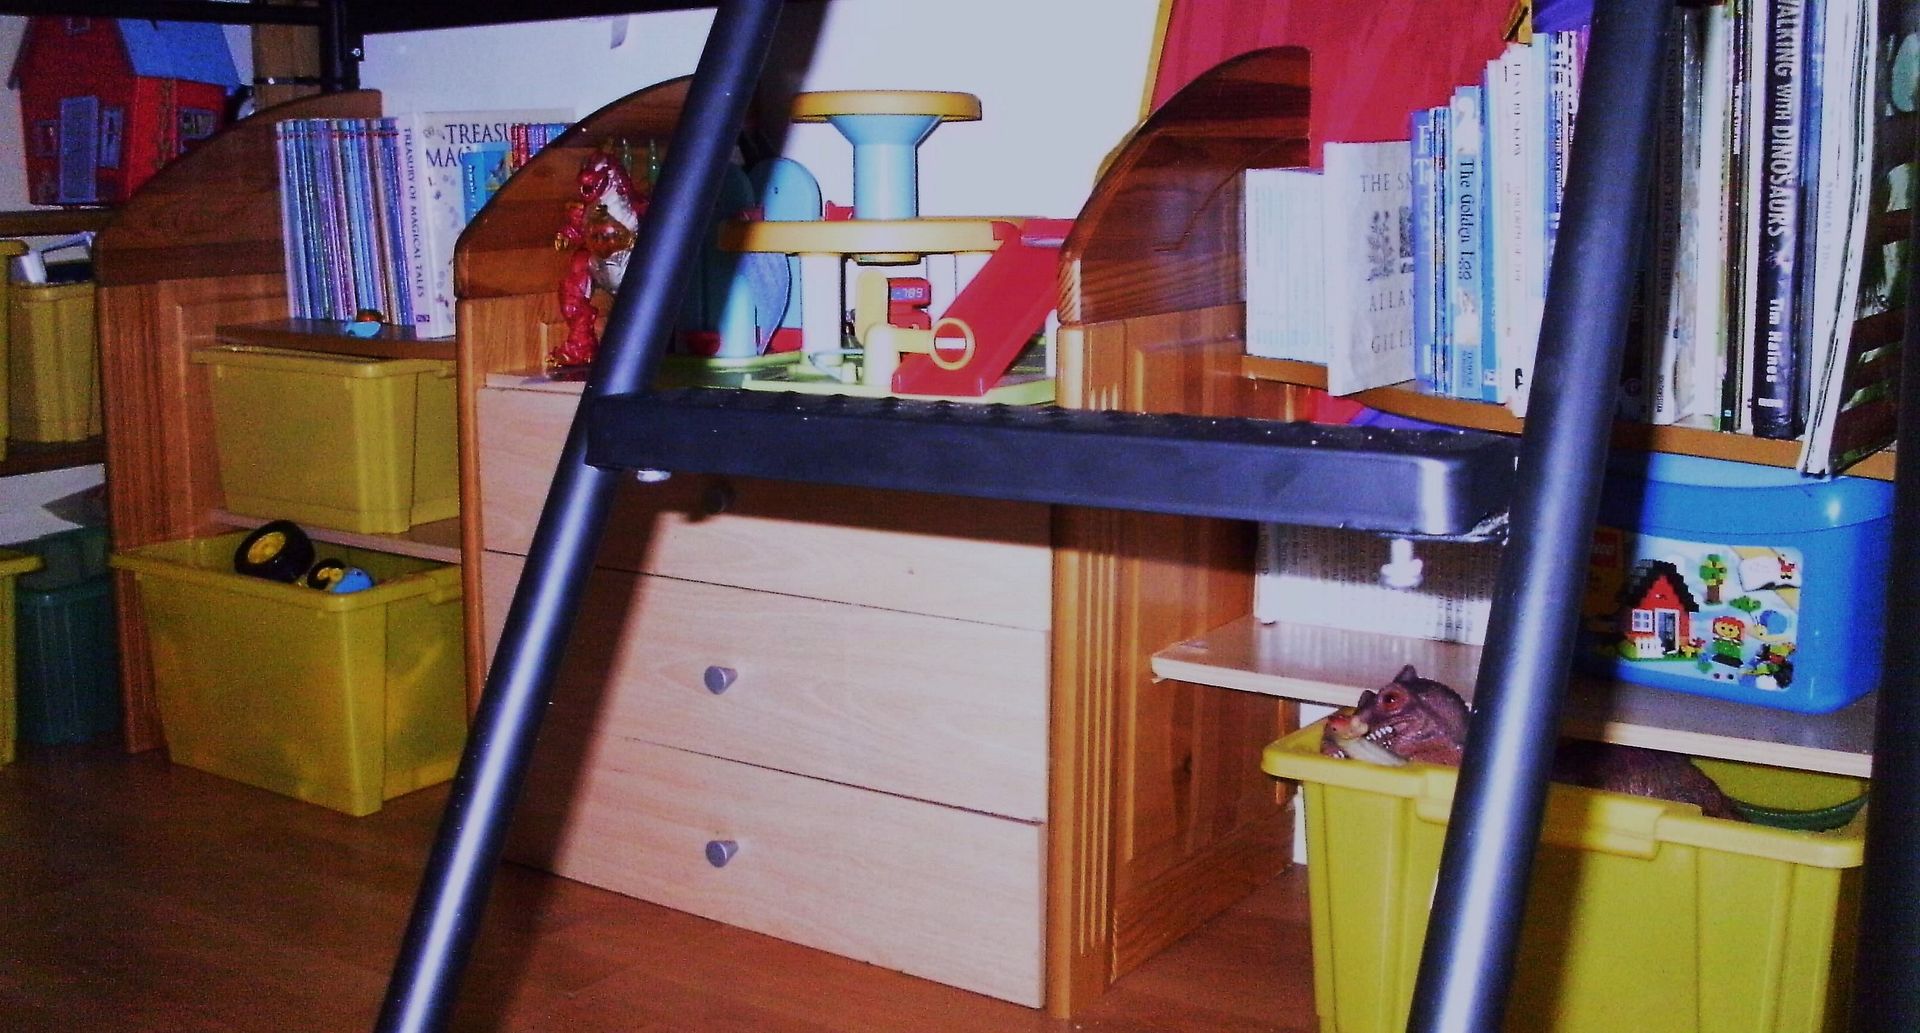
Kai's new bed is a mid sleeper, meaning its about 120cm high, so he'd have more floor space to play on. He lost some storage space underneath his cot bed so I decided to make him something for his books and toys underneath his new bed. The only wood to hand was Kai's cot bed & some off Zacks bed (he also had a new one bought him)

sorry about the bad photo but it was a blumin' ackward photo to take!
I took the feet off the 2 end pieces of the cot bed and then cut these pieces in half width ways. To this I attached wood from Zacks bed for shelves. I also made a cube which was then attached to the cot bed sides, this was to house the draws along runners.

Tomorrow you'll find out what this is..

To see what the cot bed originally looked like check out THIS post, also to see the rest of the picture clues.

Tuesday, 21 June 2011

Cot Bed creations - part 2

This week I'm showing what I made out of Kai's cot bed that broke
On Sunday I gave the picture clue....

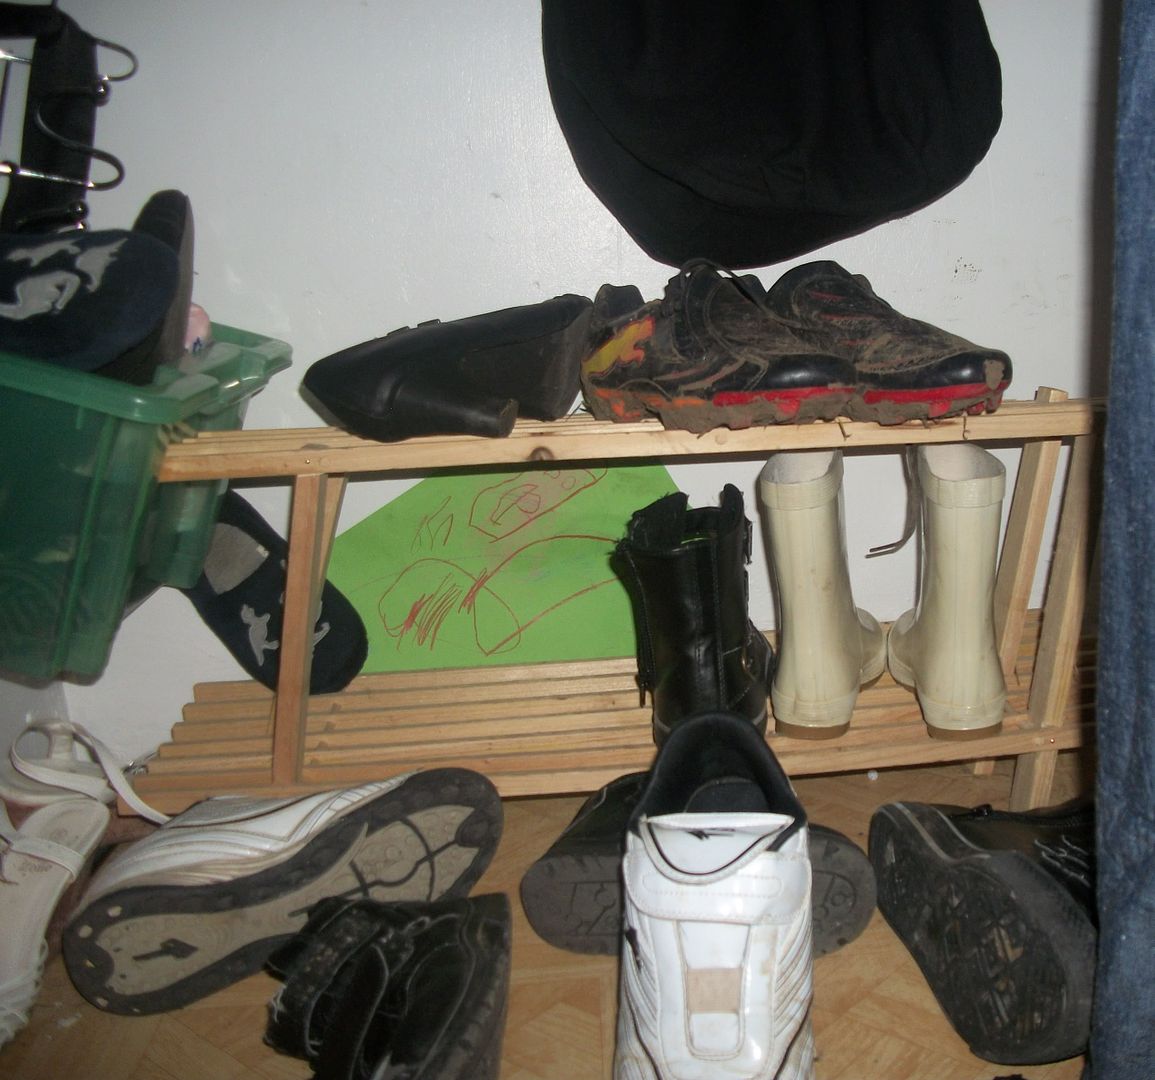
I bought a very cheap shoe rack a while ago ..... big mistake! It went flimsy very very quickly
& because of that (& lazyness) nobody usually uses it

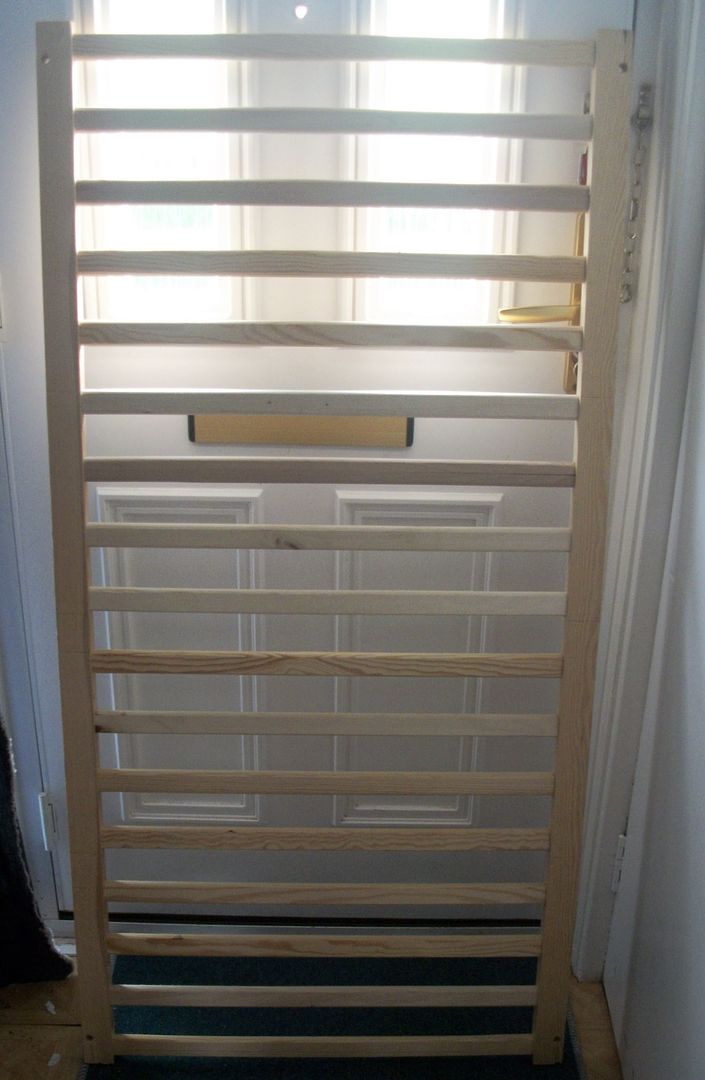
so while moving the cot base I had a light bulb moment.

Using a saw, a hammer & a few nails....
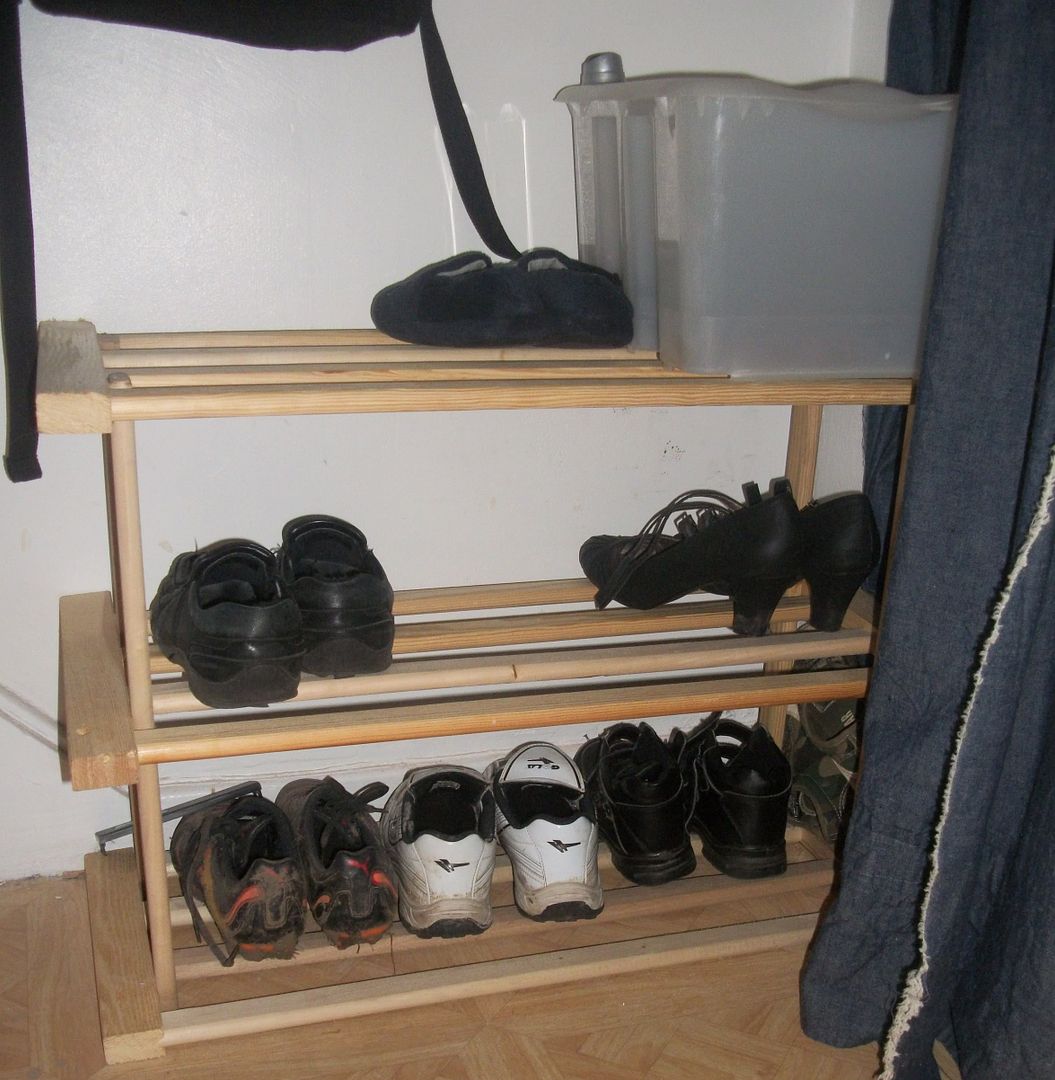
..it became a new, 3 tier shoe stand with a tub for seasonal hats, scarves etc. It is sooooo much more study than my original stand.

Tomorrow you'll find out what this is..

To see what the cot bed originally looked like check out THIS post, also to see the rest of the picture clues.

Monday, 20 June 2011

Cot Bed creations - part 1

This week I'm showing what I made out of Kai's cot bed that broke
Yesterday I gave the picture clue....

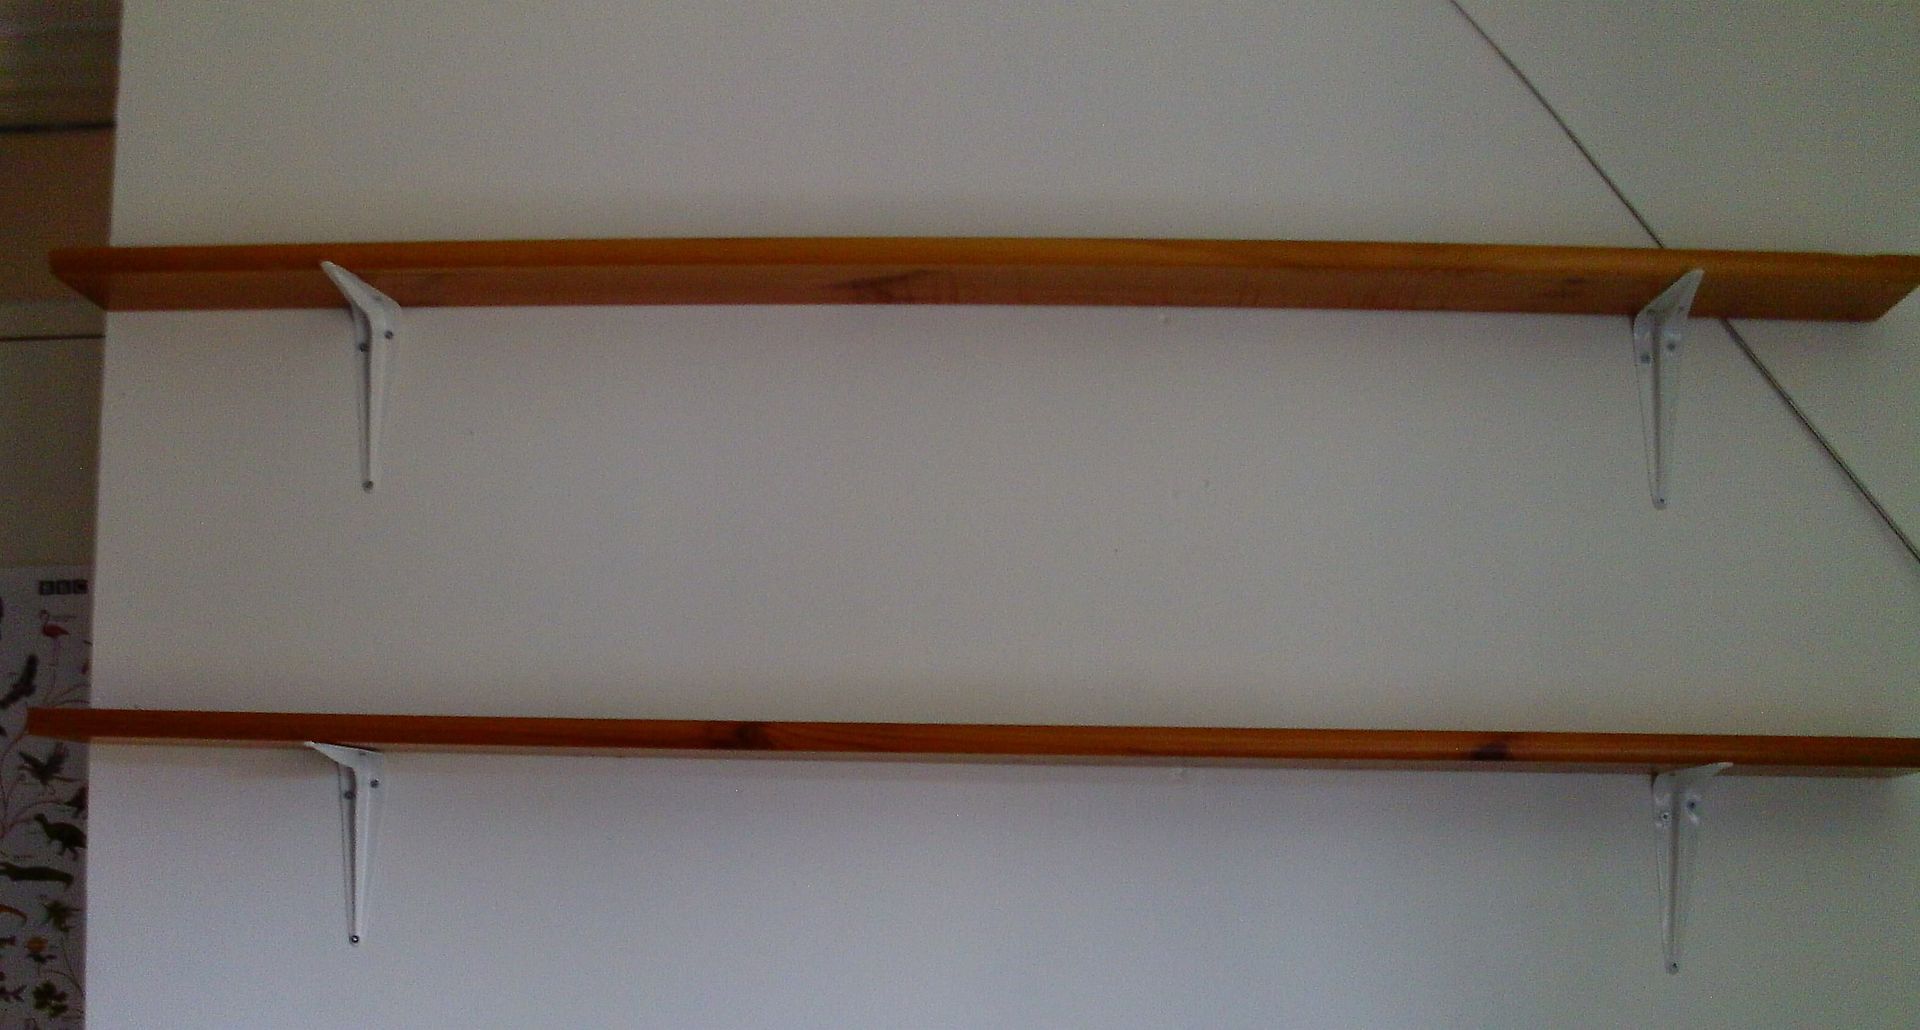
I took the side pieces off the cot bed, lovely straight, thin pieces of varnished pine, perfect for.....
Shelves

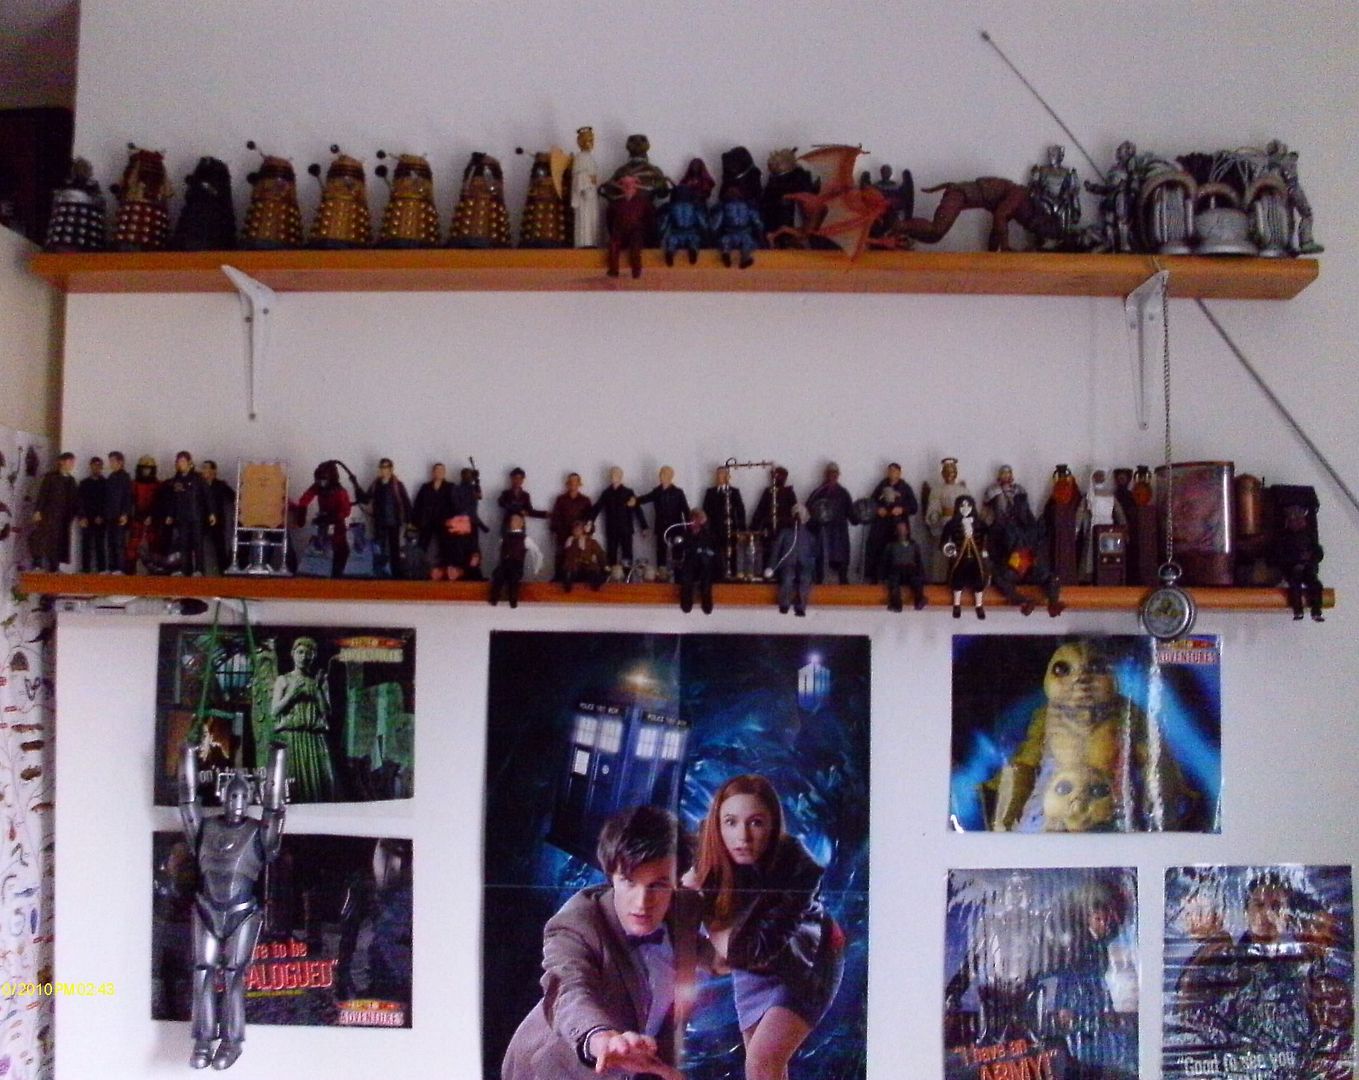
Starting off simple, 2 pieces of wood off the cot bed, 4 brackets, 12 wall plugs & 24 screws equals =
2 shelves I put up in Zacks room for him to put some of his Dr Who figures on.

Tomorrow you'll find out what this is..

To see what the cot bed originally looked like check out THIS post, also to see the rest of the picture clues.

Saturday, 2 October 2010

Nightmare before christmas trainers

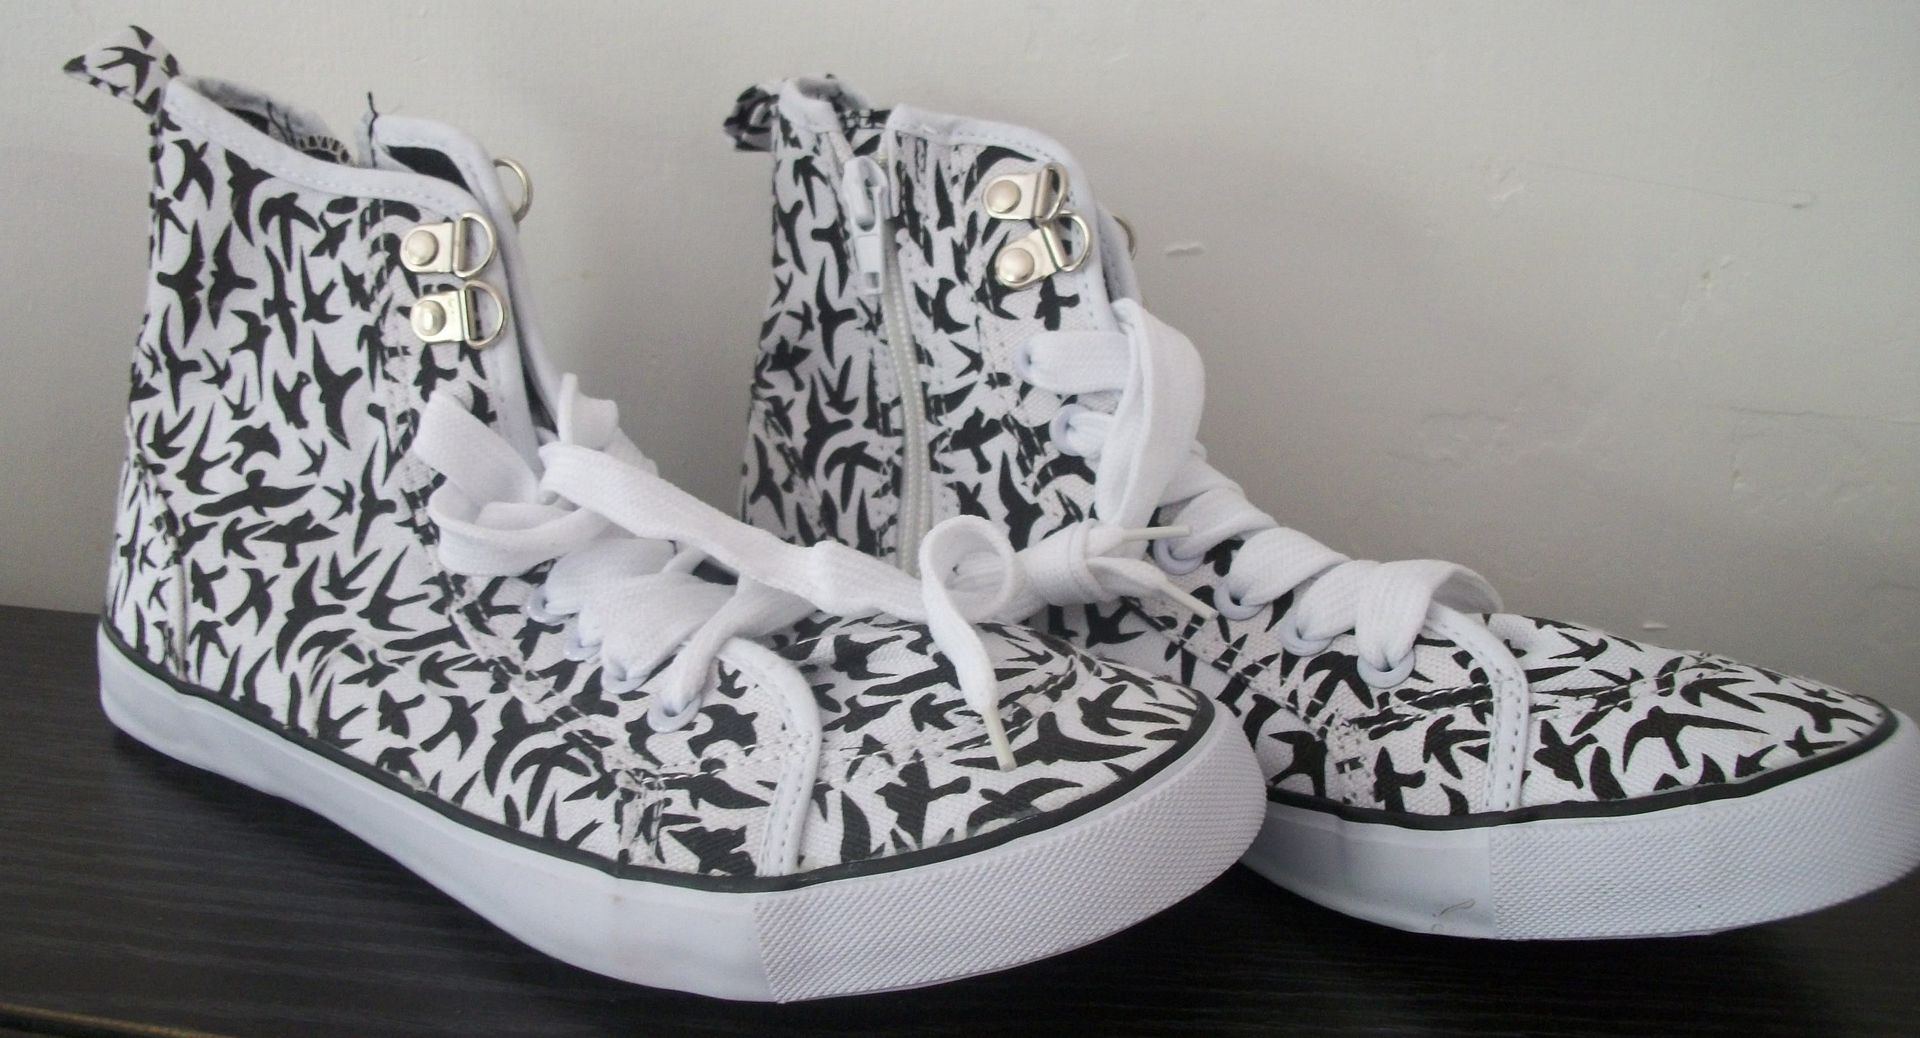
While looking around Primark I spotted a pair of trainers for £4 BARGAIN!! I loved the shape of them but not the pattern so I bought them with the thought of painting them.
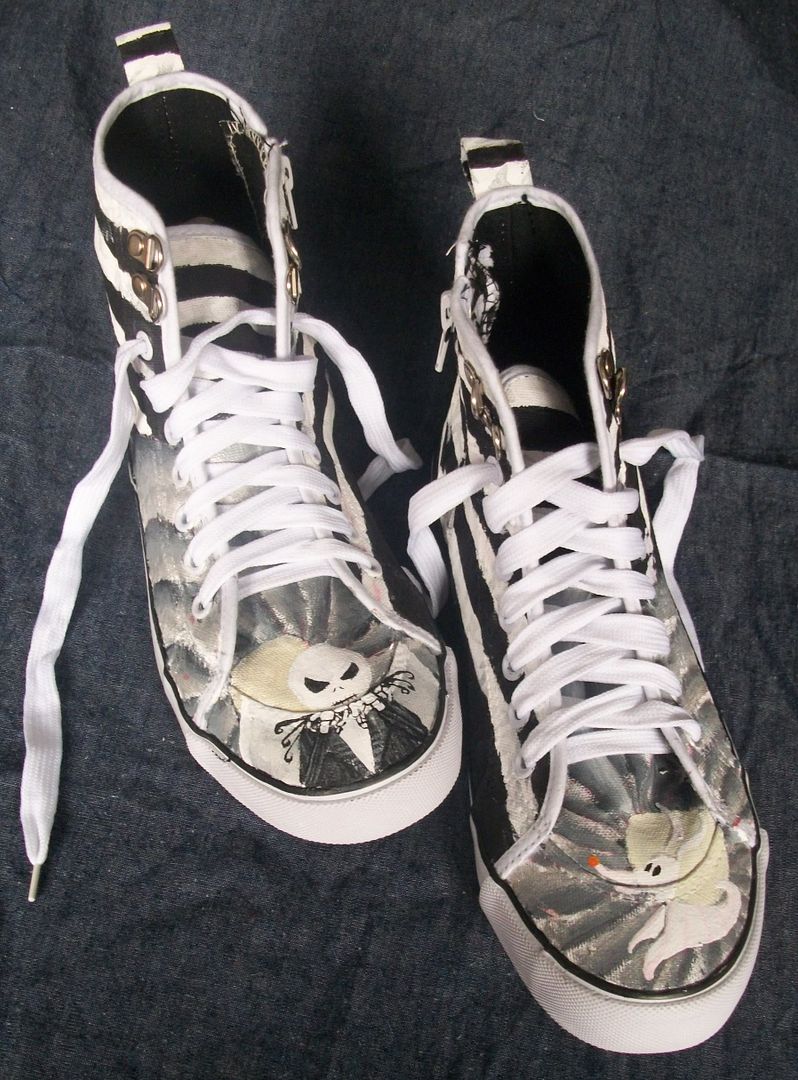
So several days, strips of masking tape & layers of fabric paint later I had a pair of Nightmare before Christmas, Jack& Zero trainers.

I learnt masking tape is fab for getting lines straight & red marking pen will bleed through the paint no matter how many years I use, doh!!!

Thursday, 23 September 2010

Flowery Hair Clip

I was inspired by SJ's Fabric Bib Necklace over at SJs Little Musings to try making fabric flowers.
Having looked on youtube I came across allsorts of different flowers but this was my favourite style.....

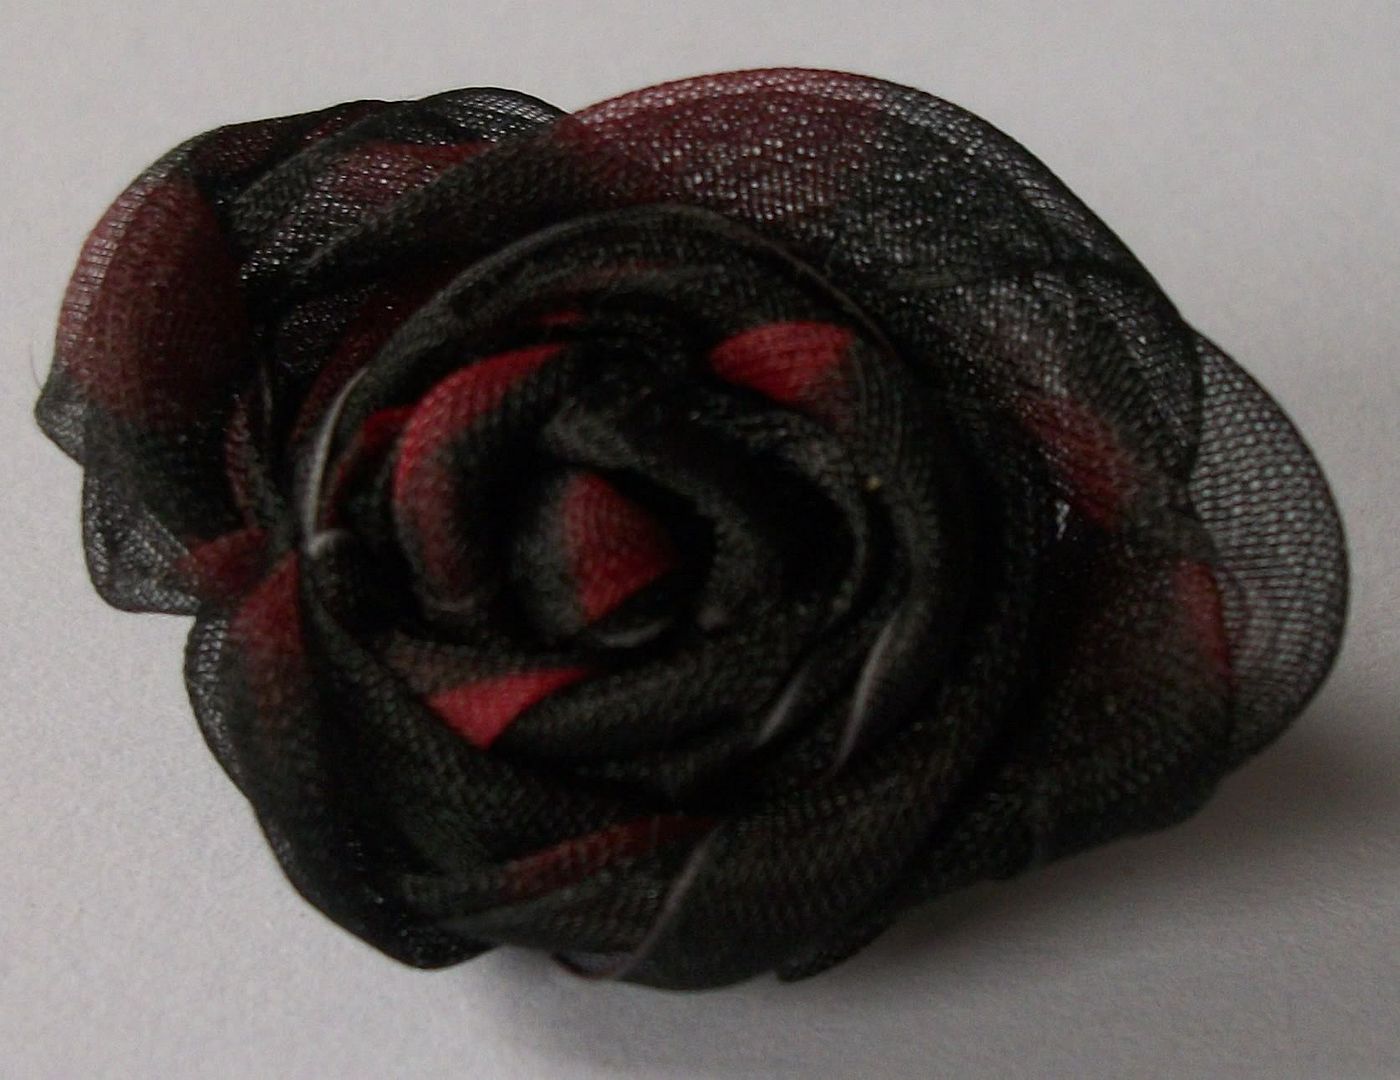
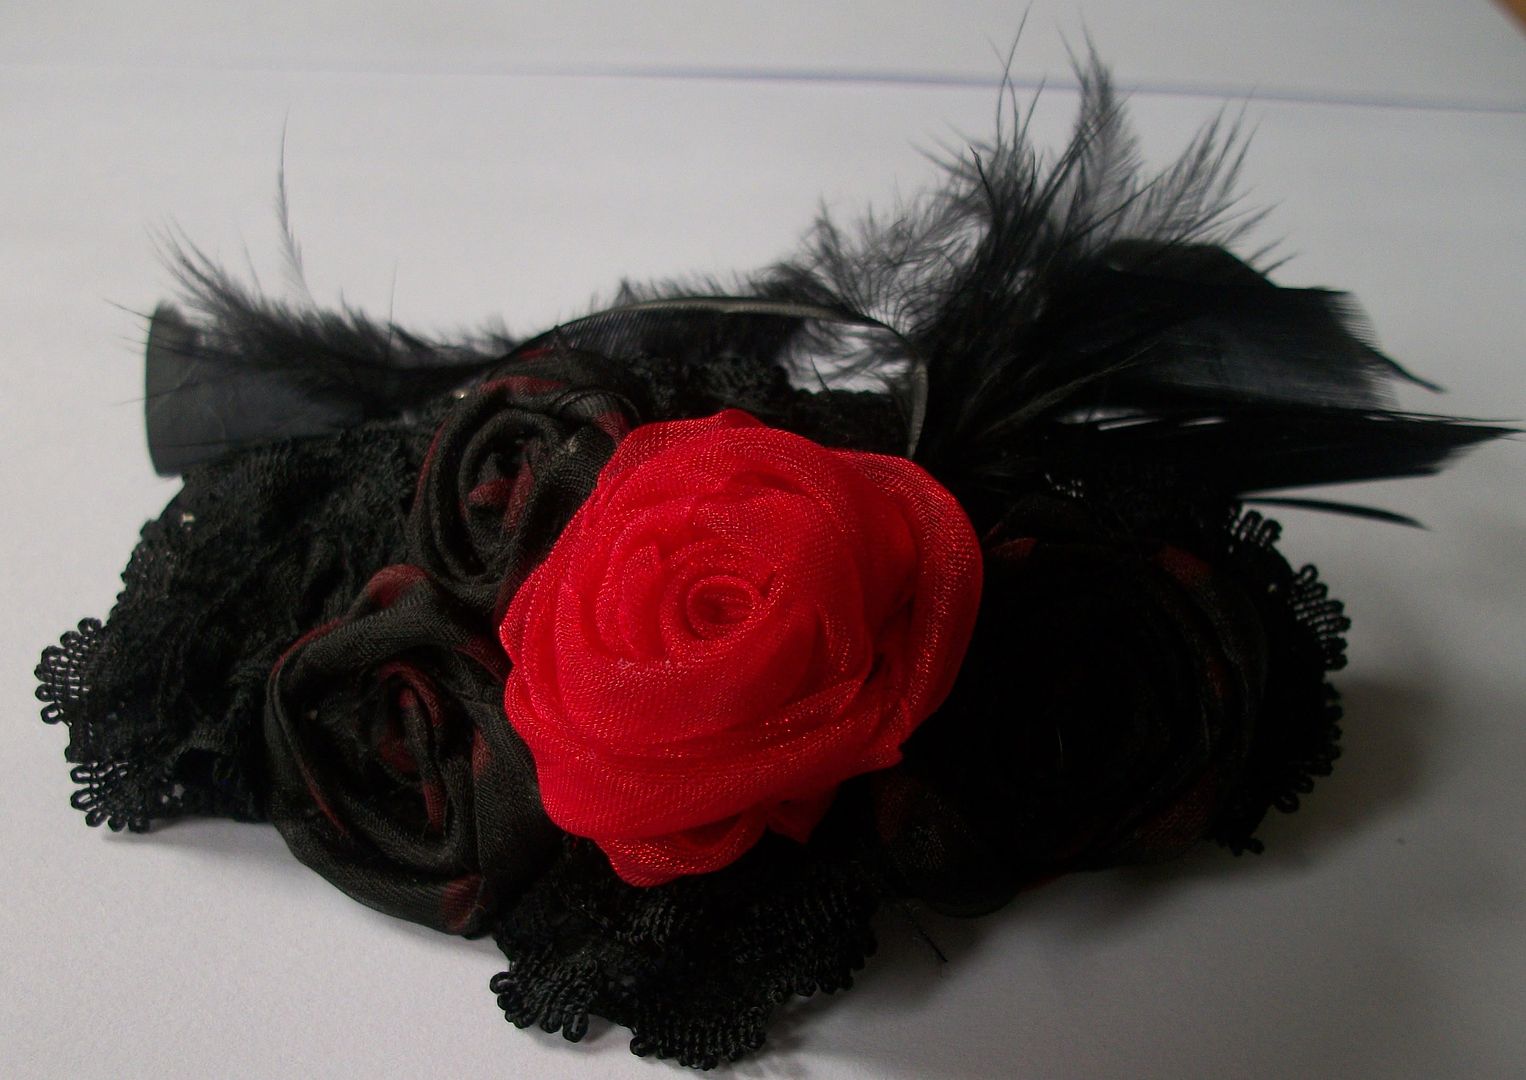
This is actually made from a black ribbon with red spots on it.

Having made this I then took an old hair clip that I no longer liked..

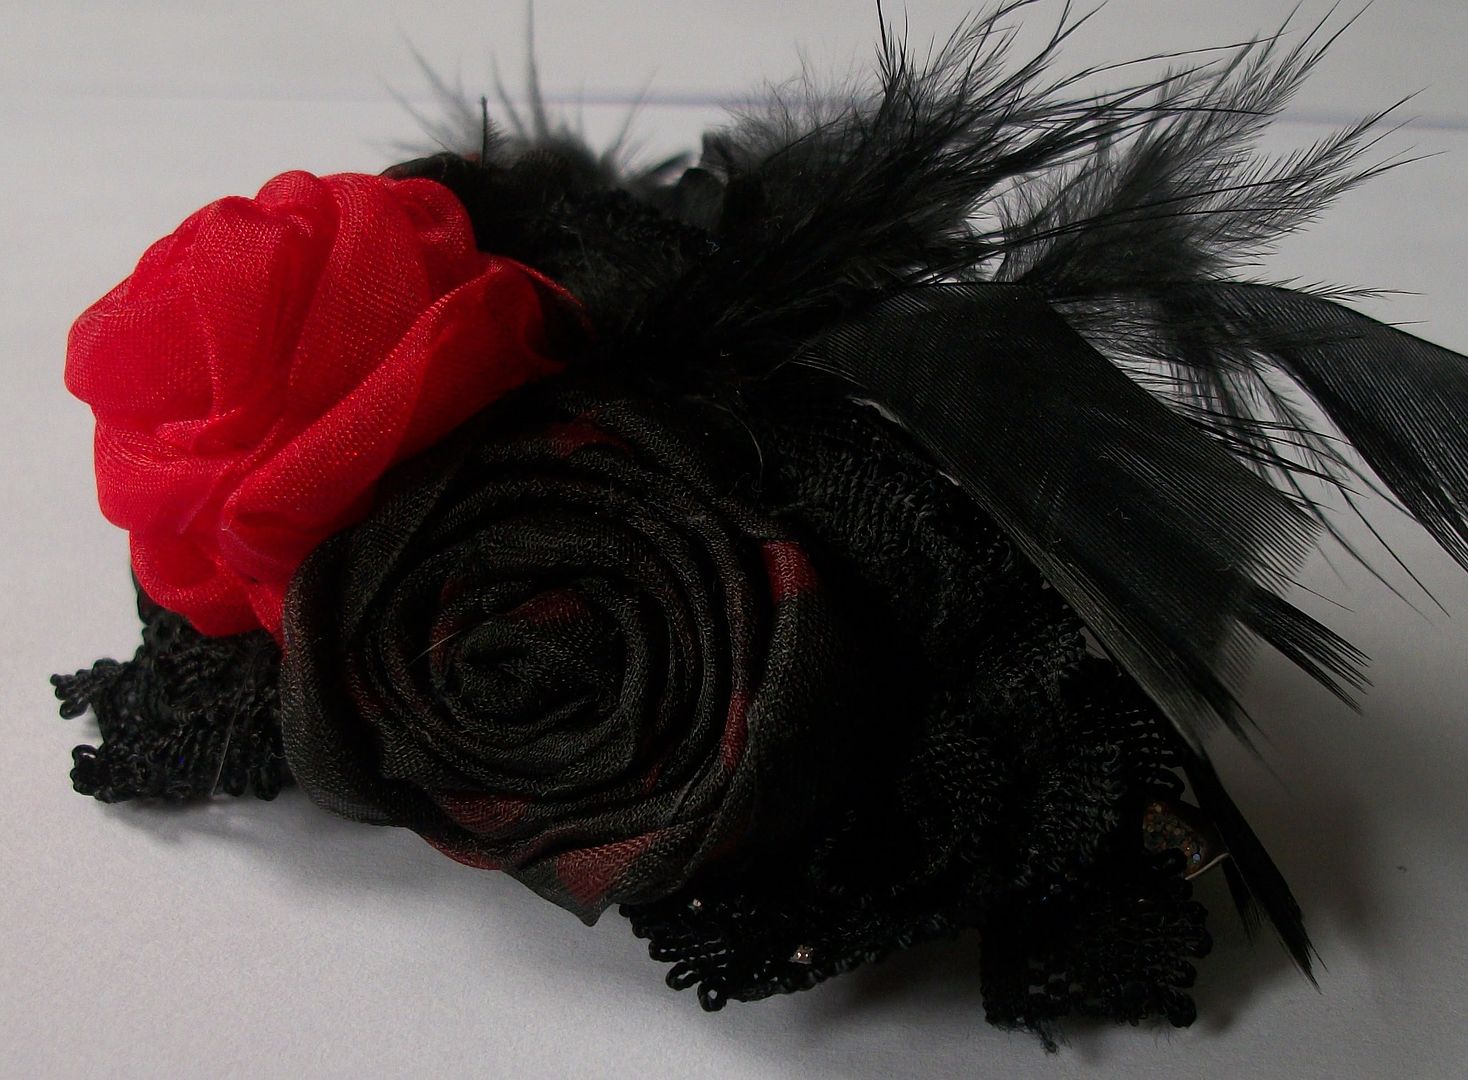
I added some lace which I had spiraled and hand sewn. I then added 4 "flowers", 1 large red "rose" and 3 black & red flowers. I also added some black feathers as I thought it was getting a modern victorian look to it.

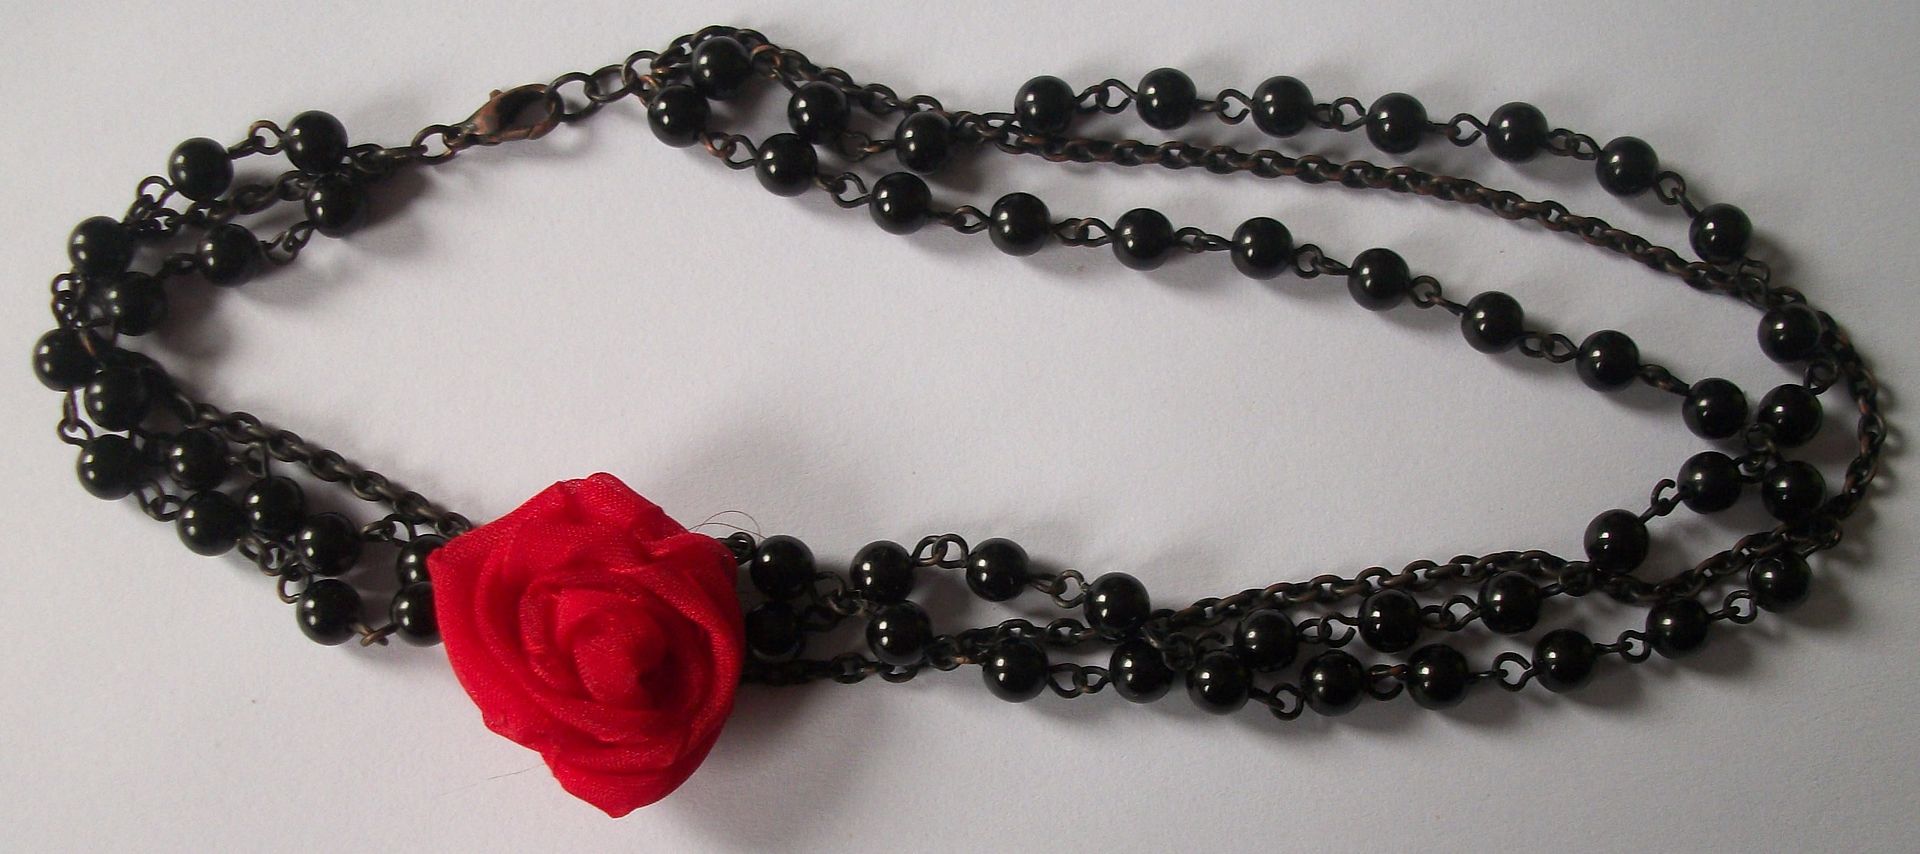
When it was finished I also found I had a red rose left over so I attached it to a broach so I can either wear it as a broach or attach it to a necklace.

Sunday, 25 July 2010

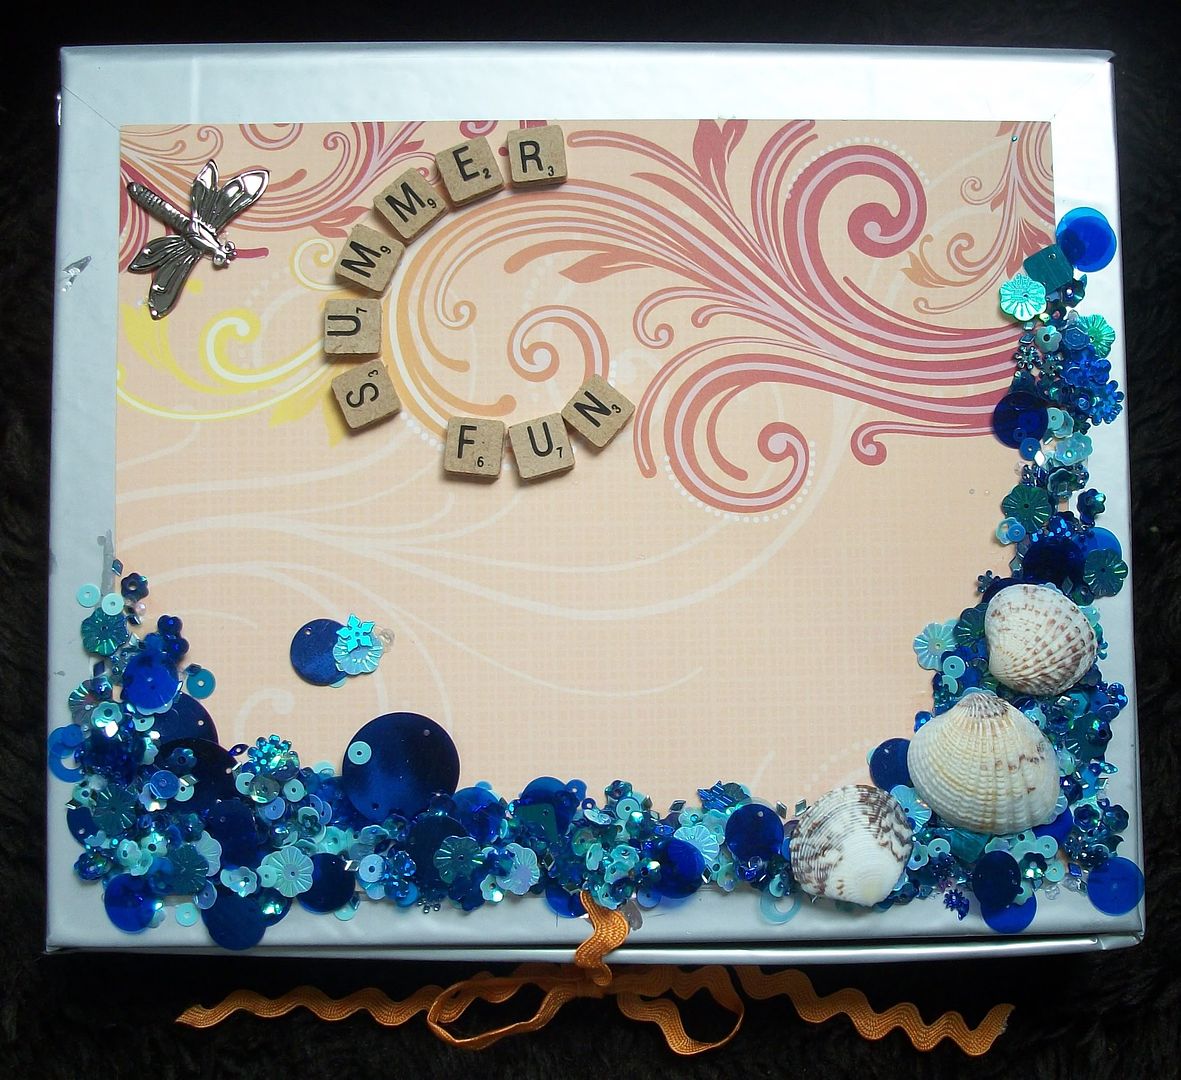
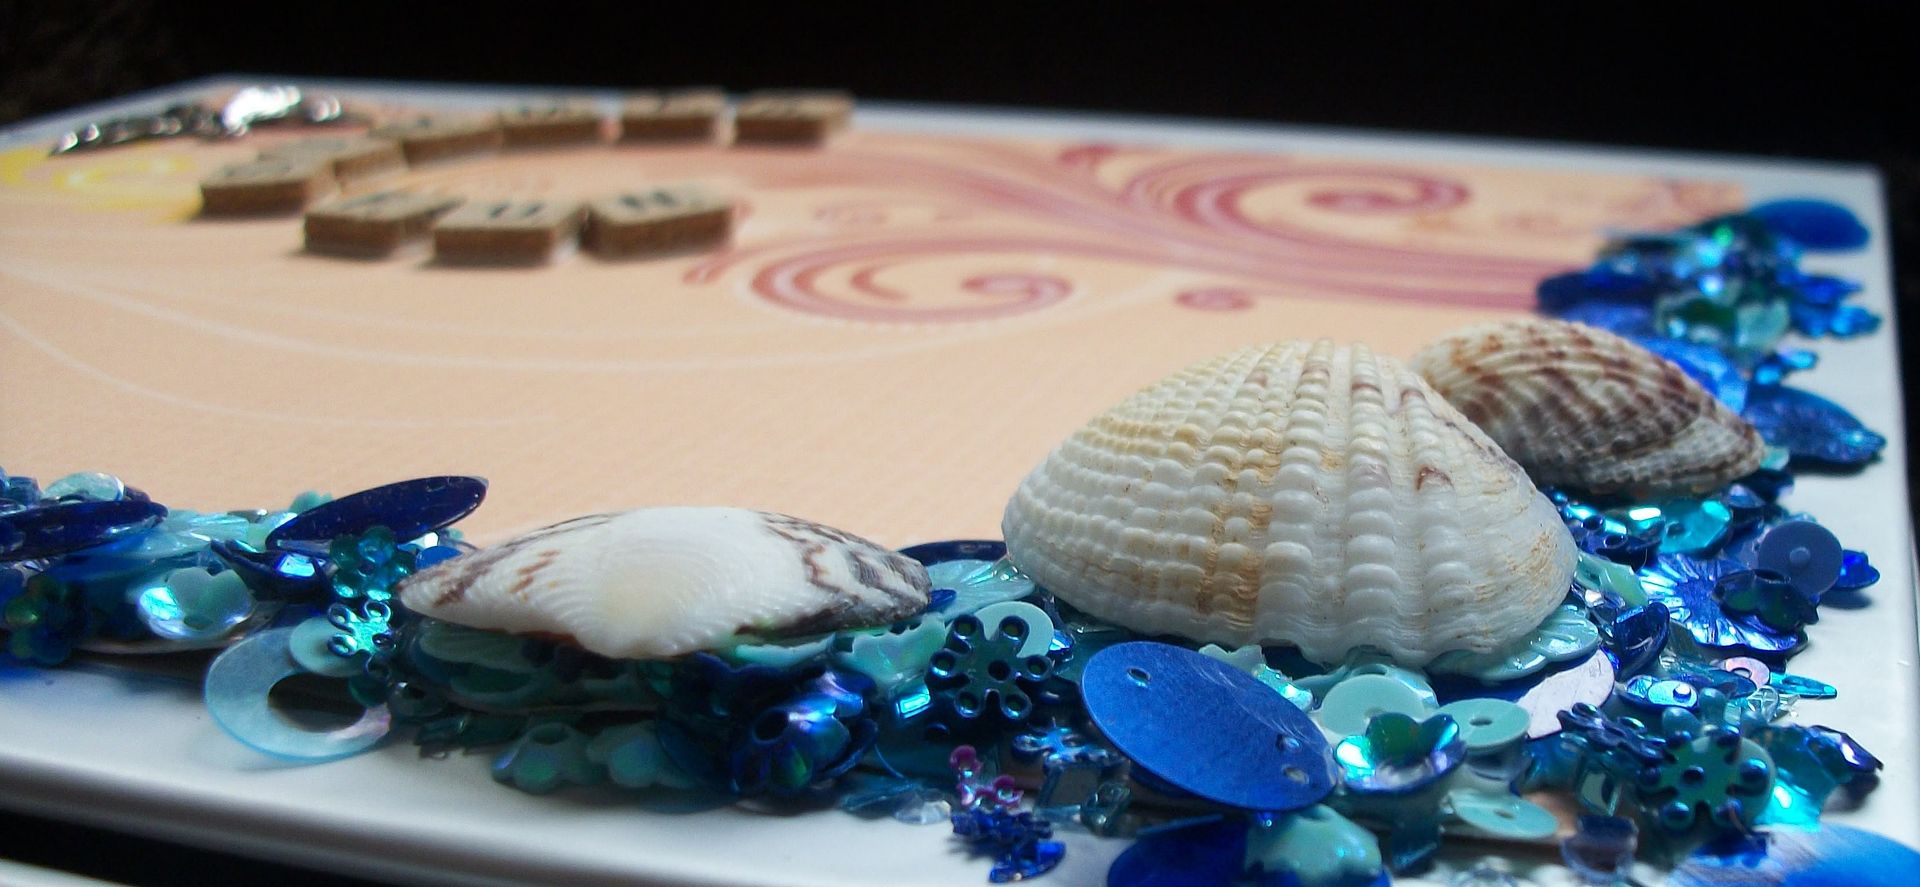
Summer Fun Box

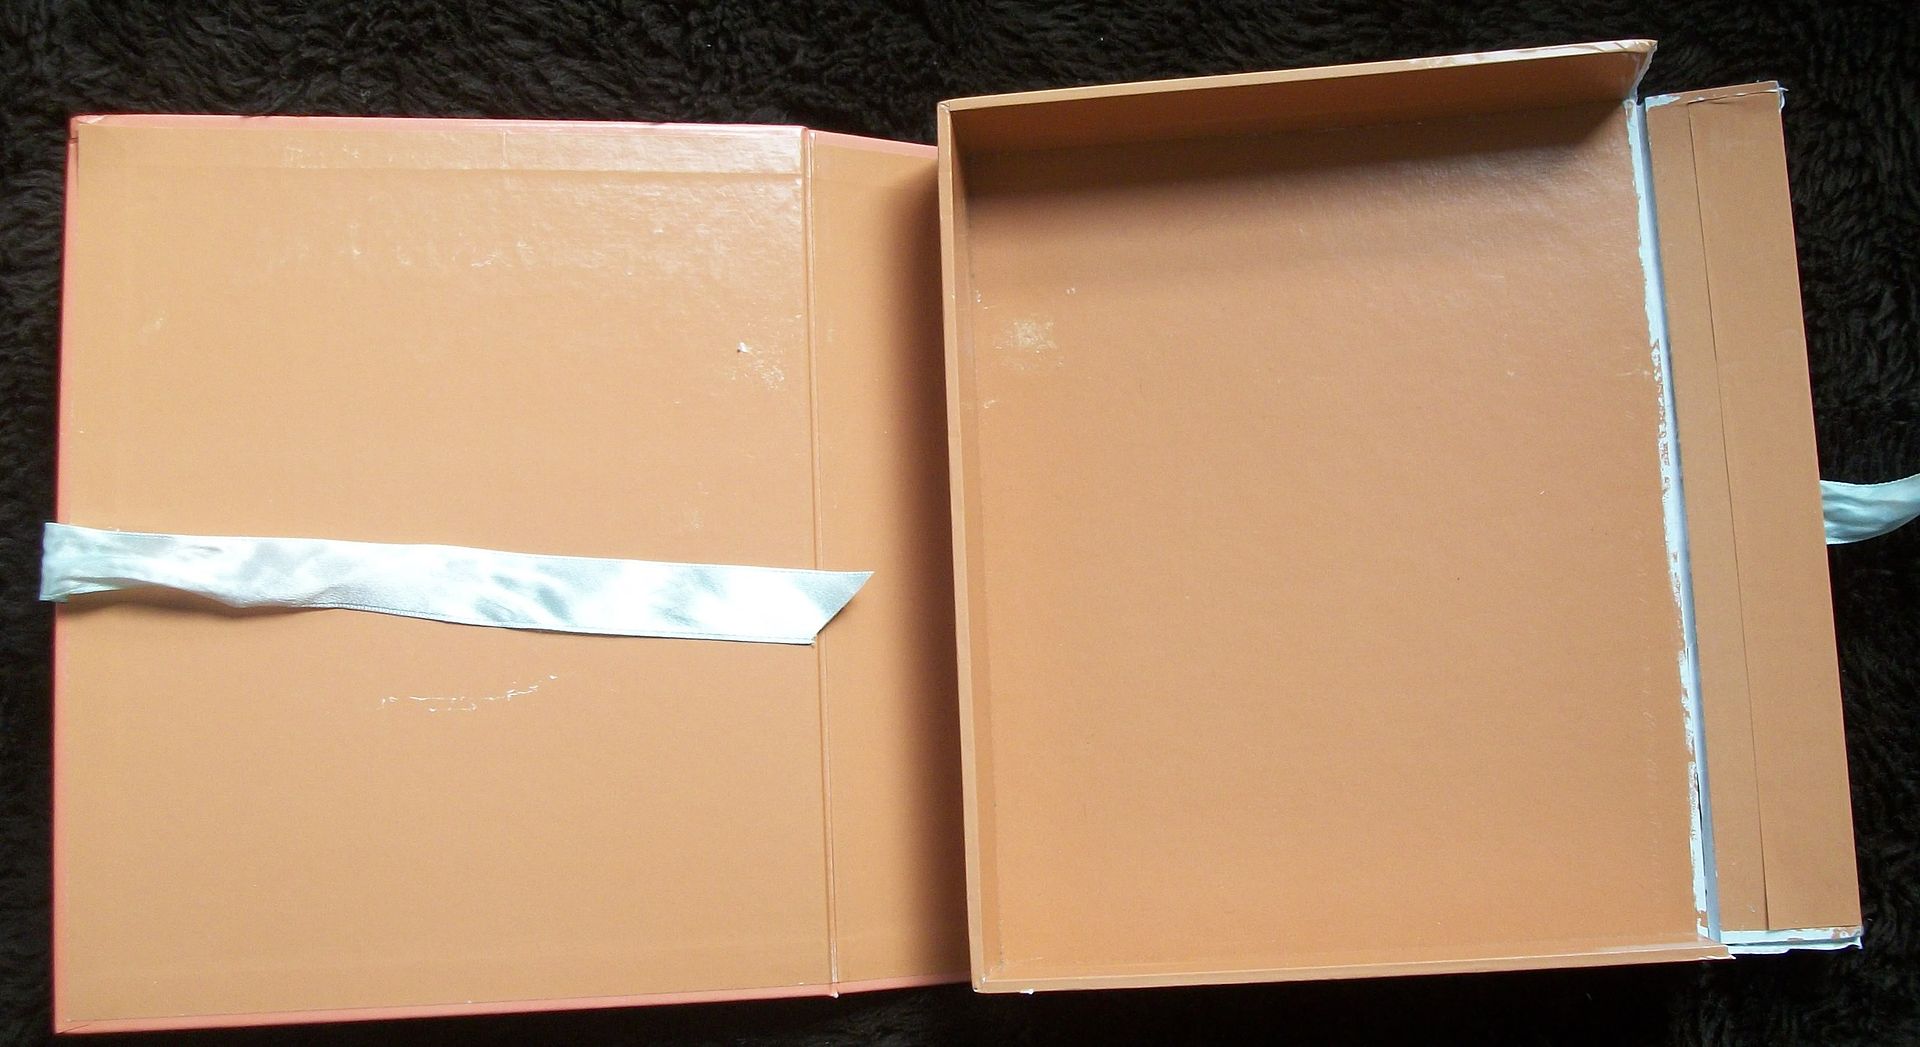
With being a "scrapper" I collect leaflets, newspaper clippings, tickets and anything else that I can use on my pages or will jog my memory. Until the page is done these normally hang around in a large tub or plastic bags, both of which are impractical in their own way, so when I came across a battered box while sorting out my craft cupboard (yes again) I knew it would be perfect. But it couldnt just be left as it was now could it!


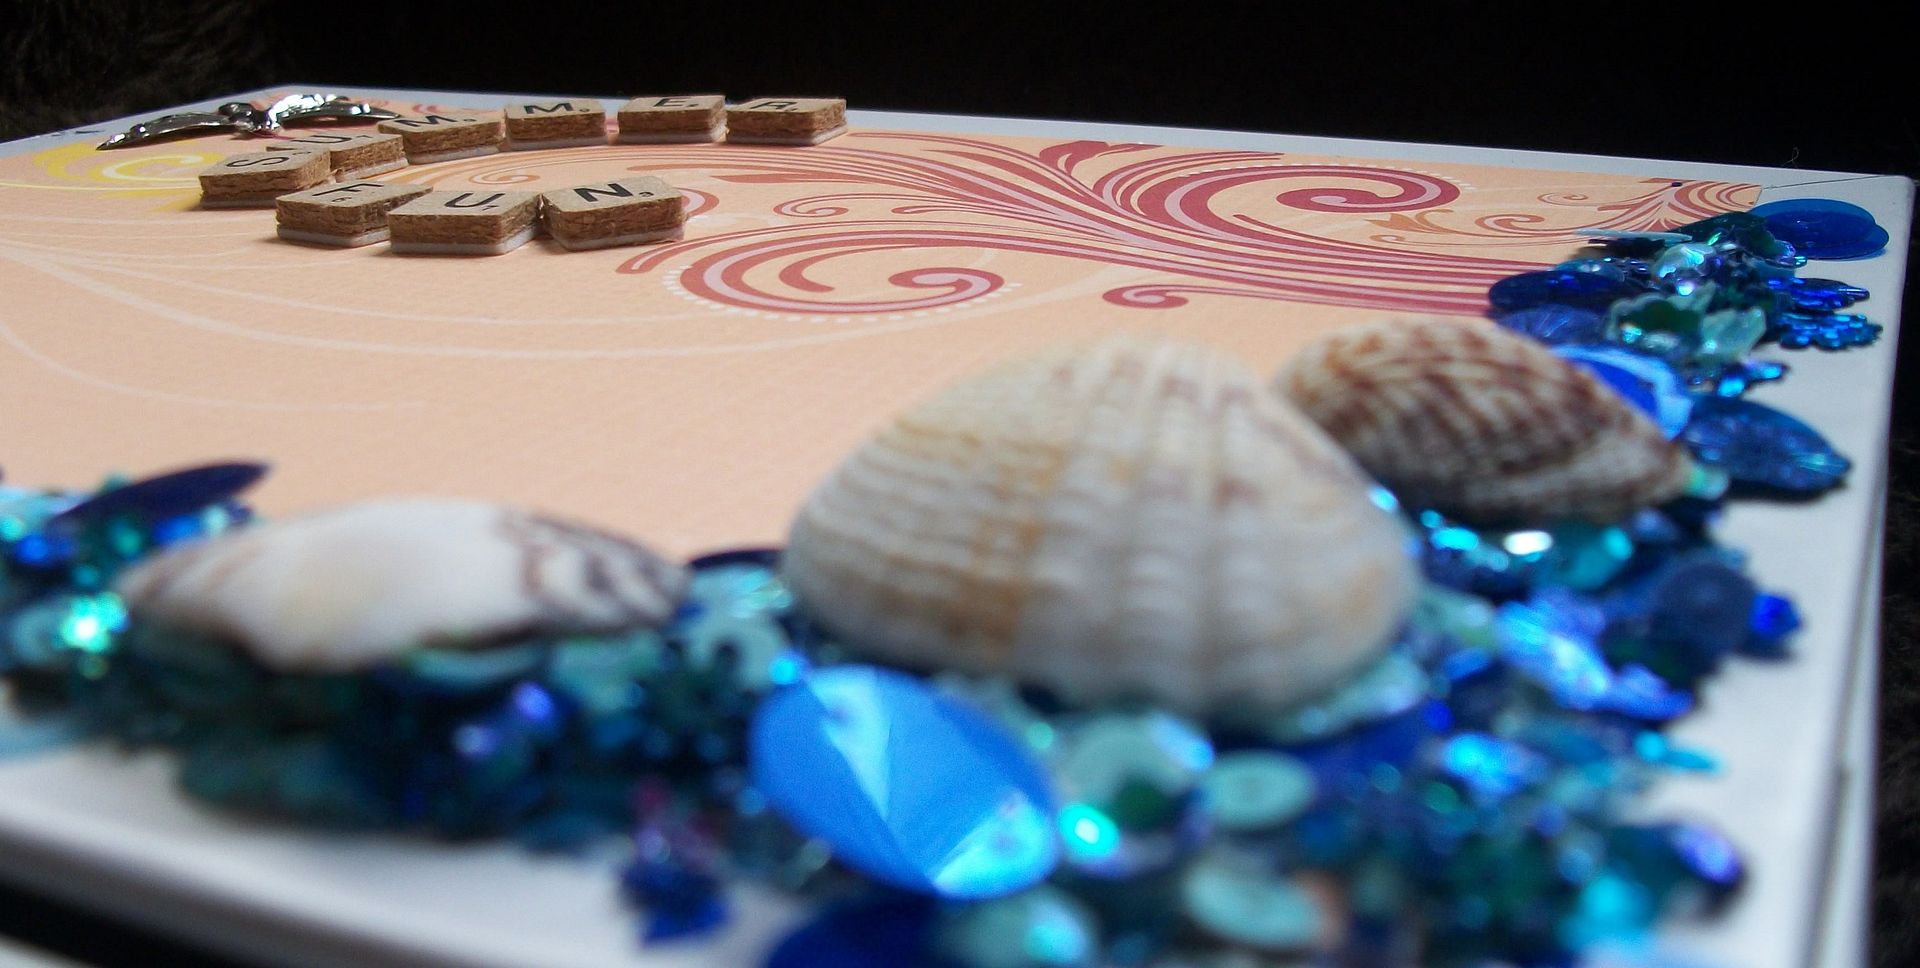
I covered it all in silver sticky back plastic and then started decorating it. I dont normally use sequins like this , specially not this high but I wanted a lot of texture.


I wanted almost a beach type feel, full of warmth and movement.
I used scrabble tiles to reflect the games & activities we do during the Summer holidays.


I would like to enter this into the Creative Craft World Holiday Challenge

Linkwithin

Related Posts Plugin for WordPress, Blogger...