Monday, 19 April 2010

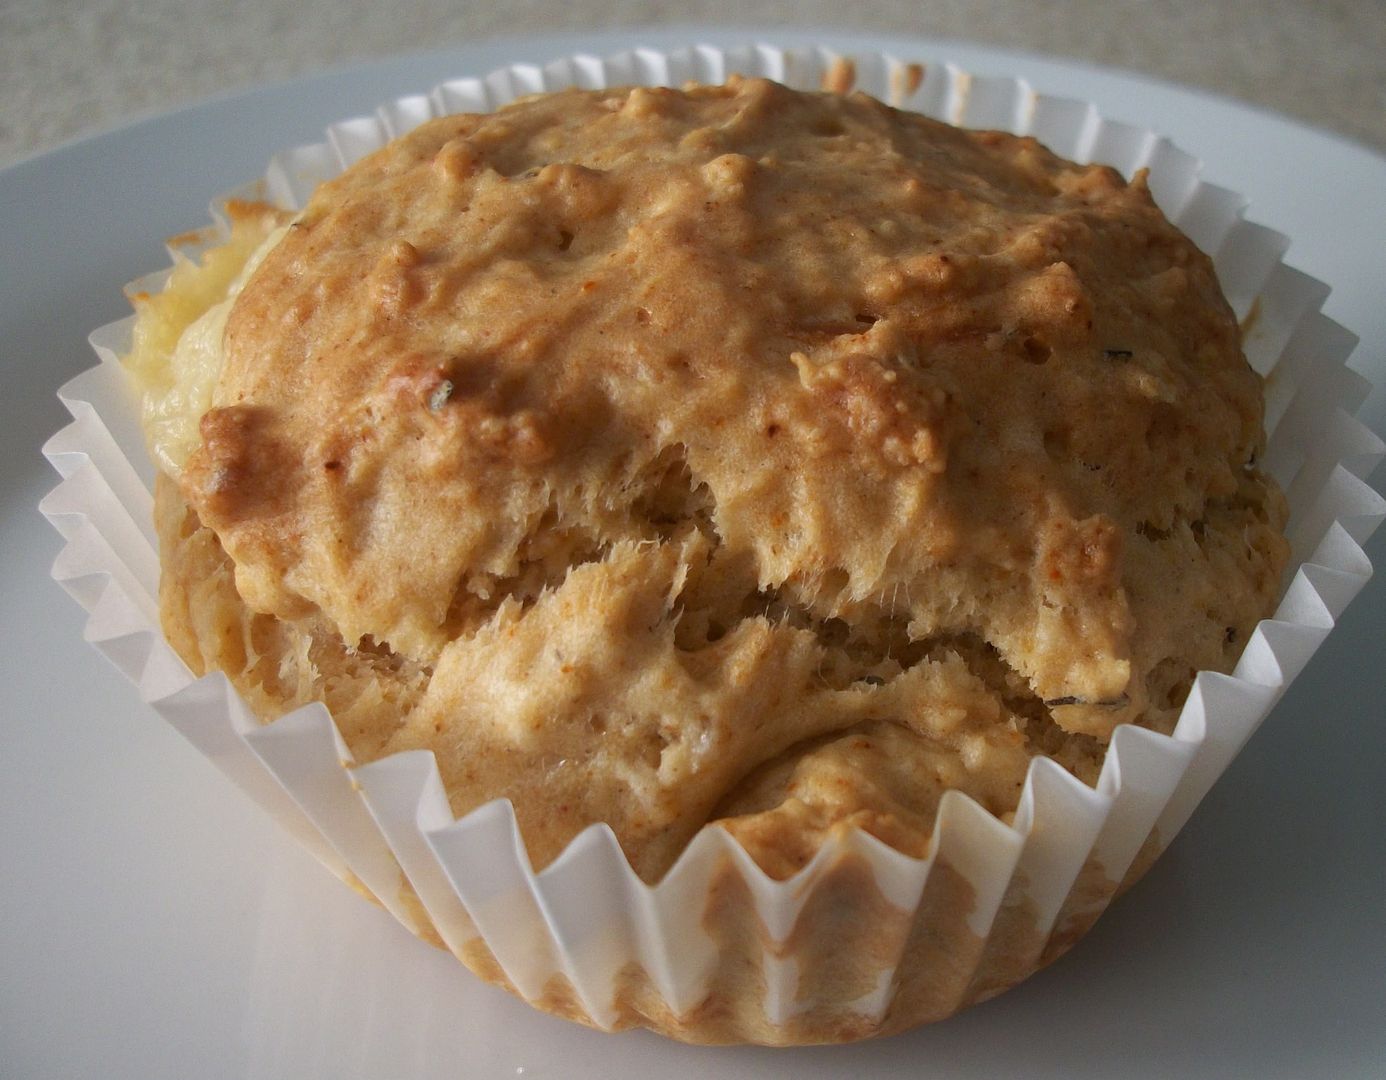
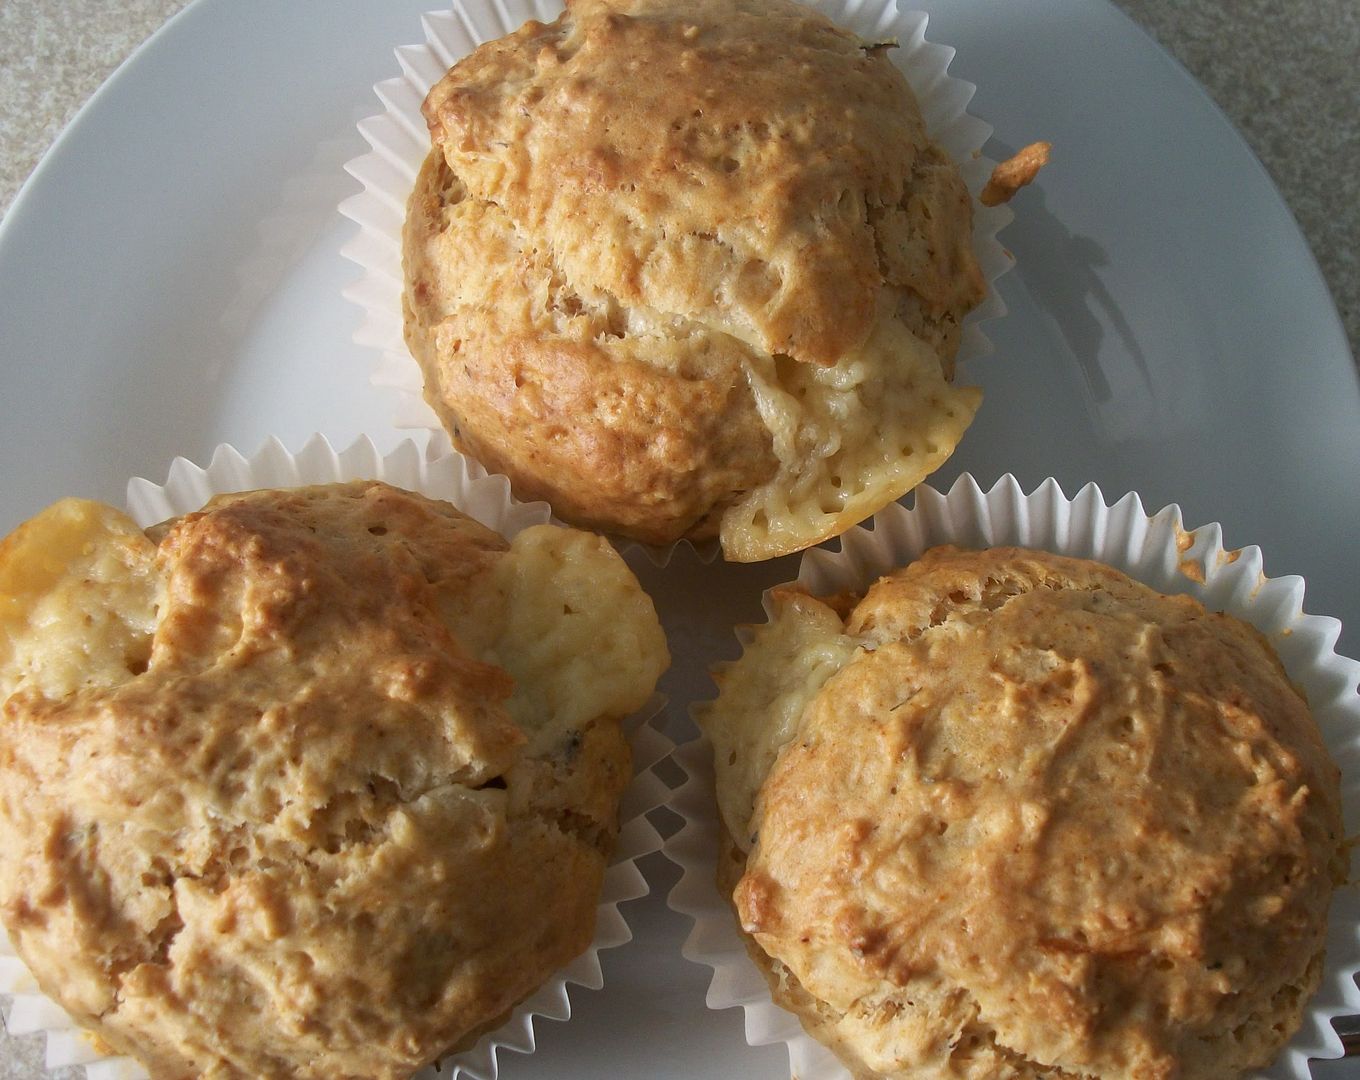
Cheese and Thyme Muffins

Savoury muffins which are a firm fav with my kids, lovely cut in half and spread with either butter or cream cheese.


Ingredients:

2oz (55g) butter
7oz (200g) plain flour
2tsp baking powder
2tbsp sugar
1/4 tsp salt
1 tsp paprika
2 eggs
4floz (125ml) milk
1tsp thyme (optional)
2 oz (55g) mature Cheddar cheese, cut into 1cm cubes

Method:

Preheat the oven the oven to 375oF/190oC/Gas 5. Grease Muffin tins or position paper cases.
Melt the butter and set aside
In a mixing bowl sift together the flour, baking powder, sugar, salt, and paprika
In another bowl combine the eggs, milk, melted butter and thyme. Whisk to blend.
Add the milk muxture to the dry ingredients and stir just until moistened; do not mix smooth.
Place a heaped spoonful of batter into the prepared cups. Drop a fewpieces of cheese over each (see diagram above), then top with another spoonful of batter. For even baking, half-fill any empty muffin cups with water.
Bake until puffed and golden (about 25mins). Let stand for 5 mins before unmoulding on to a rack. Serve warm or at room temperature

Saturday, 17 April 2010


I am unfortunately experiencing difficulties with my internet connection (i.e I have non at the moment) & therefore problems posting, hopefully normality shall return shortly, please bear with me.

Friday, 16 April 2010

Boys Necklaces

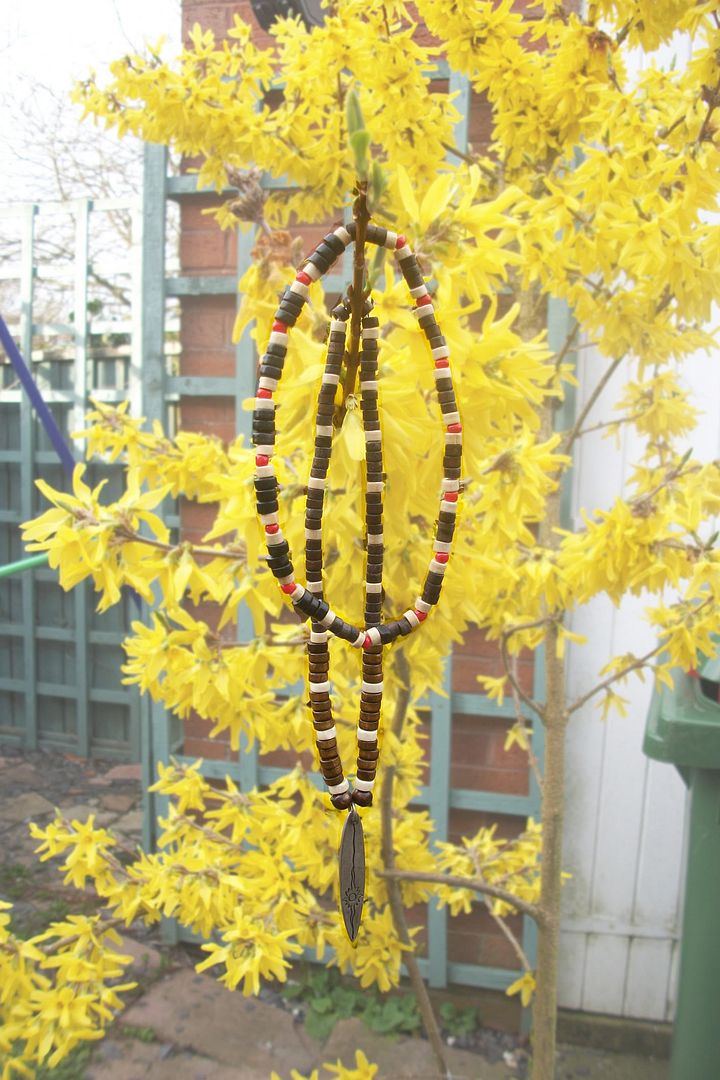
I was walking with Kai to pay for the new pair of sunglasses he'd chosen from Primark when I spotted these mens necklaces. I found them rather plain but envisaged I could use the beads mixed together to make a patterned necklace, and maybe stop Kai raiding mine!
I snipped each thread right by the knot so I could use the elastic in them again.
With adding a few of my own beads this is what I came up with.....
2 necklaces for both of my lads, with loads of beads left over

Here's Zack with his, I used the brown and cream beads, and added 2 larger beads to put either side of the surfboard charm I had.

& heres Kai with his. I used the black and cream beads, adding my own red beads. I need to get more elastic to make this one larger as though it fits perfectly at the moment Kai grows very quickly and I dont want gaps in the necklace. The elastic in the necklace is extremely stretchy, stretching to almost 3 times the size of the necklace so I have no worries with Kai wearing it.

I also had the biggest compliment I could get from my OH, he's asked me to make him a couple of bracelets like them.

Wednesday, 14 April 2010

Glass Tile Pendants

Yes, its another piece of jewellery I want to have a go at!

Helen over on "It's All Fiddle Fart" has opened my eyes up to glass Tile Pendants. Heres her first try with them...

Amazing arent they, so elegant and FAB!!! She has kindly done a tutorial here for them as well.
Helen also suggests googling "glass tile pendants" to find out more, so I did, and heres some of the items I found...


They seem so simple to do but so beautiful.

Tuesday, 13 April 2010

Cooking to a timetable

When I'm cooking a large, special meal, such as Christmas or Easter I tend to get a lil OTT with planning. I dont like leaving anything to chance so start by writing in rough all that I'll be cooking and what timescale each takes. This then leads onto a timeline of jobs to do through out the morning so that each item should be cooked at the right time


I then set alarms to remind me (you know what its like when you get into crafting or something ;)
At the moment I am using my iphone as I can set several alarms with notes with each but before that I would set an alarm clock and alter the time for the alarm to go off each time it rang.
I keep the sheet with the timeline on and if something isnt cooked right I make a note on it, such as if the roast carrots arent soft enough I make a note to either make them smaller, or par boil them for longer. This is then used in reference the next time I make a similar roast.

Its a constant process of improvement

And heres what this list led to, our Easter Roast :)

Monday, 12 April 2010

Dorset Apple Cake

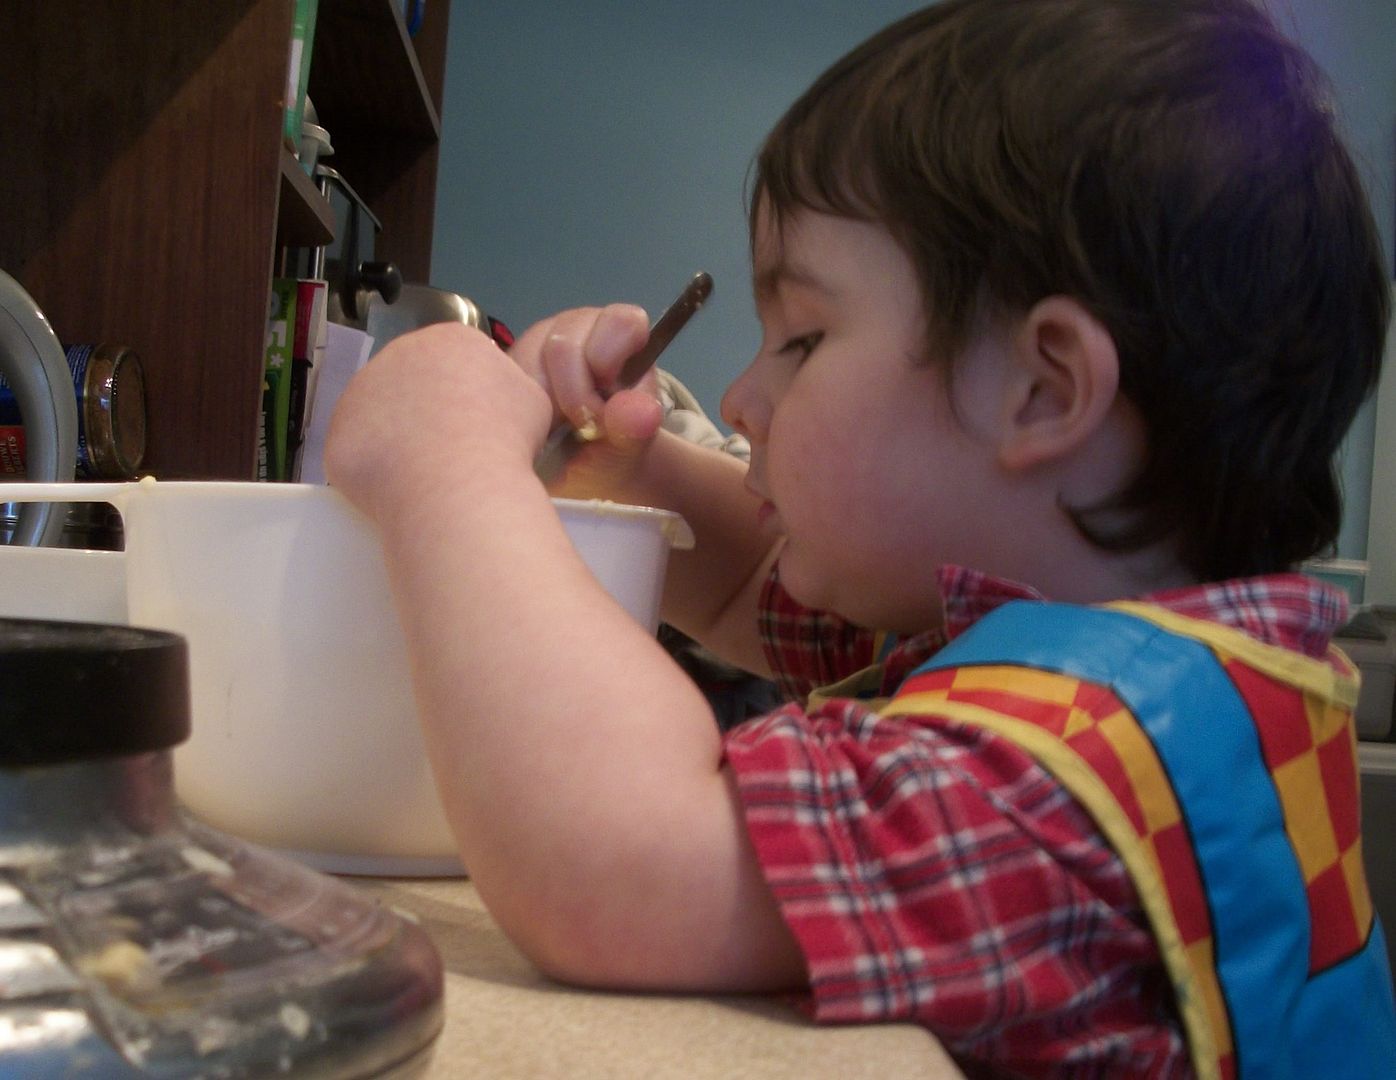
Kai had been ill recently with a very bad cough/cold that left him feeling rather rough, weepy and clingy. To cheer him up I said we'd make a cake, well no, I actually said biscuits thinking he'd enjoy using the biscuit cutters, but he decided he'd prefer to do a cake.

We decided on a Dorset Apple Cake, with its chunks of apple and fresh lemon taste.

Ingredients
225g butter, softened, plus extra for greasing
450g Bramley apples
Finely grated zest and juice of 1 lemon
225g caster sugar, plus extra for dredging
3 large eggs
225g self-raising flour
2 tsp baking powder
25g ground almonds
1 tbsp demerara sugar


1. Preheat the oven to 180°C/fan160°C/gas 4. Grease a deep 23-24cm springform cake tin and line with baking paper. Peel, core and cut the apples into 1cm pieces, and toss with the lemon juice.

2. Using an electric hand whisk, cream together the butter, caster sugar and lemon zest in a bowl until pale and fluffy. Beat in the eggs, 1 at a time, adding a little flour with each addition to keep the mixture smooth.

3. Sift the remaining flour and the baking powder into the bowl and fold in with the ground almonds. Drain the apple pieces well, then stir into the mixture.

4. Spoon into the prepared cake tin, lightly level the top and sprinkle with the demerara sugar. Bake in the oven for 1 hour or until well-risen, brown and a skewer inserted into the centre of the cake comes out clean. If the cake starts to look a little too brown, cover with a sheet of baking paper after about 45 minutes.

5. Leave to cool in the tin for 10 minutes. Remove the cake from the tin and place on a serving plate. Dredge heavily with the extra caster sugar. Cut the cake into generous wedges and serve warm with a spoonful of clotted cream, or custard.
Its the first time we'd tried it, and when it had custard poured over it the cake tasted strangely gingerish! We definately hadnt added any theres no spices involved. Its not the prettiest of cakes but definately nice.

Always remember to clean the bowl

Using your fingers really helps with this at the end

Saturday, 10 April 2010

So Small

Having just done a scrapbook page on Kai's birth, and looking through all the old baby photos it struck me how small he was when he was born (I was quite relieved I hadnt gone full term though), and how big he is now; I dont mean the normal "hes such a big boy now he's 3", I mean the "he's only just 3 but has been in size 4-5 year clothing since before Christmas". So I decided to do a scrap page on his one time smallness.


I knew I wanted multiple photos, I'd also decided that I wanted to have them in black and white. I came up with a grid layout that used patterned paper squares as the grid, and photos or stickers on top of these. Having cut the squares and laid them out on the pale yellow bazzil I'd chosen, along with the pictures I decided it looked ..... a bit bare ... a tad flat... just not right. I came up with sewing the squares on free hand, mainly with a zigzag stitch, but the odd square with cross stitch just to give it a different look and texture. I tried to stick with pale yellows and blues through out with a little bit of other colours to give interest.

I didnt feel any journalling was needed except for his name, weight and title (though I do need to put his date of birth in somewhere)


I didnt have any little l b o or z's same used punctiation marks that came with the other letters.

Doing this has given me other ideas that I want to scrap, such as where the childrens names came from.

Linkwithin

Related Posts Plugin for WordPress, Blogger...