Friday, 11 June 2010
ring pull belt
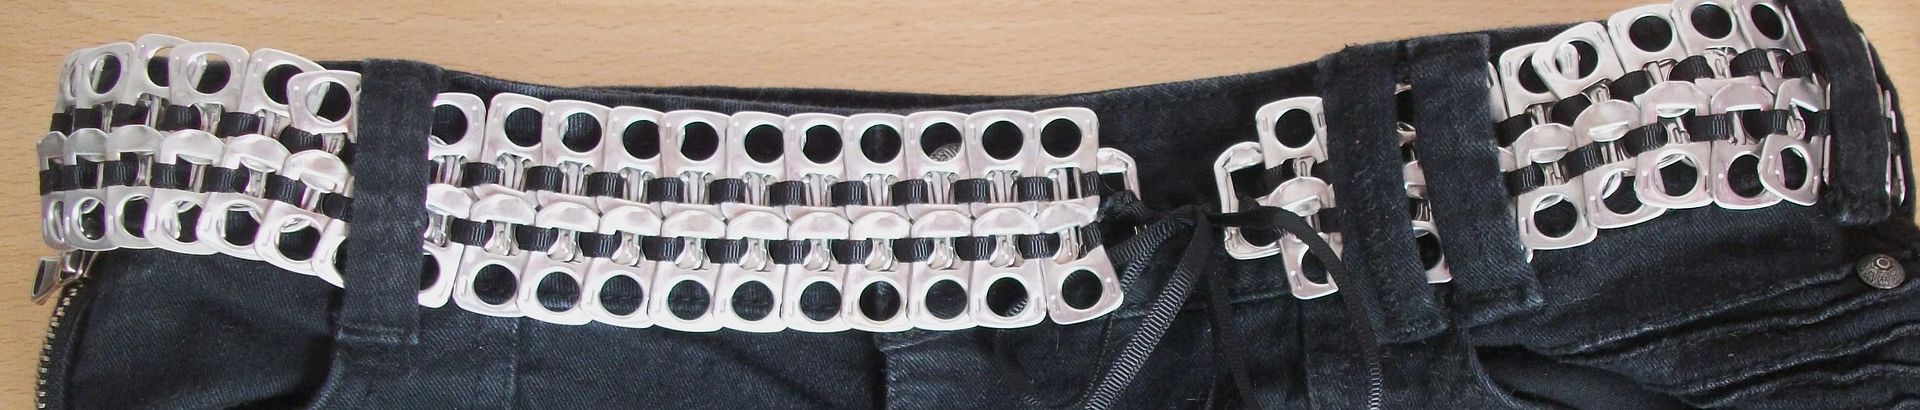
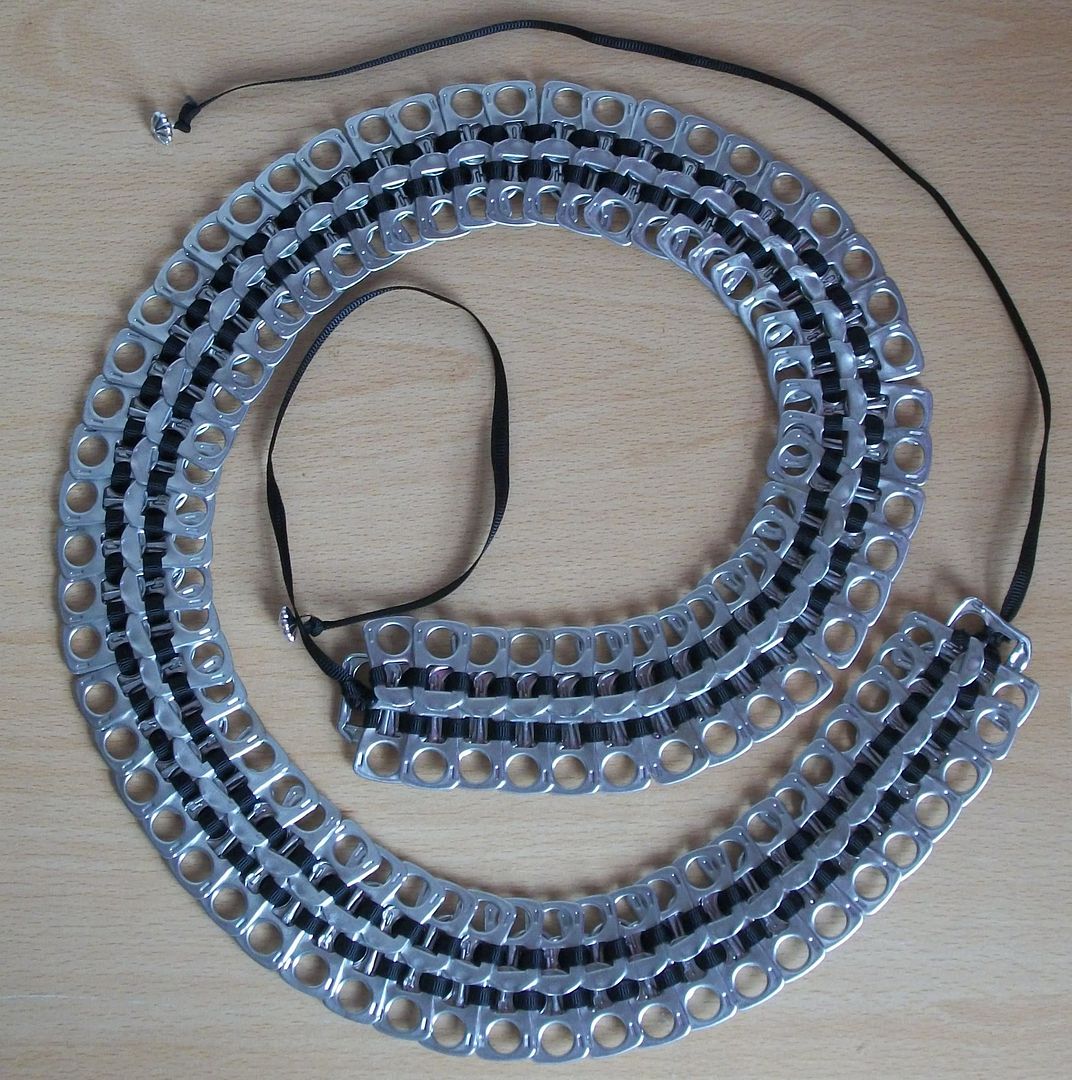
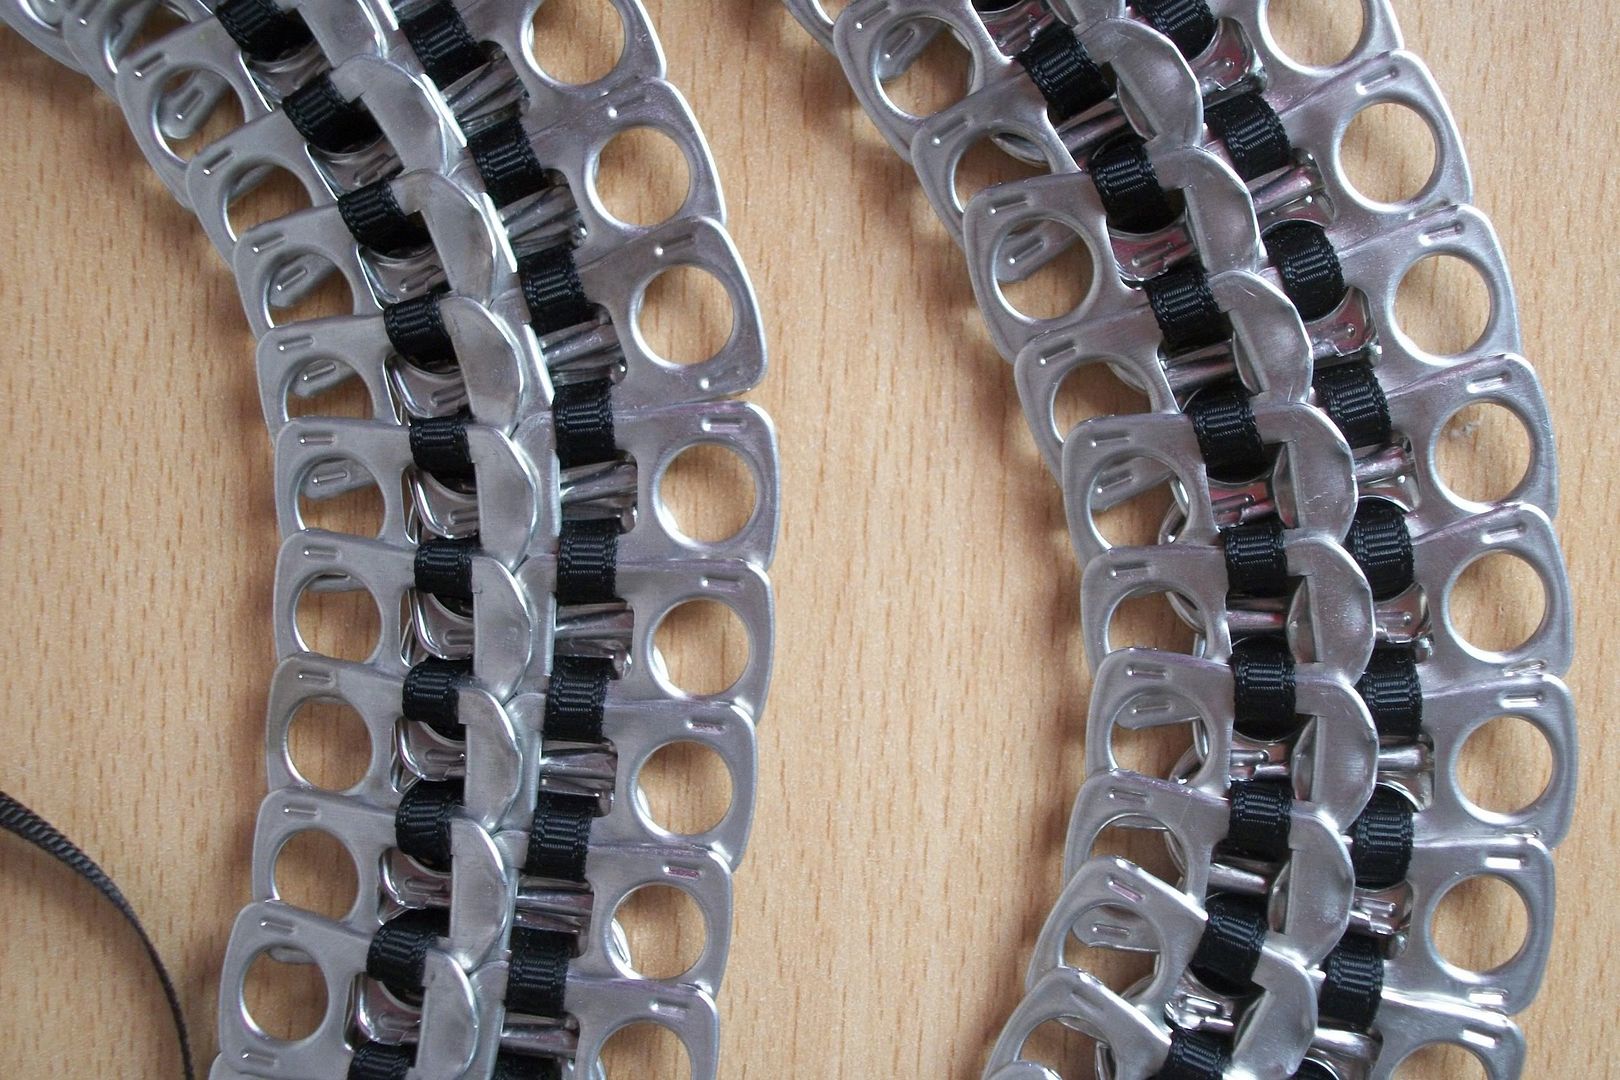
You may remember I featured Ring Pull Makes on one of my Want to make wednesdays. Thanks to my good friend Choccy (& her friend Julia, many thanks to both of them) for collecting ring pulls and sending them to me I had enough to make a belt....
It took 206 ringpulls to create. This does up nicely on my size 14 jeans, but is loose when fastened around my waist (to give you an idea of size, ring pull ratio)
I used a headpin, threaded through the bead & then looped to create and end for the ties.
Thursday, 10 June 2010
Glass Tile Pendants - my turn
Earlier in the year I was inspired by the glass tile art people were making & had to try it myself.
They are very simple to make but very effective.
1. cover the back of the tile (rough side) with a thin layer of glossy accents (or similar)
2. Place onto your background image, wiping away any excess glossy accents that may squeeze out. Allow to dry
3. If you've used a larger picture than the tile then I find this the best time to cut off the excess.
4. Seal the back of the image with another layer of glossy accents, and place on the bail (the glossy accents will stick it nicely. Leave to dry
5. Add any embellishments you want to the front.
The tile at the top is a picture of my youngest a few hours old, embellished with a tiny feet charm.
The tile on the left was done with using dried flowers and leaves on the back, and embellished by a small butterfly on the front.
The pendant on the bottom is an image from Laura Ashleys "Traditional" 6x6 designer paper pack.
Finally the image on the left is of oriental writing, I have used a lucky coin instead of a bail. It isnt quite complete yet as I was to put a red tassle behind it.
These are now ready to be threaded onto chain, ribbon or cord as necklaces..
They are very simple to make but very effective.
2. Place onto your background image, wiping away any excess glossy accents that may squeeze out. Allow to dry
3. If you've used a larger picture than the tile then I find this the best time to cut off the excess.
4. Seal the back of the image with another layer of glossy accents, and place on the bail (the glossy accents will stick it nicely. Leave to dry
5. Add any embellishments you want to the front.
The tile on the left was done with using dried flowers and leaves on the back, and embellished by a small butterfly on the front.
The pendant on the bottom is an image from Laura Ashleys "Traditional" 6x6 designer paper pack.
Finally the image on the left is of oriental writing, I have used a lucky coin instead of a bail. It isnt quite complete yet as I was to put a red tassle behind it.
These are now ready to be threaded onto chain, ribbon or cord as necklaces..
..or onto key ring chains as keyrings.
Try it yourself....
If you want to try these yourself I am selling 2cm square clear glass tiles with bails on ebay, buy 4 at the same time & receive a 5th free. If I've sold out and you want some you can contact me by email (link is in my left sidebar)
Stair step card
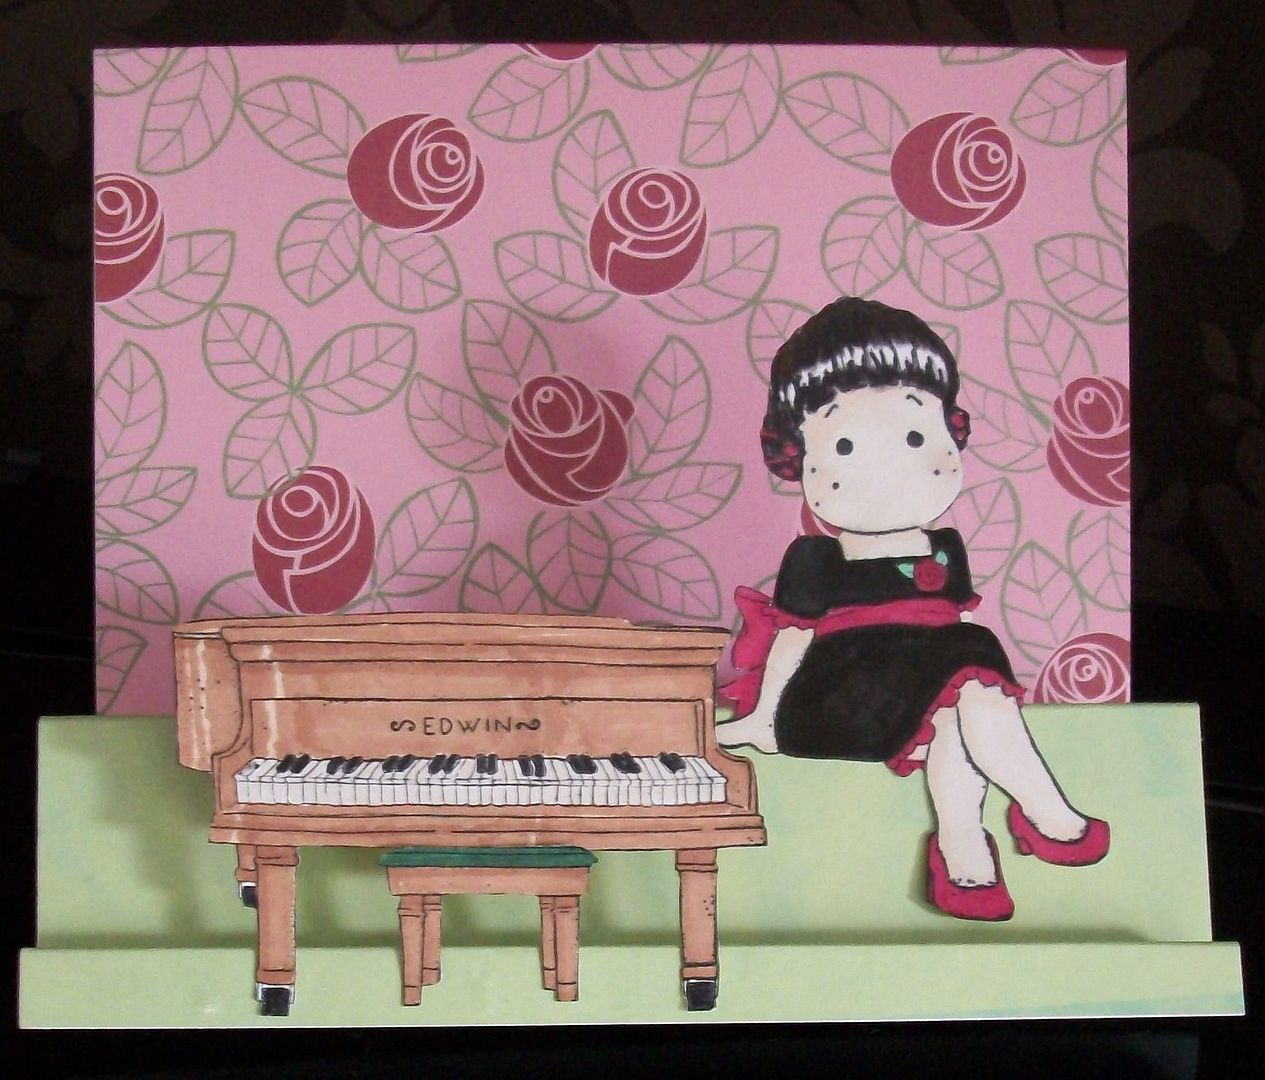
I made a stair step card and covered the back with Llewelyn-Bowen Retro Rose, and the "steps" with a sheet of green paper.
I coloured in the stamped images with promarkers, then fastened the piano and stool to the front step, and tildas legs to the next step.
Simple yet effective me thinks.
Wednesday, 9 June 2010
Magnetic Tray
This is a simple idea but one that I want to try.You take a magnetic tray (ones used here are baking trays) and decorate it. It is then used as a noticeboard, or maybe even a childs play board.
I'm keeping my eyes open for a decorative metal tray to use, possibly keeping it simple, using the magnets as decoration.
I think they'd also make wonderful presents.
Tuesday, 8 June 2010
How to make a Fabric Beaded Necklace
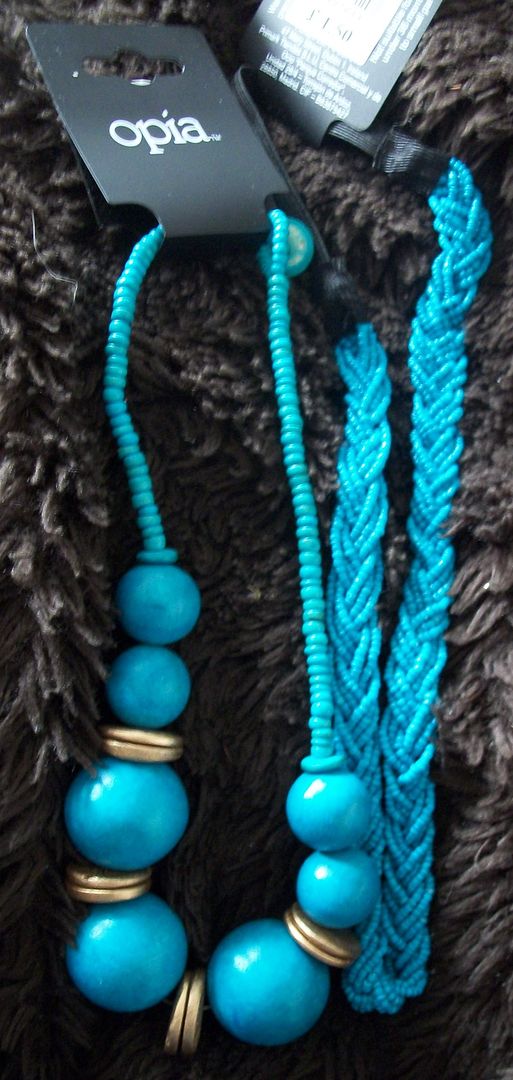
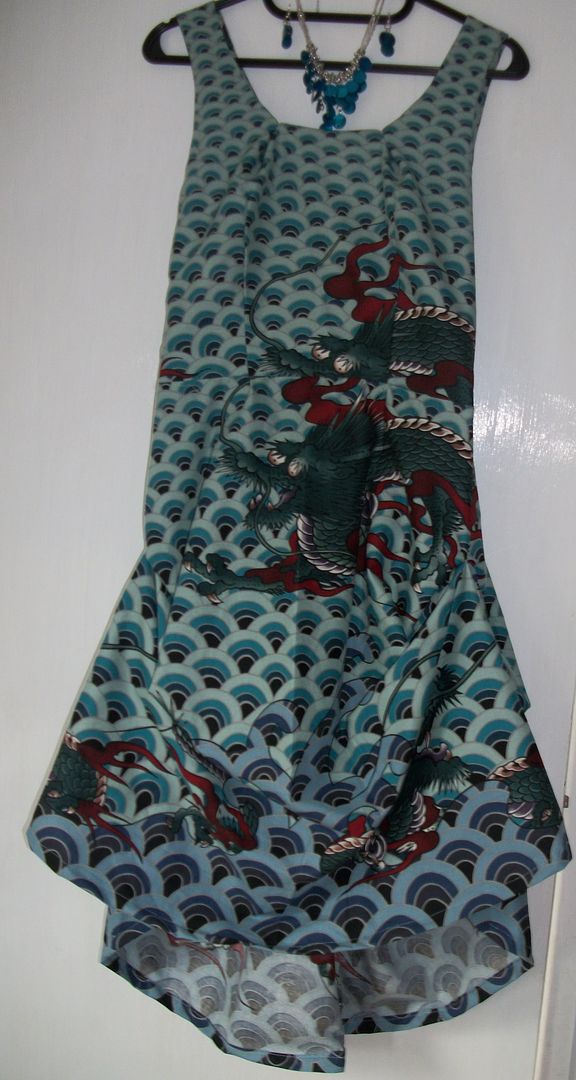
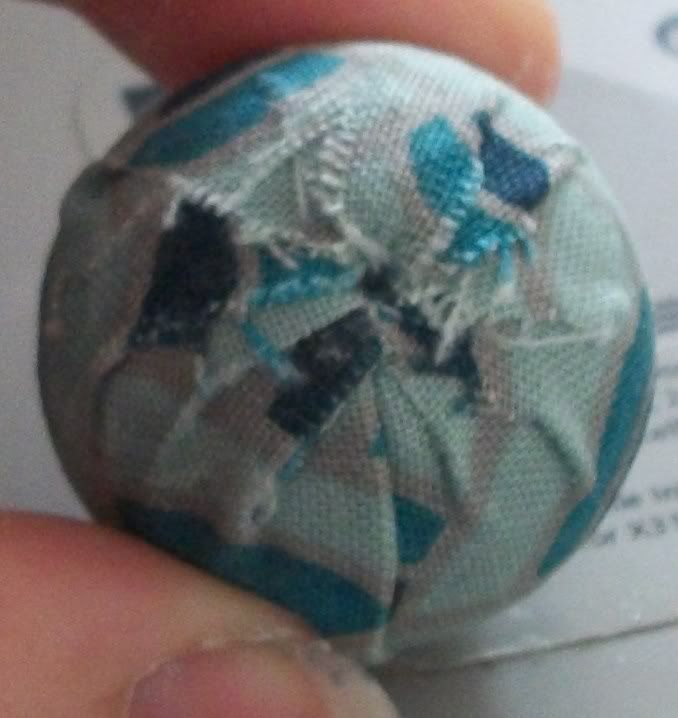
I couldnt find a necklace to suit the dress I'd made, so I decided to use the left over fabric to cover some beads.
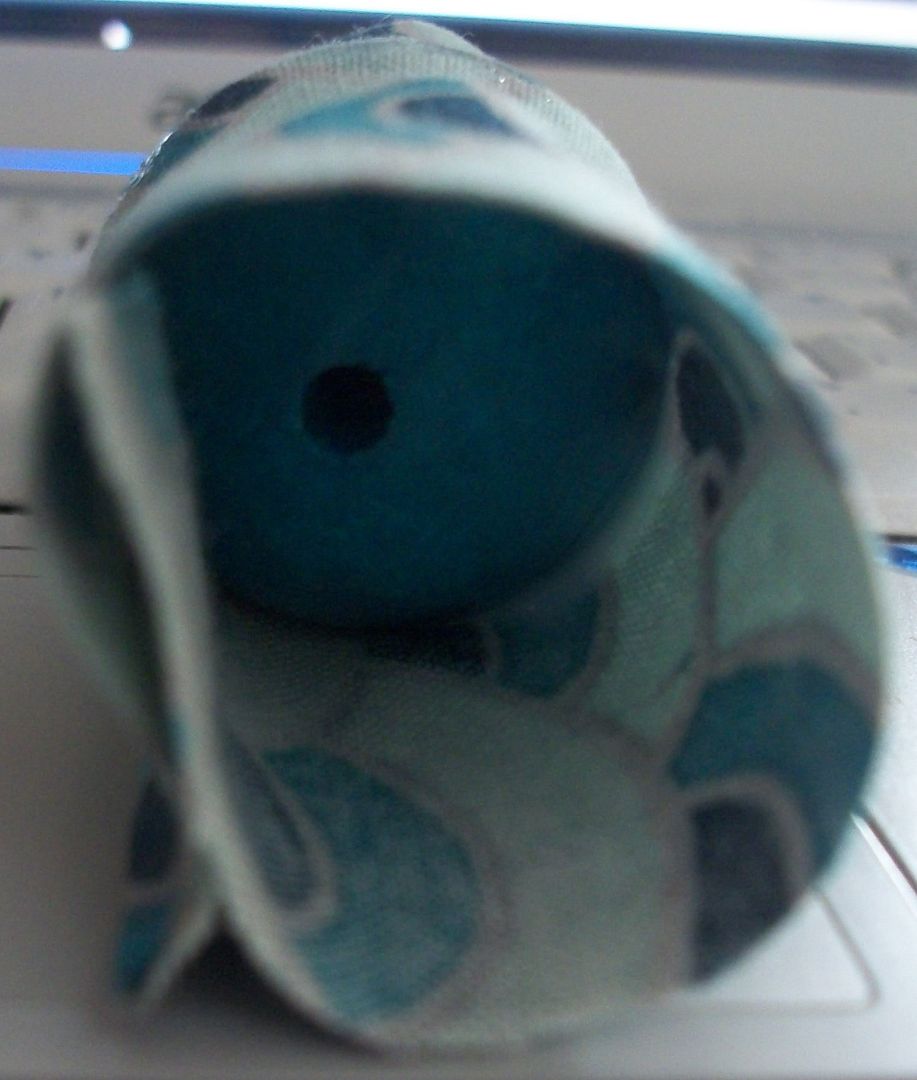
I started with the largest and cut a rectangle of material that would cover it.
Glue the bead and then tuck the edges into the hole, you can always snip them at this point if they are too long, and a knitting needle or similar helps to tuck them into the hole.
As you can see you dont need to tuck all the edges in, as long as the hole is free, and the bead fairly neat.
Monday, 7 June 2010
Icecream cone surprise
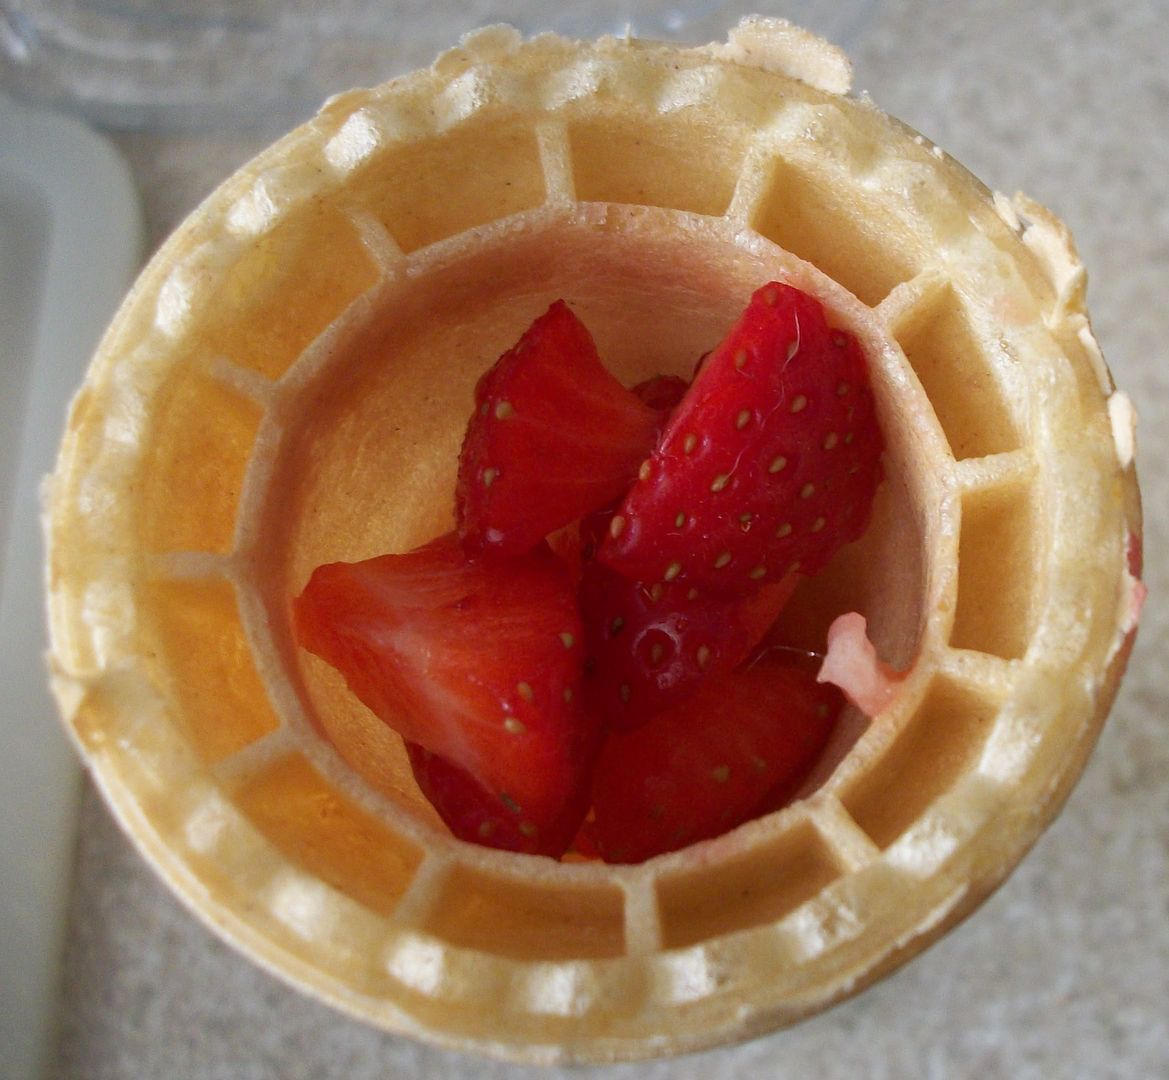
On these lovely hot days my children have been asking for lollies and icecreams to cool down (and because they taste lovely). I'm always after ways my children can enjoy fruit, and the usual ways with this kind of food is to make/buy icecream with fruit in, make ice lollies out of fruit juice, smoothies etc, but all these take time to create, so I came up with a simple quick idea.
Fill an icecream cone with their favourite, not too juicy, fruit. Then add ice cream scoops as usual. Obviously this can be modified to hide sweets, chocolate etc.
Sunday, 6 June 2010
Subscribe to:
Posts (Atom)