Showing posts with label Gift box. Show all posts

Sunday, 9 January 2011

Dimensions for box of Goodies

Tams from Droplets in a Rusty Bucket asked for the dimensions of the box of goodies, and I always aim to please so here it is...
The measurements are very simple due to me having to make quite a few. Dont let the 7.7cm put you off, if you start your measurements from the left of the sheet of A4 this will be how much will be left.

If anyone does make this box & blog about it as always I would appreciate a link back :)

Friday, 7 January 2011

Box of goodies

I always find it hard to buy presents for my niece and nephews, I dont want to get them something someone else has bought them, I want to get something they'll appreciate and use - so for Christmas I opt for sweets and money :) I know at there age I'd appreciate it, they have sweets so they have something to unwrap & use on the day, and money to buy something they really want but havent received yet.

I do put a lot of love & thought into it as each year I try to present them a little bit differently.

After seeing Nickys (Qwiksave's) Gift card card I decided to try & figure out how to do similar but in a box style.

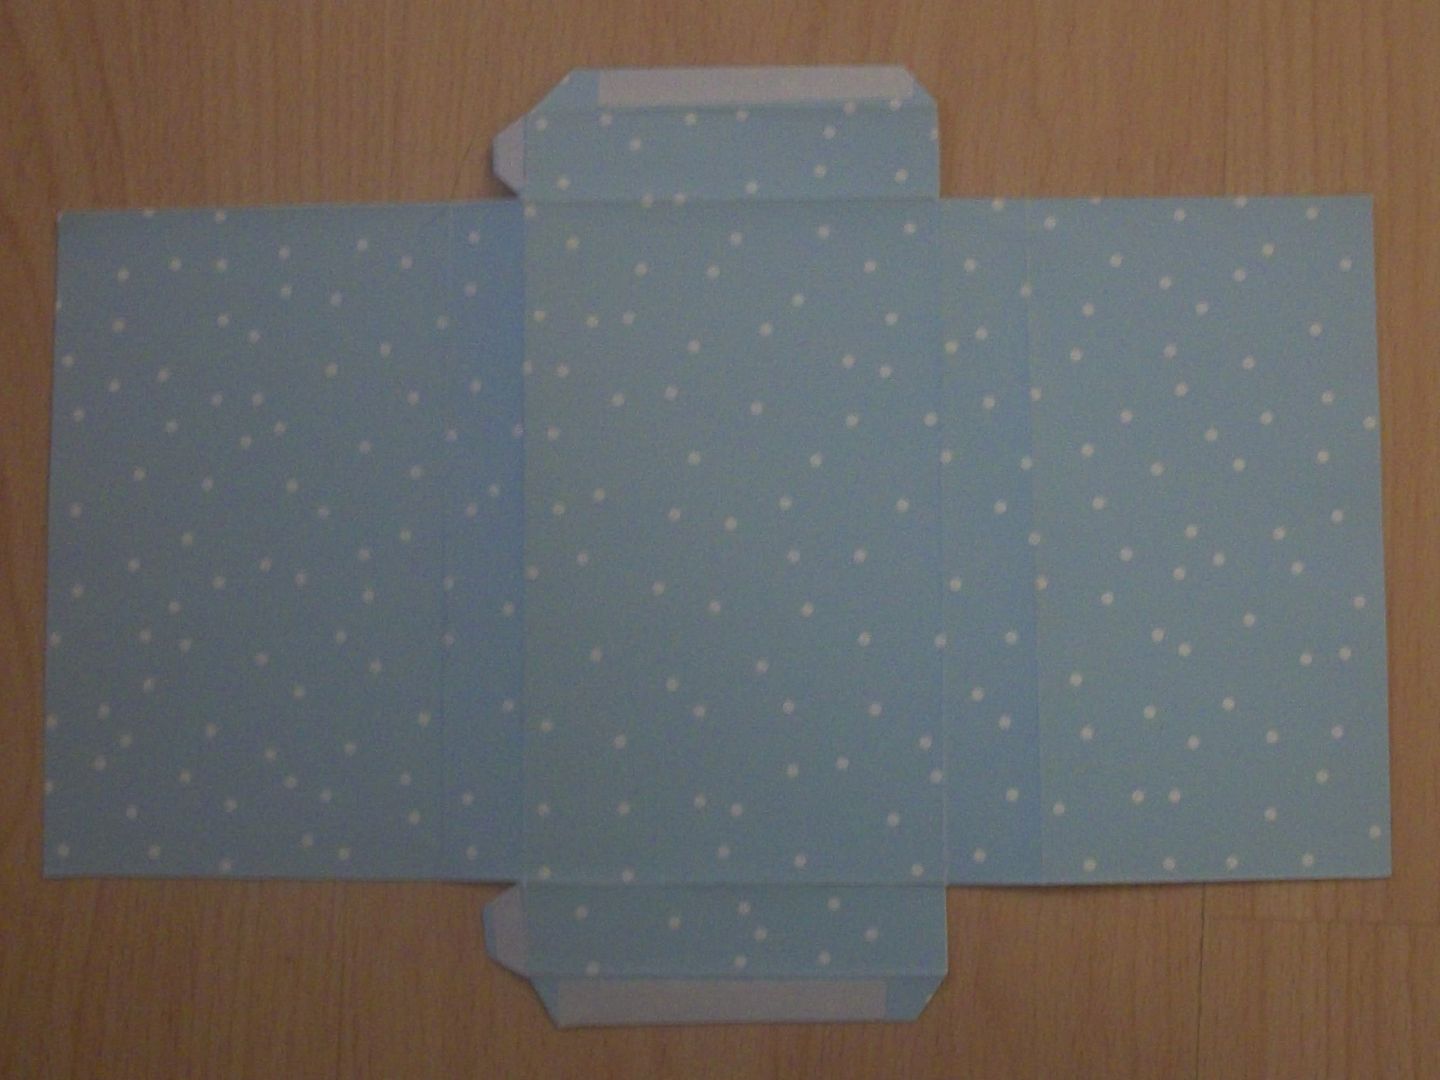
Heres the net I invented, cut out of shiny snowy card.
I applied double sided tape to the tabs.
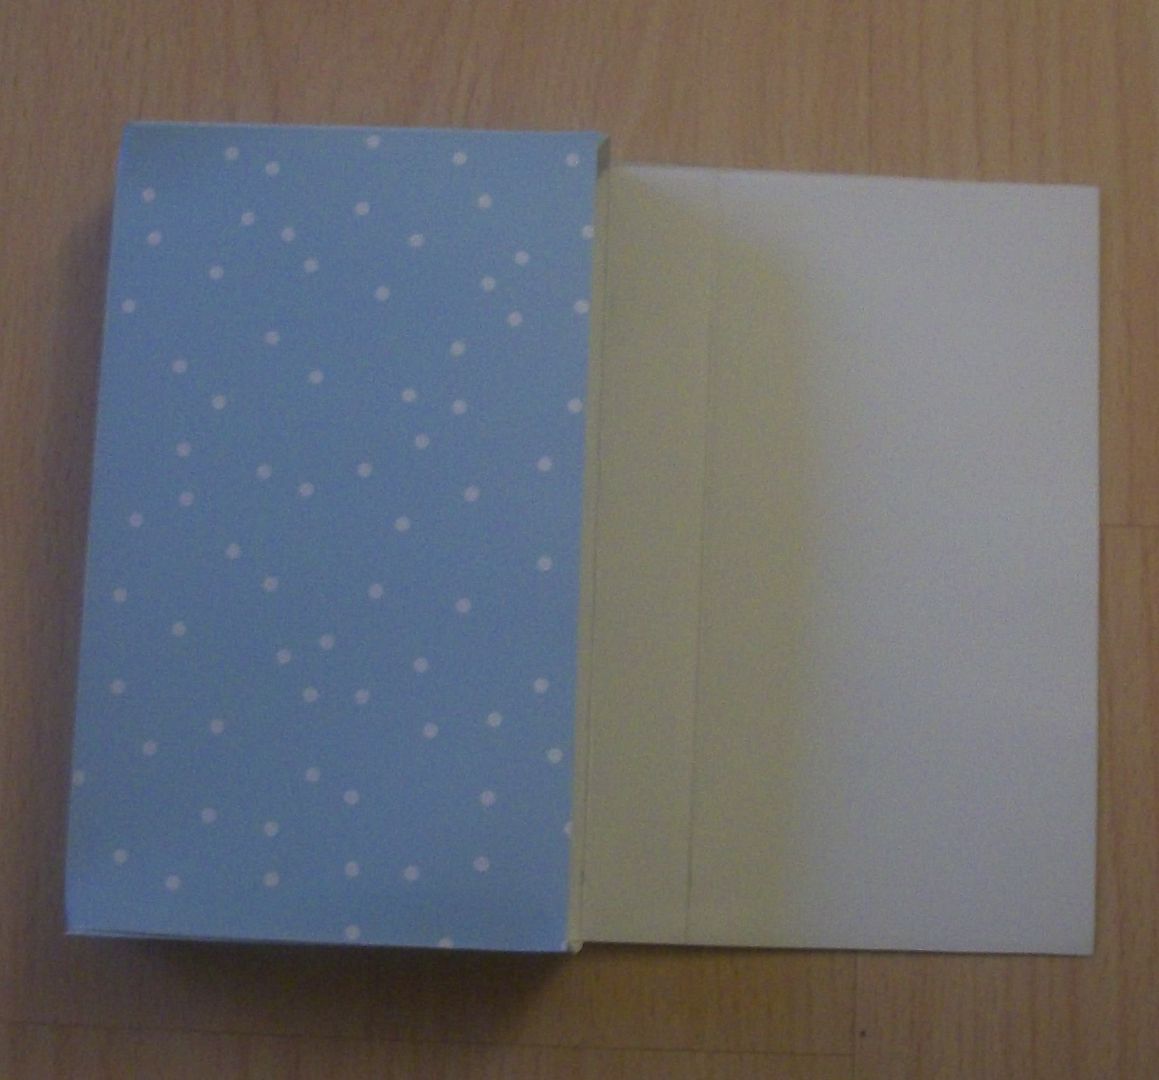
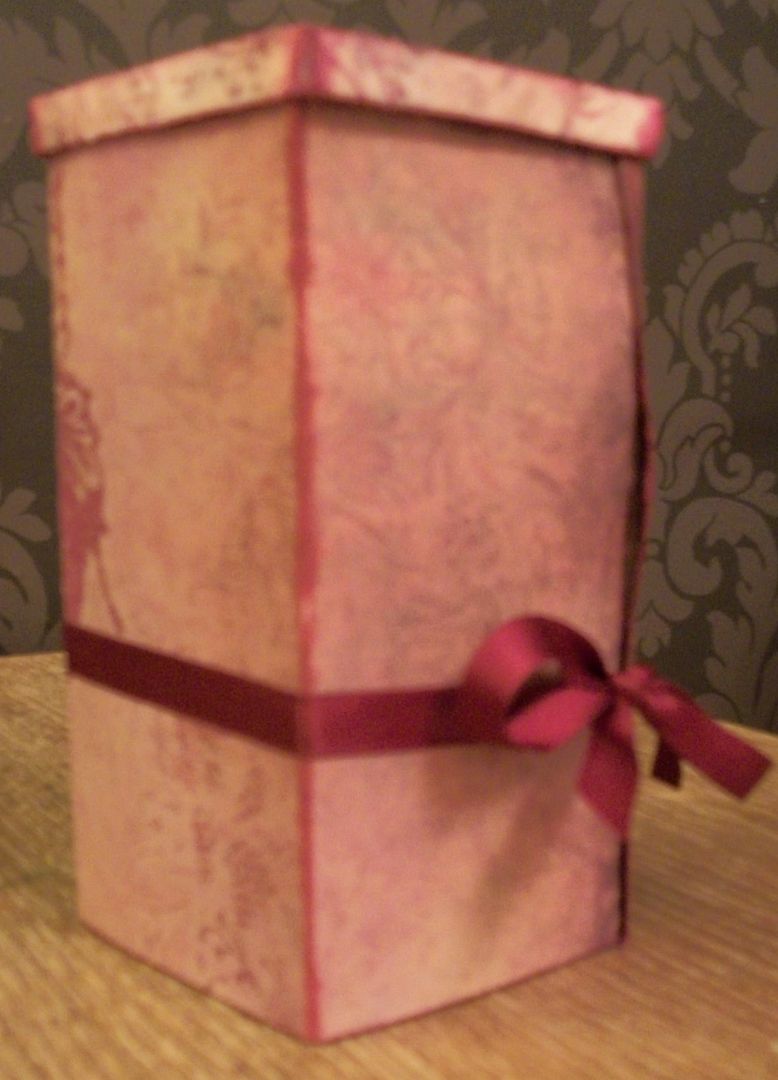
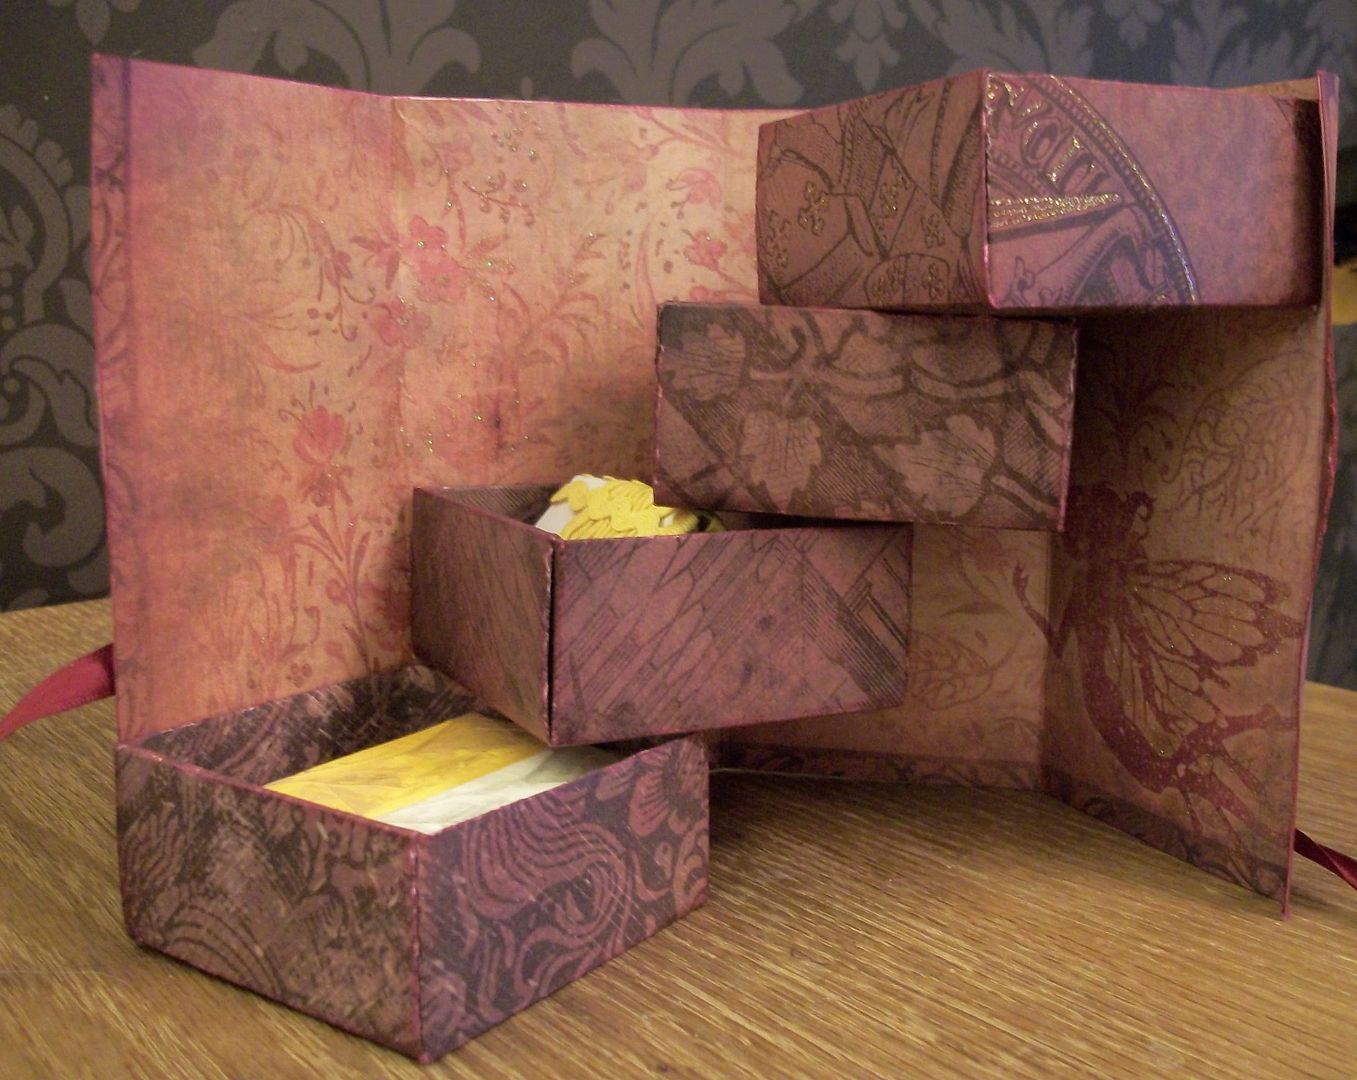
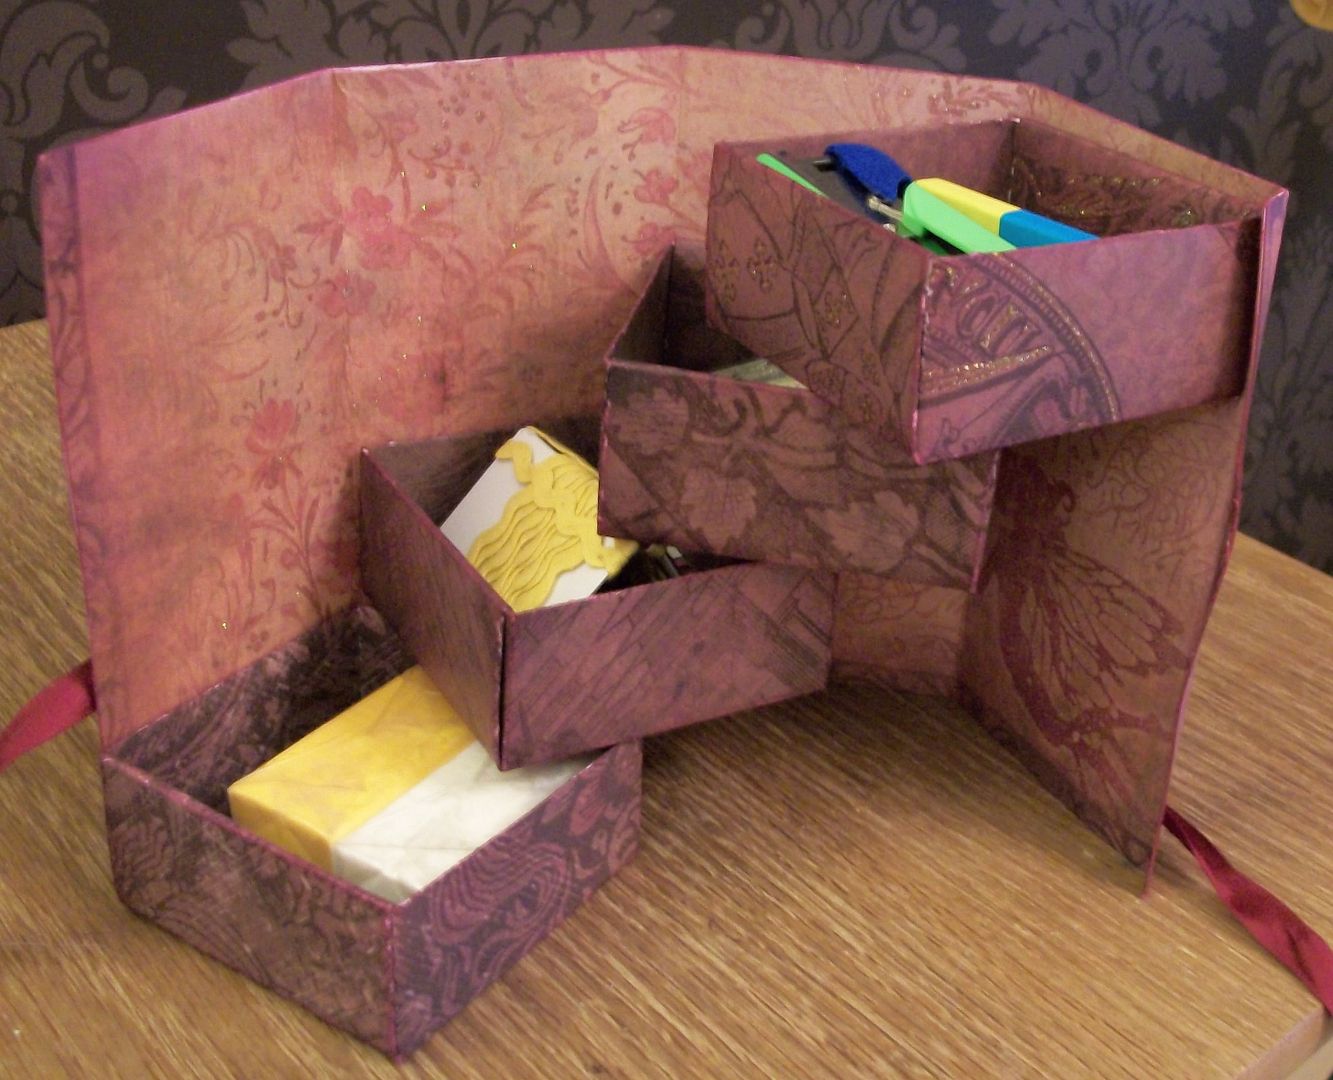
Here it is partially made up, you can see it has a flap to fold over.

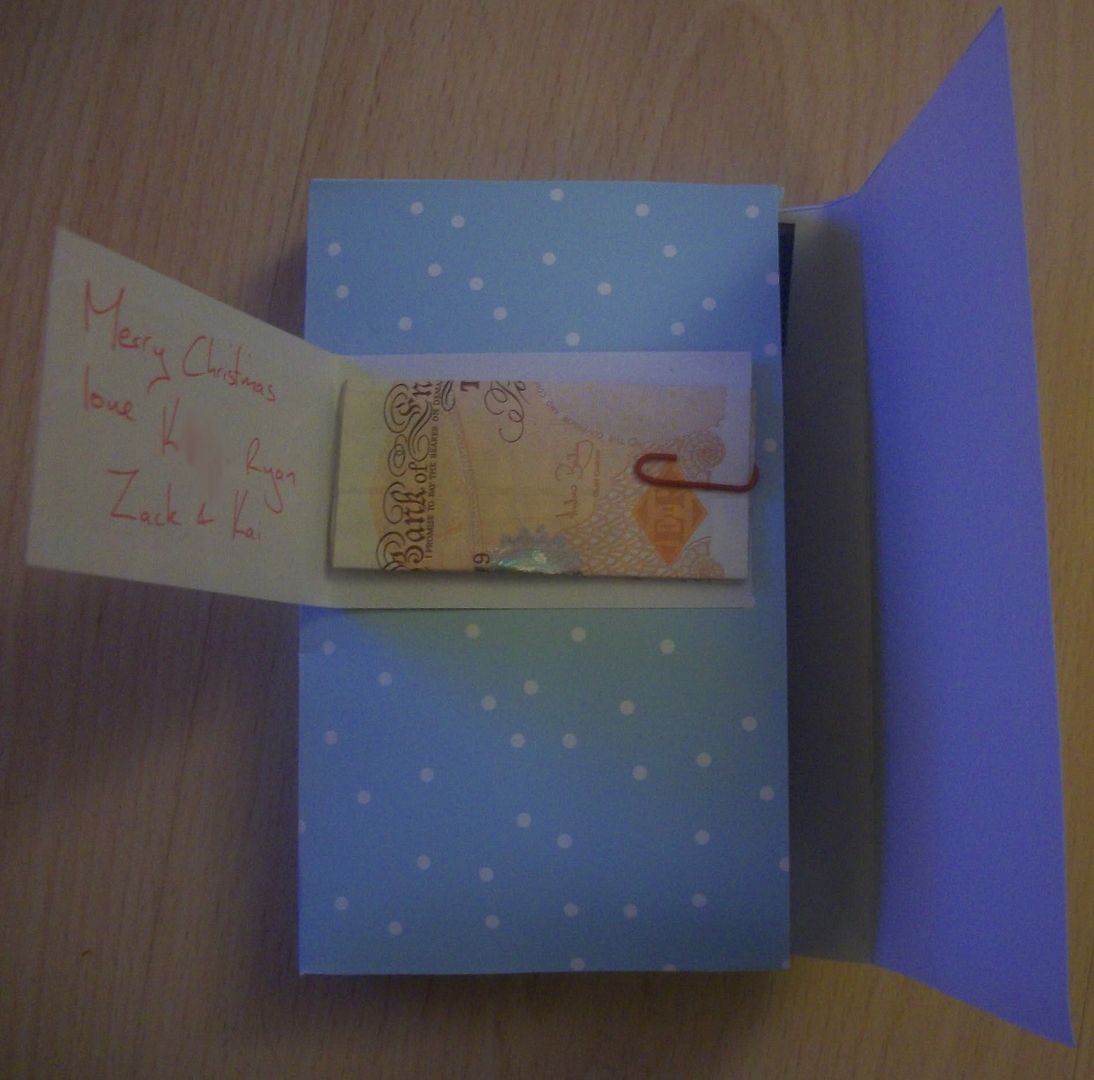
I attach a little card with a paperclip on it to hold the money. Slip in the packet of sweets (snowballs). The box flap closes and then the card does

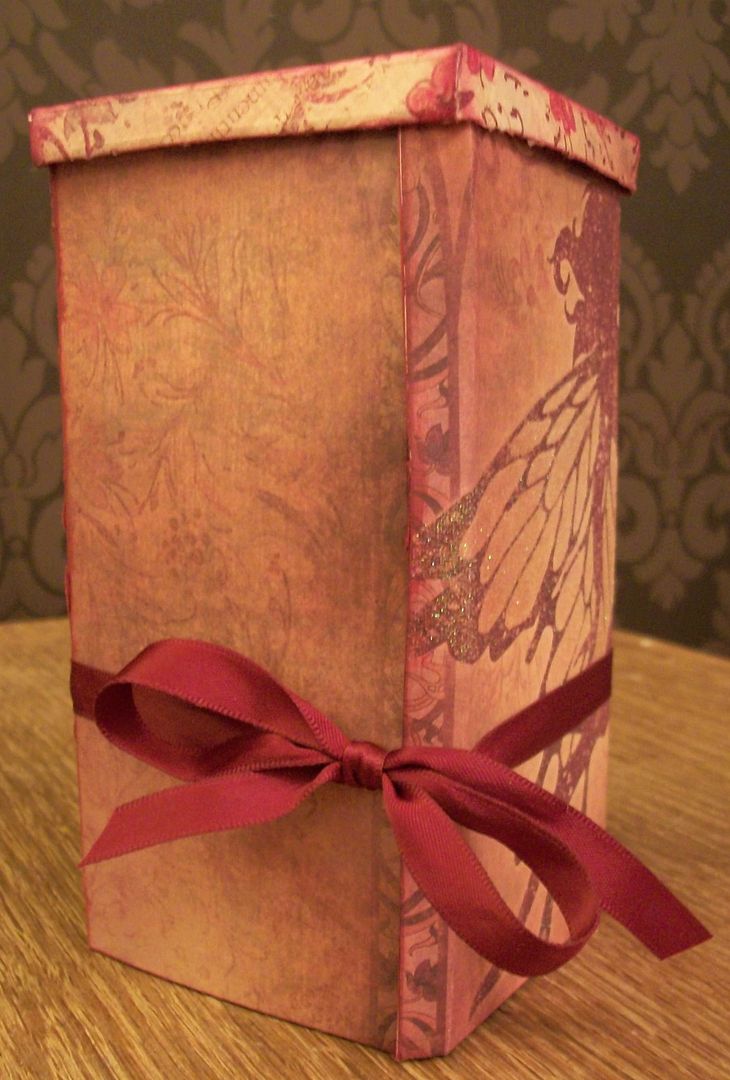
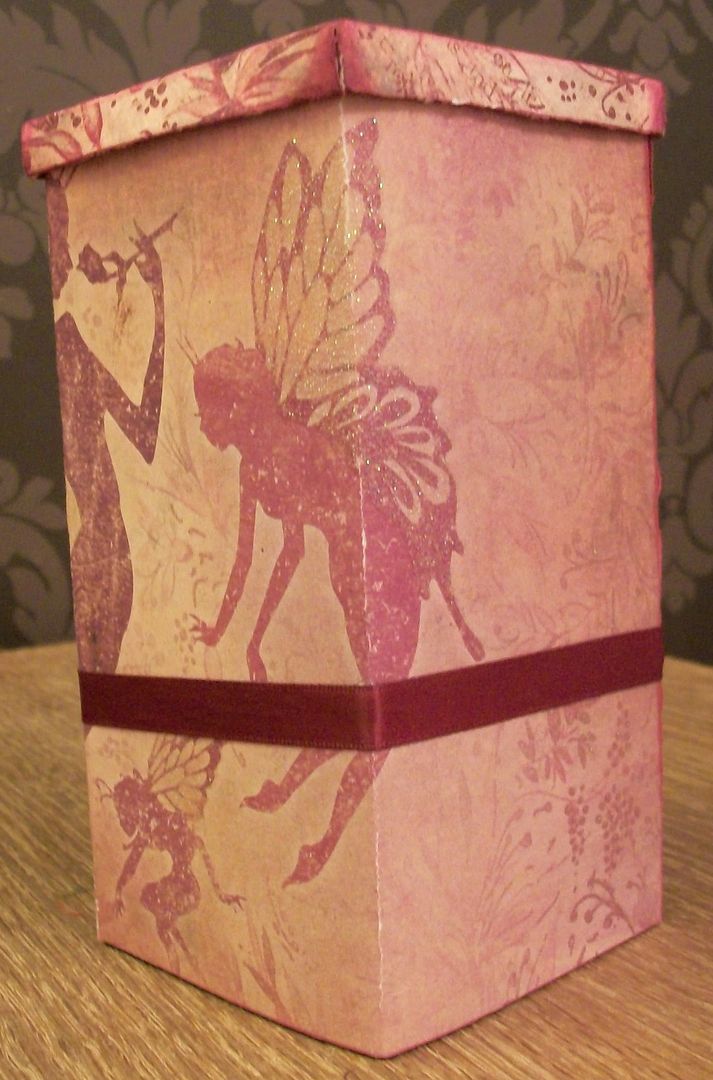
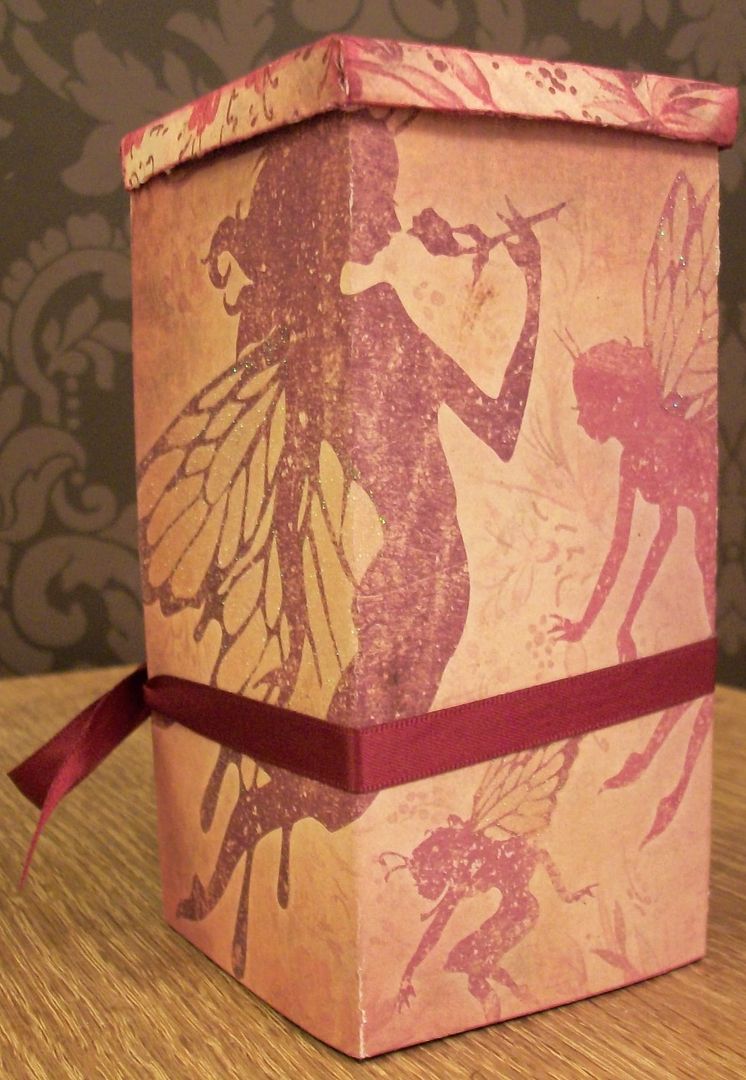
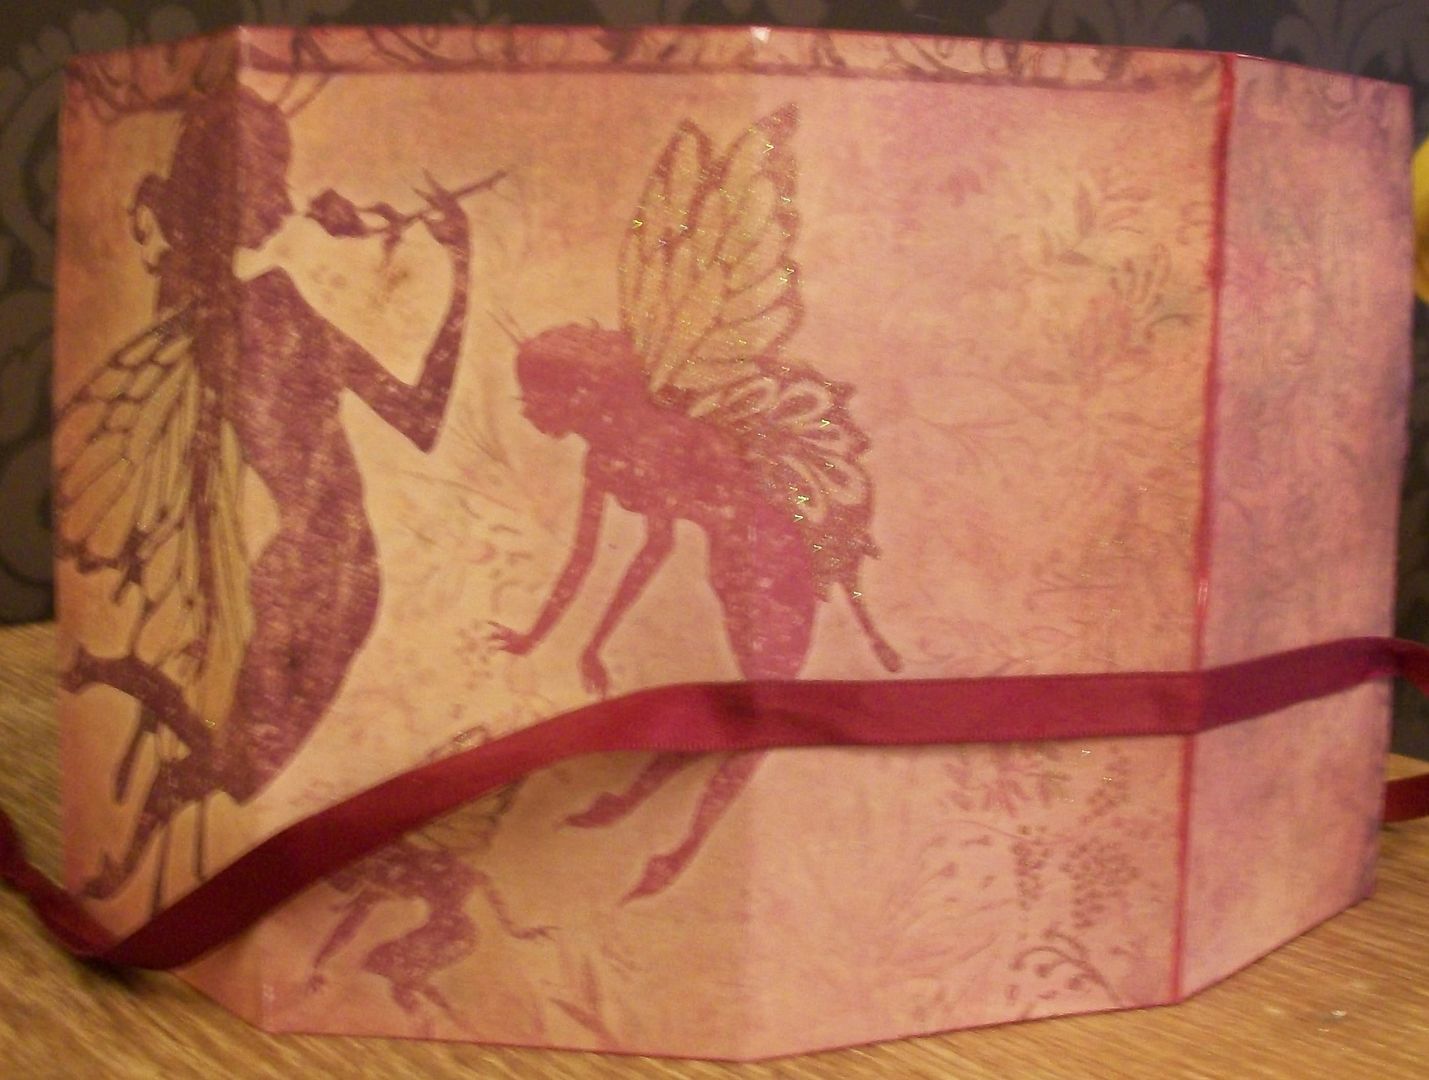
I finished off by sealing the box with peel offs.
(apologies for the poor quality pics, I was taking the piccies in the evening & electric lighting is not my friend)

If you want the measurements for the net of the box they are HERE.

Thursday, 1 April 2010

Box of 4 levels

While blog hopping I came across a box that opened up and had 4 shelved boxes inside, I didnt remember to save the site, or even a picture if it, but the image remained in my head and I decided I had to make one. Noonies birthday was the perfect excuse to give it a go, and knowing how much she loves her "Once Upon A Time" papers I decided to use mine to make it.

The Top view...

The front of the outside when the box is closed..
Round to the rather dull side..
To the back - all edges were inked in red


And finally The other side. The ribbon is attached on 2 sides so it stays in place when untied.

The back when the box has been opened shows the beautiful fairy design

And the inside. The main part of the box is made out of 2 halves of the 12x12 fairy sheet stuck together so you can see the design on both sides.


I made the draws out of 8x8 sheets (or rather I cut 12x12s down to make 8x8s)
Each one is stuck with permanent sticky dots as they just kept coming off with double sided tape.

Inside I put 4 different colours of fimo as I knew Noonie hadnt used it before and thought she'd enjoy playing with it. In the second draw from the bottom is yellow wavy ribbon, 3rd draw up has a little set of clear stamps and finally the top draw holds a mini stapler with coloured staples.
I'm happy to make a tutorial if any ones interested.

Linkwithin

Related Posts Plugin for WordPress, Blogger...