Showing posts with label recipe. Show all posts

Tuesday, 13 March 2012

Cheesecake Squares

These are rather scrummy! a baked cheesecake flavour with what basically tastes like peanut or choc chips. 5 weight watchers pro-points per slice (divides into 16 squares)

1 (225g) package cream cheese, softened
3/4 cup M&M or Smarties candies (I used smarties)
1/2 cup walnuts, chopped
1 egg
1/3 cup margarine
1 cup flour
1/4 cup sugar
1/3 cup brown sugar,  
1 teaspoon vanilla extract
Preparation
1. Preheat the oven to 350f / 175c
2. Beat the margarine and brown sugar until light and fluffy.
3. Add the walnuts and flour; mix well.
4. Reserve 1/2 cup of the crumb mixture; press the remaining crumb mixture into bottom of a 8″ square pan.
5. Bake for about 10 minutes.
6. Combine the softened cream cheese, granulated sugar and vanilla; using an electric mixer, mix at medium speed until well blended.
7. Add the egg; mix well.
8. Layer 1/2 cup of the Smarties or M&M candies over the crust; top with the cream cheese mixture.
9. Combine the remaining candy and reserved crumb mixture; mix well.
10. Sprinkle the crumb mixture over the cream cheese mixture.
11. Bake again for about 20 minutes.
12. Let cool completely before serving.

Tuesday, 17 January 2012

Home made Baileys

One of the gifts we gave at Christmas was Home made Baileys
400g (1 tin) sweetened condensed milk
375ml (1 tin) carnation creamy evaporated milk
2tsp Vanilla extract
2tsp glycerine (optional but gives it a smoother feel)
1tbsp coffee granules mixed with 1tbsp off-the-boil hot water
Whisky (quantity to taste)

Mix everything together except the alcohol, add this a bit at a time, tasting as you go.
I added Tia Maria instead of Whisky as I prefer the taste.

As soon as I find the link I'll let you know which blog I got the design for the stickers from as they truely are beautiful and came in very handy over Christmas.

Mmmmmmm, homemade baileys really is delicious, though its not particularly good for your waistline :-)

Thursday, 8 September 2011

Chicken Curry

Curry is one of my favourite meals, and I've been hunting, and playing around with recipes to find one that my family will enjoy. It can't be too dry, or too runny, its got to have plenty of both sauce & meat, full of flavour but not too much, have a kick but not too hot ... see what I have to work with!!!

But I think I've found it! Everyone eats it, enjoys it, its healthy and easy to make. I've just got to work out for myself how much chilli pepper to put in to make it the right temp for them .... a bite without leaving the after burn.

So here it is.....
Ingredients:-
1 whole chicken
3 large onions
2tbsp oil
4 cloves of garlic, chopped finely
3 large tomatoes, chopped
400g tomato sauce mix
1 medium chilli, chopped
1/2 tsp chilli powder
1/2 tsp corriander powder
1 tsp coriander powder
1/2 tsp turmeric powder
yogurt (to taste)
pepper (to taste

Portion off the chicken, remove all the bone & cut into cubes. Of course you could just buy ready cubed chicken, or chicken portions but this is the cheapest way. Its easy, even I can do it!! Theres plenty of tutorials on youtube such as THIS one to help you out.

Fry onions in oil until soft, add garlic, tomato, and spices and cook for a few minutes and then add 4tbsp (60ml) water & allow to reduce until soft.

Add chicken and cook for 10 - 15 mins on a medium heat, then add yogurt stirring slowly, simmer for a further 5-10mins..

Serve. I normally serve mine with rice thats been cooked in the stock from the chicken bones (cover with water, bring to the boil & then simmer for an hour or two before sieving) & a pinch of corriander.

Monday, 5 September 2011

Rainbow Salad

I loooooooooove cous cous, but I'm far more likely to pick up a packet of ready flavoured cous cous & just add water than try flavouring it myself, so its time to start experimenting.

My first try is Rainbow Salad, served with Quiche Lorraine
Ingredients:
250ml vegetable stock
200g cous cous
1/2 red pepper
1/4 green pepper
1/4 orange pepper
2 tomatoes
4 spring onions
200g canned sweetcorn
2tbsp olive oil
1tbsp lemon juice
1tbsp fresh coriander or parsley
Pinch of black pepper
1 clove of garlic (optional)

Pour the stock over the cous cous in a mixing bowl, fluff up with a fork before leaving to stand for 5 mins
Slice the peppers thinly having previously removed the stalk & seeds.
Cut the tomatoes into 1/4s
Slice the spring onions
Drain the sweetcorn & add all the veg to the cous cous.
Put the olive oil, lemon juice, coriander/parsley, black pepper & garlic into a jar & shake to mix it well.
Pour the dressing over the cous cous & stir everything together.
Serve.
I enjoyed it, it was fresh and clean ... next time I wont use Olive oil though, I REALLY dont like the taste of virgin oil
Ryan didnt like it, but it cant have been too bad as he did finish it, if things really dont taste nice he wont finish it, if it isnt to his taste he'll finish it but wont try it again.
Zack didnt like the spring onion in it, so thats easily fixed
Kai fell asleep early, missing out on his tea (He slept straight through till morning, I'm not a mean Mummy who restricts meals to certain times & if you sleep through then tough)

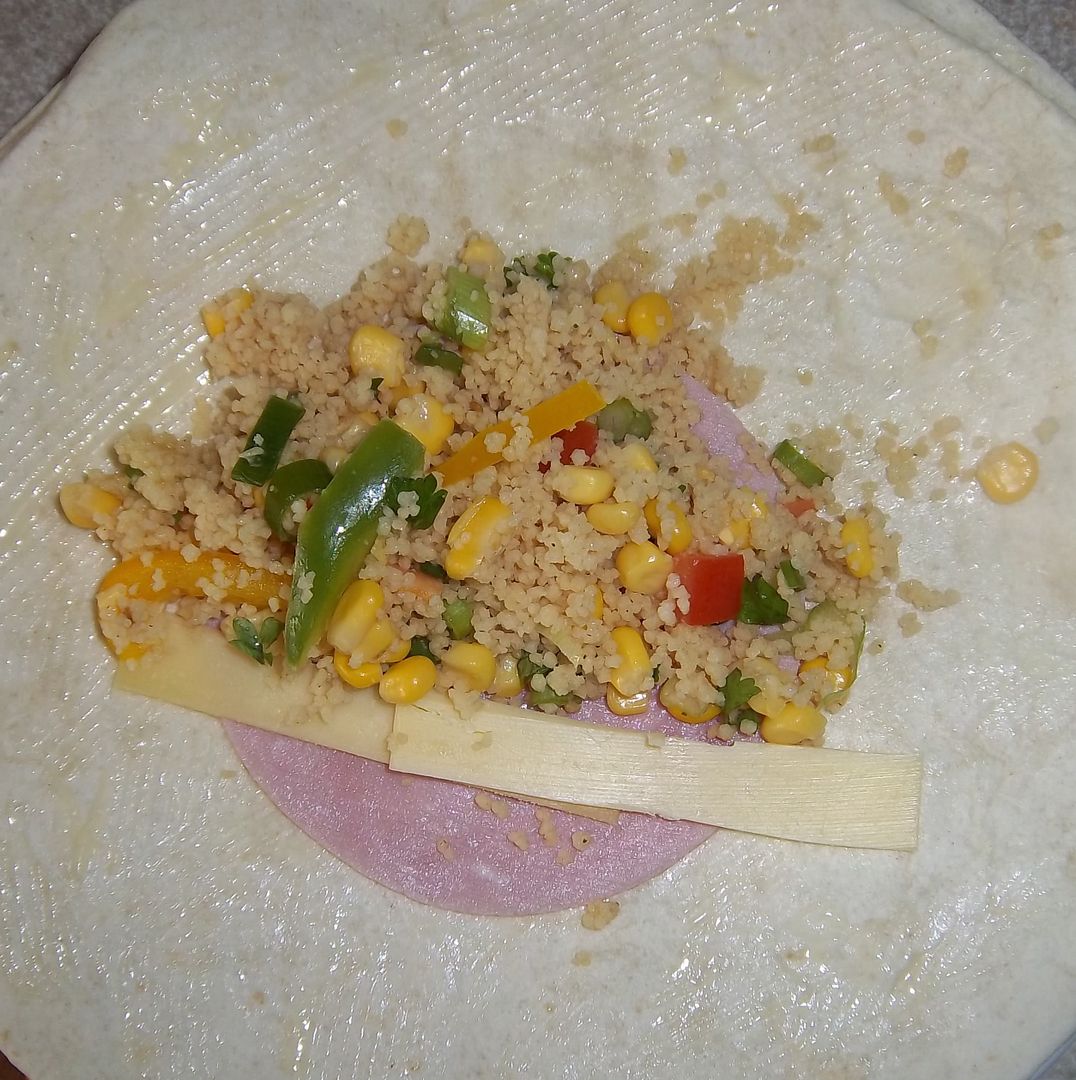
The next day I spread the tiniest amount of mayonnaise onto a tortilla wrap, added a slice of ham, 2 thin slices of cheese & what was left of the rainbow salad.

This made a delicious lunch for myself & the kids, not even a crumb was left.

Sunday, 24 July 2011

Fruity, cooling treats

It has been a GLORIOUSLY sunny day, & I think we could all do with a cooling treat.
Here, have a fruity ice lolly that Kai & I made.
We sliced up any soft fruit we had in ..... I'm sure you could use harder fruit such as apples & pears but I find ones that are softer such as strawberries, grapes & oranges are easier to eat in a lolly.
The fruit was popped into a lolly maker, followed by pure orange juice, then frozen. Tada, fruity ice lolly.

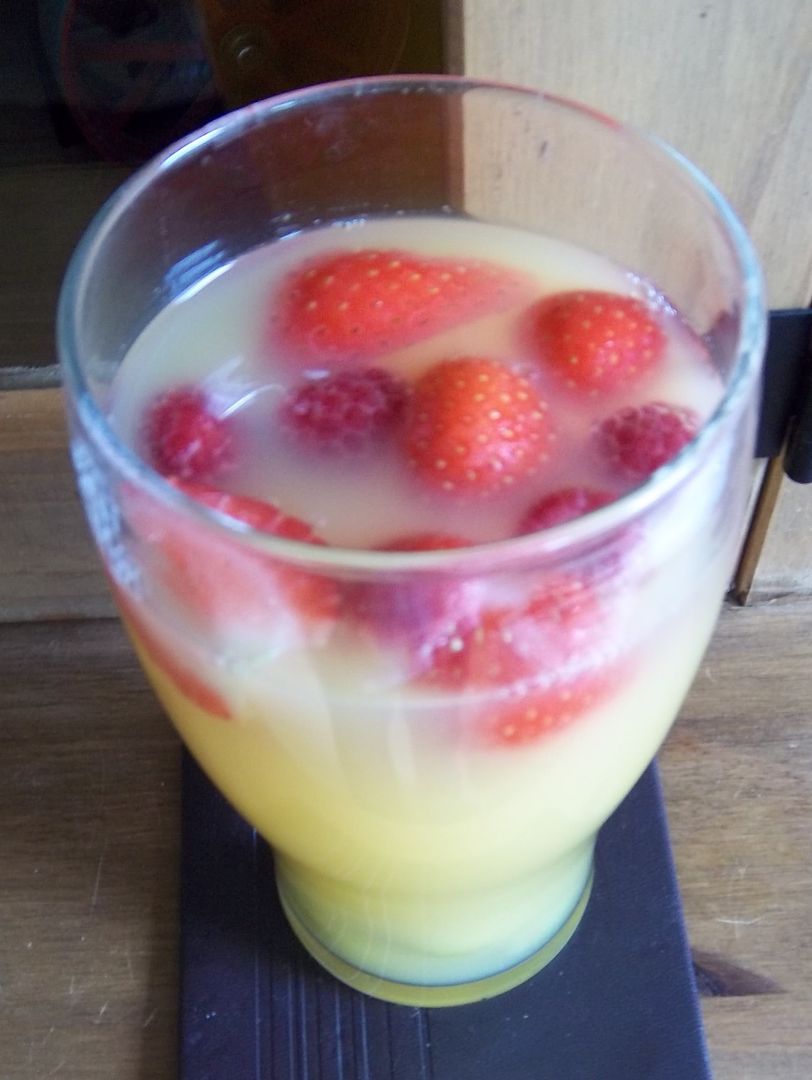
Want something a bit more grown up? Try freezing chunks of fruit & then using them instead of ice cubes
As they defrost, some of the fruit such as raspberries, release their juices flavouring your drink.
We tried it in OJ, but I'll be trying it again another time in lemonade.
You could also use it to teach your little ones about sinking & floating .... see the grapes at the bottom?

Wednesday, 20 July 2011

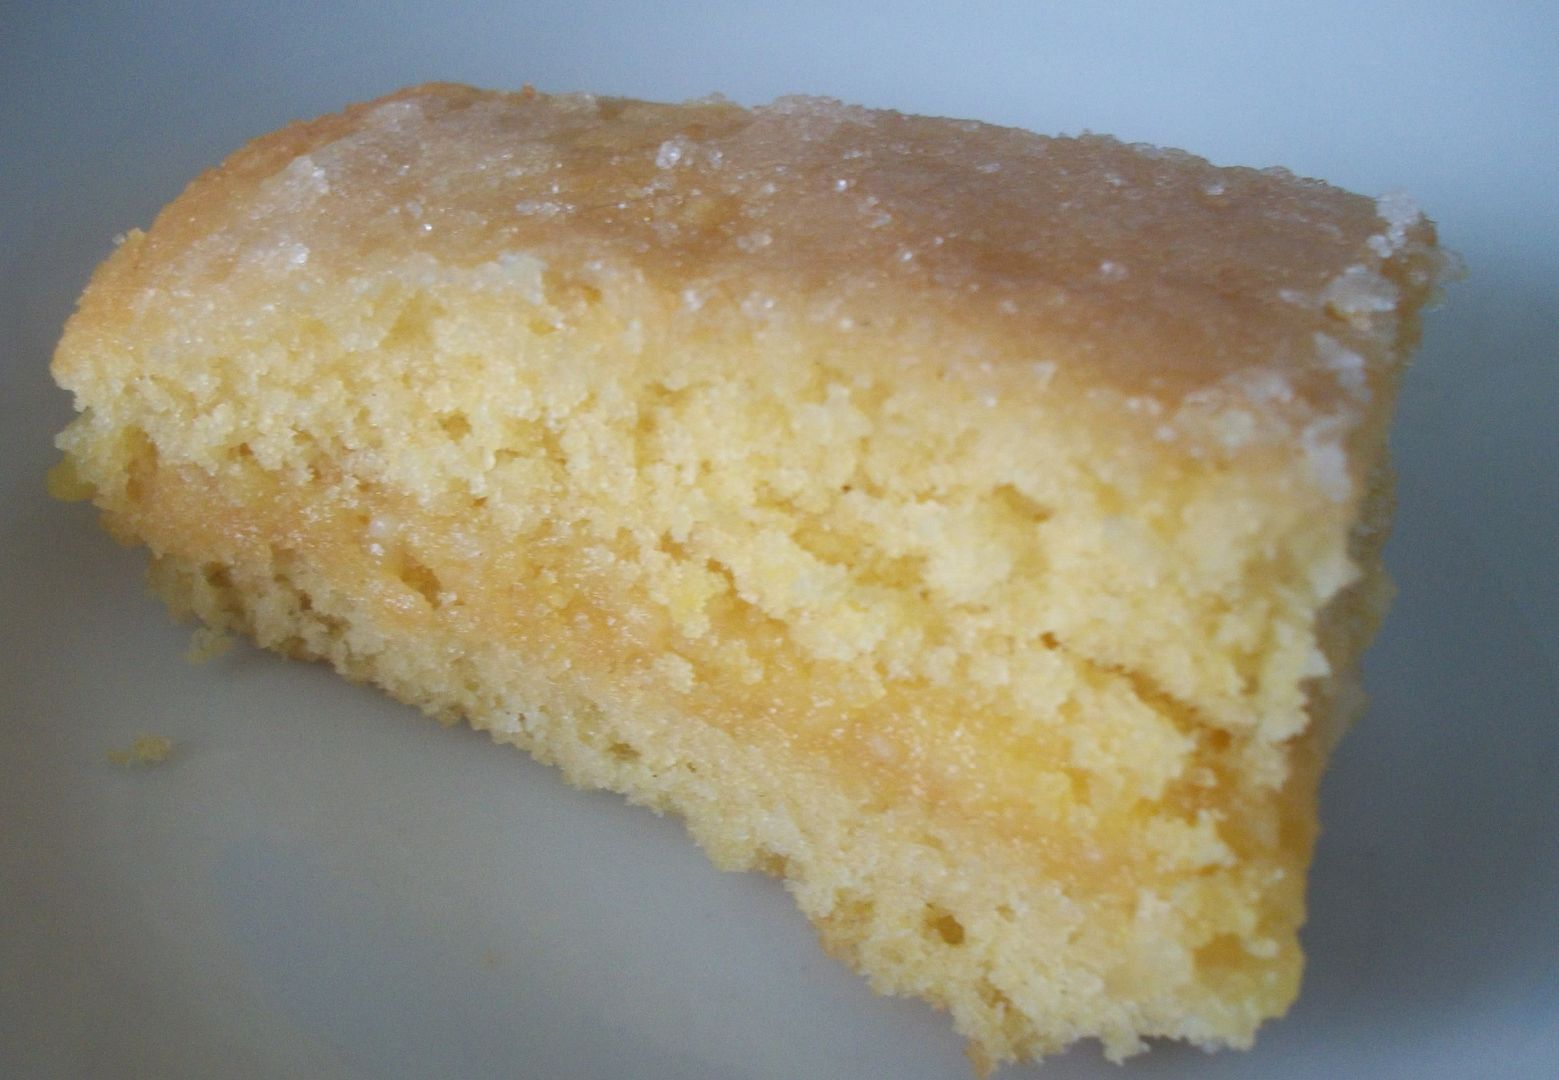
Lemon Drizzle cake with a lemon curd & cream cheese filling.

You will need....

For the lemon drizzle
4 lemons, juice only
75g/2¾oz caster sugar

For the sponge
200g/7oz caster sugar
200g/7oz unsalted butter, plus extra for greasing
2 lemons, zest only
3 free-range eggs, beaten
200g/7oz self-raising flour, plus extra for dusting

For the filling
2 free-range egg yolks
75g/2¾oz caster sugar
50g/1¾oz unsalted butter
2 lemons, juice and zest
100g/3½oz cream cheese
Make the lemon drizzle, in a bowl, mix together the lemon juice and sugar until the mixture is well combined and the sugar has melted. Set aside.

Make the sponge cake, For the sponge, beat the sugar, butter and lemon zest in a mixing bowl until pale and fluffy.
Gradually add the eggs, whisking after each addition until the egg is completely mixed in before adding the next. Carefully fold in the flour using a metal spoon
Pour the cake batter into the prepared cake tin and bake in the oven for 30-40 minutes, or until the sponge has risen and is cooked through.
As soon as the cake is cooked, remove it from the springform cake tin and prick the top all over. Pour over the lemon drizzle mixture to soak the sponge, then set aside to cool on a wire rack.

Make the filling, For the filling, whisk the egg yolks and sugar together in a pan over a low to medium heat until the sugar has melted.
Add the butter, lemon juice and zest, and continue to cook, whisking continuously, for 4-5 minutes, or until the mixture has thickened and is smooth and well combined. Set aside to cool completely.
Using a metal spoon, carefully fold the cream cheese into the cooled lemon curd mixture to create a marbled effect.
When the sponge has cooled, cut the cake in half horizontally to create two thinner cakes. Spread the lemon filling all over the lower half of the cake, then place the top half (the half that was pricked and soaked in the lemon drizzle) on top.

Thursday, 14 July 2011

Homemade Fishfingers

I've been noticing that more & more companies are using potatoe starch in the batters/bread crumb covering on fish fingers & after watching children making them on cbeebies I decided to try making my own.

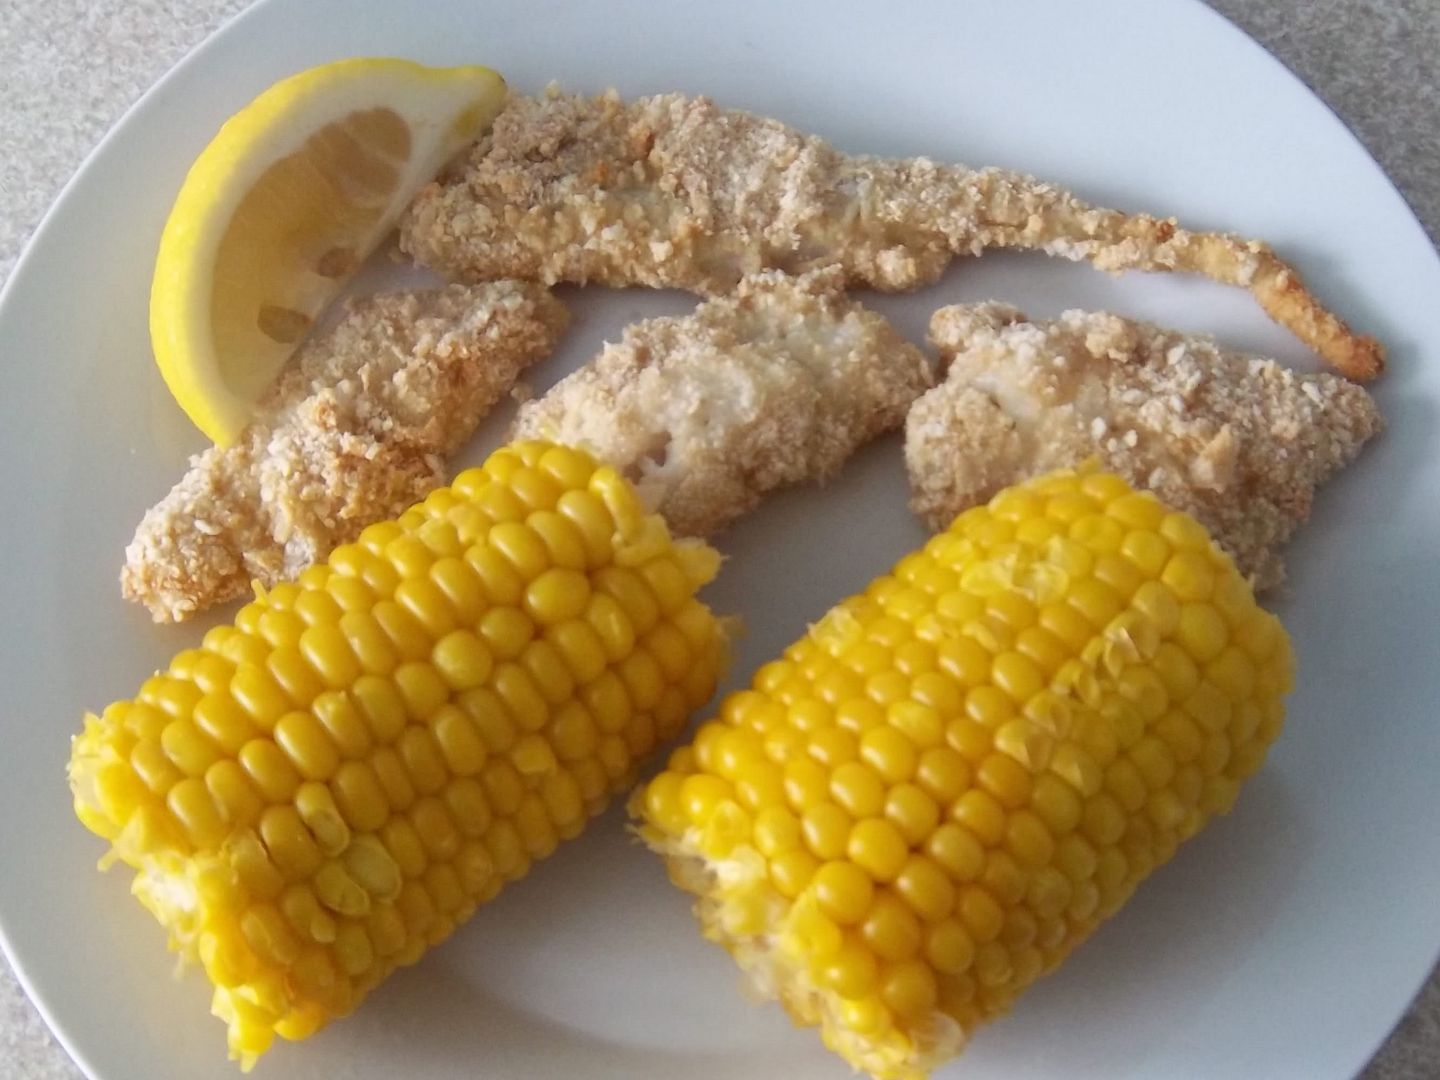
I defrosted some white fish fillets & roughly sliced into fingers. I then dipped these in flour I'd mixed with a little bit of pepper earlier.
Next was a dip into whisked egg before covering in breadcrumbs
I placed the fishfingers onto a baking tray & popped into the oven at 180C until they turned golden.

Sooooooo easy to make I should have done it years ago.
The texture was lovely & the fish taste so much fresher & stronger than usual.
The breadcrumb topping however was a bit bland (though the lemon I squeezed onto them was lovely), so next time I'm going to try adding Parmasan to the breadcrumbs, or maybe lemon zest & chopped parsley to add more flavour.

Wednesday, 13 July 2011

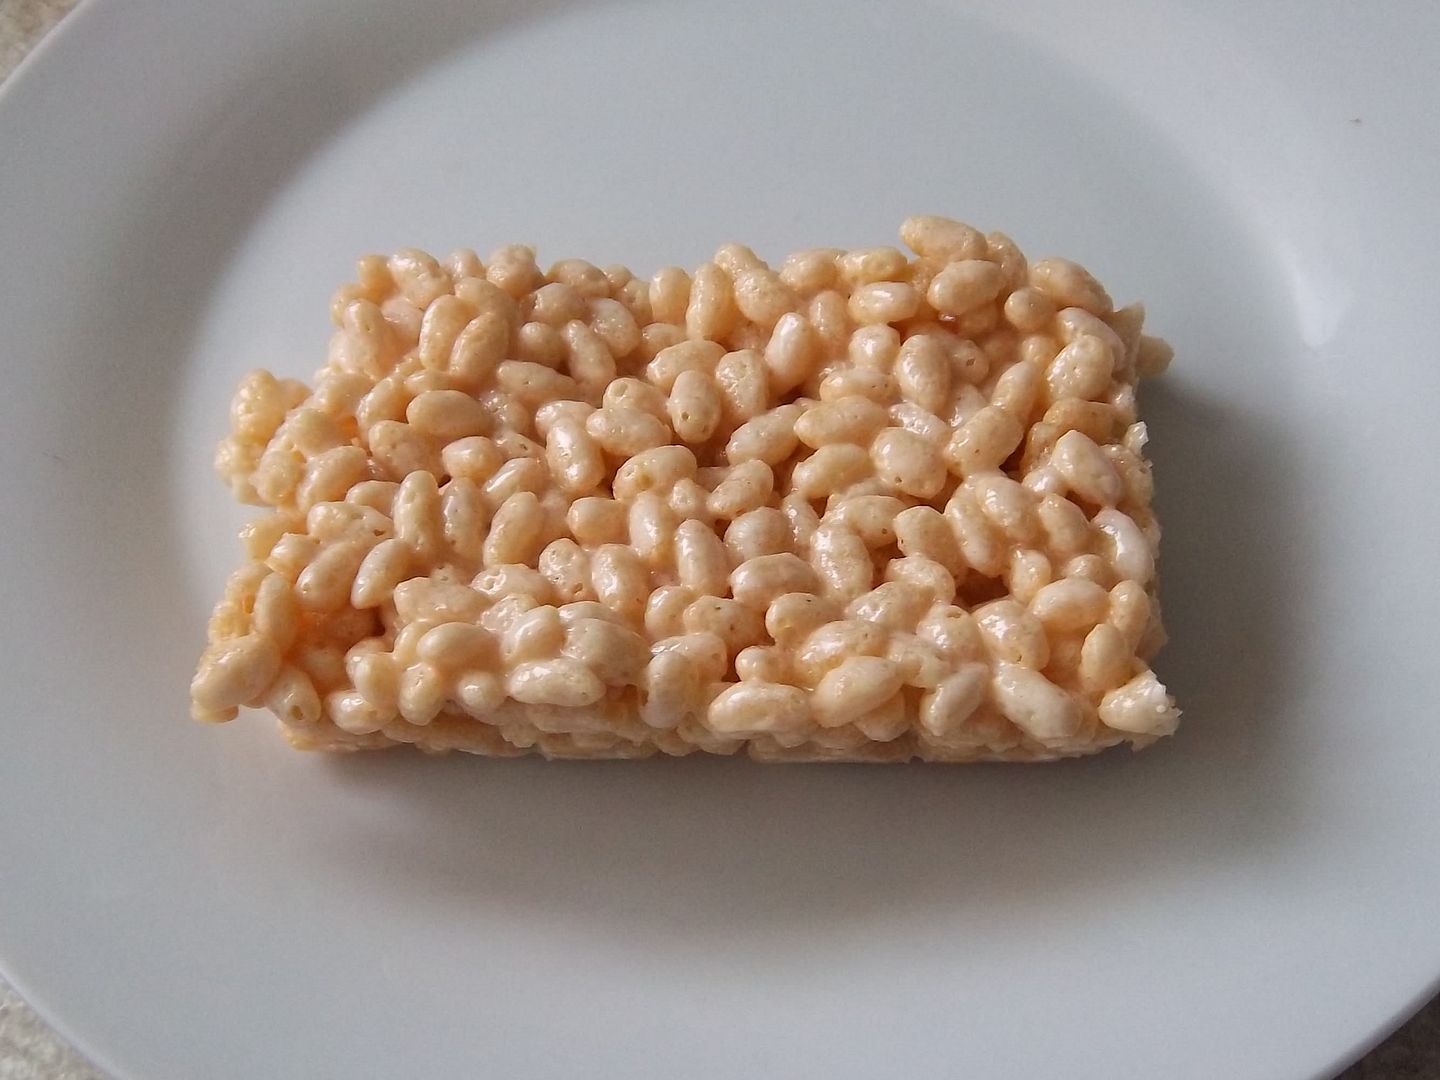
Rice Krispie Squares

I make these as a quick snack or pud, & they always disappear very quickly.
You will need....


  • 50g butter


  • 200g white marshmallows


  • 150g crisped rice cereal


  • Melt butter (or marg) in a large saucepan over a low heat. Add the marshmallows and stir until melted & well blended. Cook for a further 2mins, stirring constantly. Remove from the heat.
    Add cereal & mix until fully covered
    Using a wet spoon or geaseproof paper press mixture firmly & evenly into a buttered tin (I always line mine with greaseprook paper for ease). Cut into squares when cool.

    Tips & alternative versions
    While the krispie squares are setting film the saucepan with boiling water to make it easy to clean.
    Add raisins, cherries, choc chips or other ingredients with the rice cereal to make slightly different krispie squares.

    Tuesday, 12 July 2011

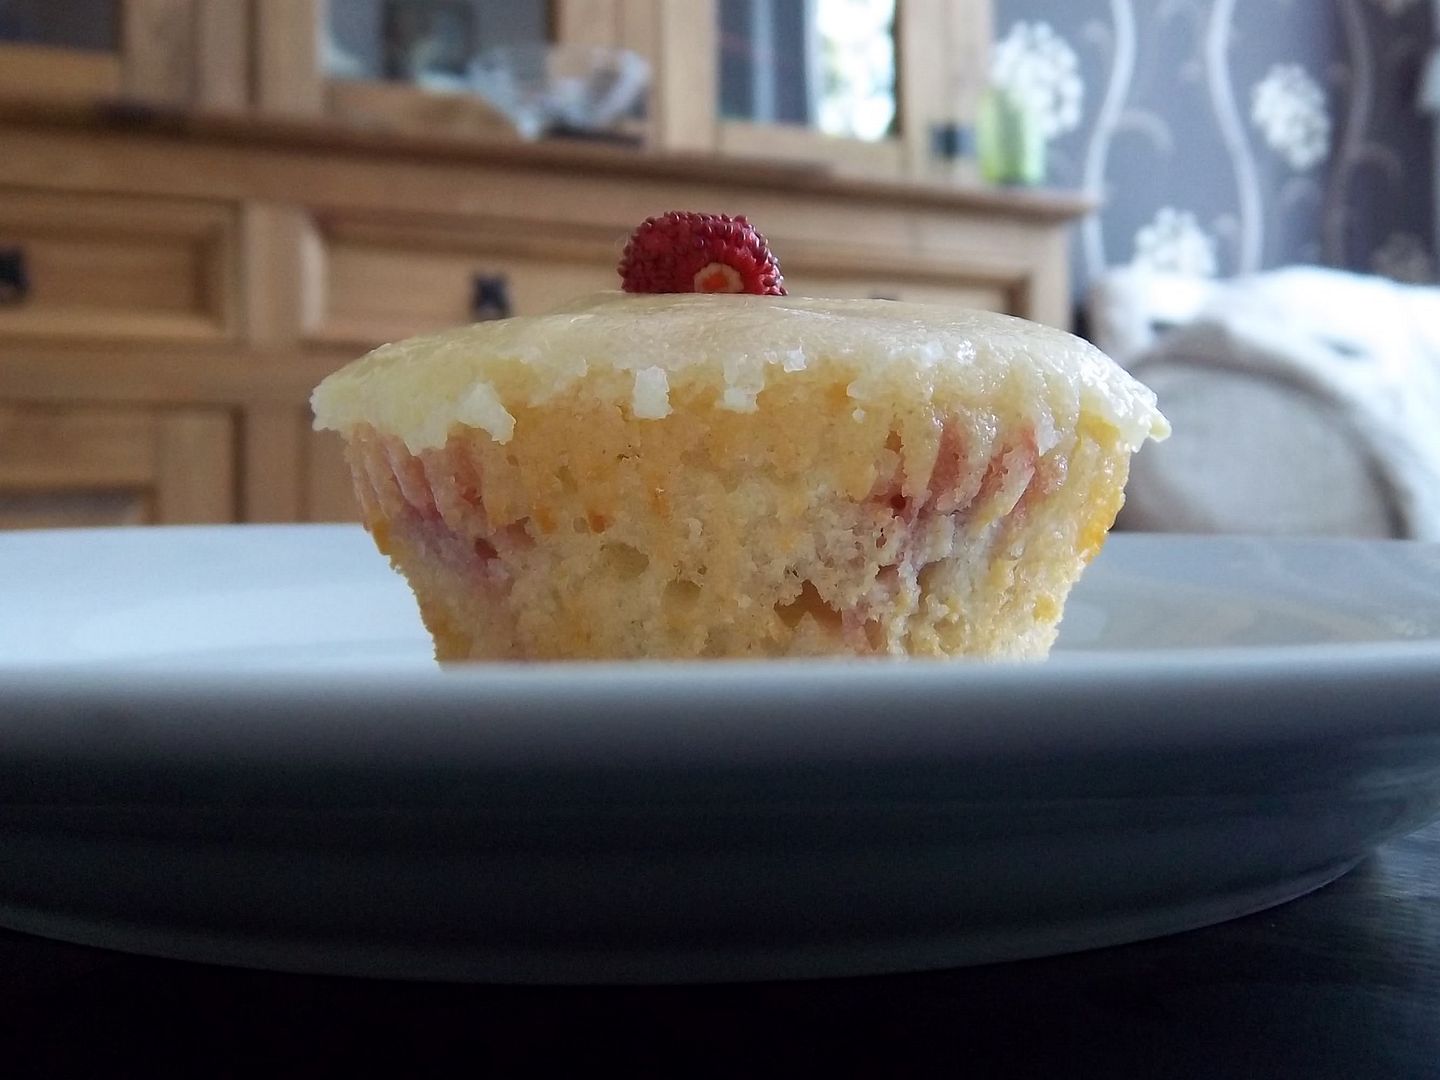
    Strawberry Cupcakes - my new summer fav.

    With Strawberries so cheap this summer these cupcakes are a definate must try & have become a favourite of mine.
    You will need...
    • 120g sugar
    • 55g unsalted butter
    • 1 large egg
    • 180ml natural yogurt
    • 2 tsp vanilla extract
    • 170g self-raising flour
    • 1 1/2 tsp baking powder
    • 1/4 tsp salt
    • 1/4 tsp baking soda
    • 1/2 cup fresh strawberries, diced
    • 60g butter, softened
    • 60g cream cheese
    • 200g icing sugar, sifted
    • Fresh strawberries to garnish

    Cream the sugar & unsalted butter until light & fluffy.
    Add egg, yogurt & 1tsp vanilla extract, stirring until smooth & well blended.
    Sift in flour, baking powder, salt & baking powder & mix.
    Fold in the strawberries
    Spoon the mixture into about 12 cupcakes & bake at 180C for about 20-25 mins
    To make the frosting cream together the softened butter & cream cheese until creamy.
    Gradually add the icing sugar, then the remaining vanilla extract.
    When the cupcakes are cool add the frosting & garnish with a strawberry (I used wild strawberries from my garden)

    Sunday, 10 July 2011

    School FEAST Bus

    On 20th October 2010 Telford & Wrekin Council launched the FEAST (Food Skills And Excellence Training) Bus. With £85'000 raised from grants the bus was converted into a state-of-the-art mobile kitchen with a seating area .... I'd happily have a kitchen like it!

    The idea behind the bus was to train school cooks so our children could be offered healthy, tasty, fresh meals at lunchtimes but this is not all it provides. The FEAST bus offers a place to teach cooking where there is a lack of space or cooking apparatus. It is used to teach parents (such as myself) to cook healthy meals, snacks and desserts as well as teaching children and teens cooking skills. Only this week I was taught how to portion off a raw chicken. We removed the wings, legs & breast meat, leaving barely any on the bones which was then used to create a stock. With 2 whole chicken costing as little as £7, the breast meat off 1 chicken alone would have cost us more than £5 by itself.


    This is the outside of the FEAST bus (well, durrrrr, obviously!)
    We start with washing our hands & putting our aprons on (lovely denim ones) before getting the ingredients out - all of which are supplied for us as part of the course. We get chopping, mixing & cooking, following the recipe while being guided by Debbie, our teacher, & taught some fab tricks of the trade. Deb adapts the recipes & course to suit the group she has & their level of ability.
    After each stage we take it in turns to wash up, dry & clean the table, work surfaces etc.
    If theres time we all sit round for a cuppa & a natter while food finishes off cooking.
    We finish by choosing as a group what we want to make the following week. Its nice to have this bit of freedom. As a group we normally pick a savory dish & a sweet dish - something for Tea & Pud to follow ;-)

    Inside the bus ...
    Having finished our cooking Debbie wraps up the chicken stock ready to use next week, and Sam takes a lil break. Here you can see the table we use to chop, mix etc & generally get all prep done. Deb (at the front) is standing in front of one of the posh hobs - they only stay on if theres a pan on it, so turn off as soon as you lift the pan off.
    Thank you to Deb & Sam for not minding having their photos taken :-)

    Behind Deb is the oven. The bin is normally slipped away but is easy to move round as it has been in the photo to easily pop in a boiled chicken carcass. There are 3 pairs of hobs spread around the kitchen area, plenty of cupboards for storage, a fridge & a sink with runing water
    To get a better look at the bus when it was brand spanking new follow THIS link.

    So far we have learnt to make:- Pizza from scratch, cheesy pasta twists, apple flapjacks, banana flapjacks, chicken curry, carrot & oat fruit muffins & strawberry muffins all in 3 lessons. Next week we're making minestrone soup & fruit pie. Its not only about the recipes though, its the skills we get while making them such as portioning off a chicken, how to seed a Pepper with barely any waste, how to make a sauce from a rue, etc.

    If you get a chance to do a course on the FEAST bus I would thoroughly recommend it, it has been an immensly enjoyable course, teaching me skills I can not only use myself but pass onto my children & other people.

    The FEAST bus will be at Telford's CultureFest 2011 cooking up some pizza for you to try, & you get the chance to make some bread - pop along for a nosey & to join in.

    If your interested in having a go on the FEAST bus then you can contact Debbie Hayfield on:
    01952 380964, or email debbie.hayfield@telford.gov.uk (she's lovely so dont feel nervous contacting her)

    Within Telford the courses are free, but it can also be hired for a fee outside this area as well.

    Saturday, 9 July 2011

    Pizza from scratch

    The first meal we made on the FEAST bus was PIZZA!! totally from scratch!!! Though we havent been given the recipe folder yet I did find a similar recipe for the base so we could make it at home.
    This one

    500g flour
    7g sachets yeast
    1/2 tsp golden sugar
    2tbsp oil
    325ml lukewarm water
    Homemade tomato sauce (HERE)
    cheese & anything else you want on top.

    Sift the flour into a mixing bowl & make a well.
    Mix the yeast, sugar, oil into the water. Leave a few minutes before before pouring it into the well in the flour. Slowly draw in the flour while stirring until you have a lovely dough.
    Knead for a while before putting into a large floured bowl, put a bit of flour on top. cover with a damp cloth & leave in a warm place to rise for about an hour.

    Remove the dough & knead it again. This amount should make 2 large pizzas - if theres too much you can store it in the fridge or freezer.

    Cover a baking tray with baking paper. Add the dough on top & either stretch, push or use a rolling pin to get the pizza base into the height, size and shape you want .... remembering it will rise to double its height when cooked.

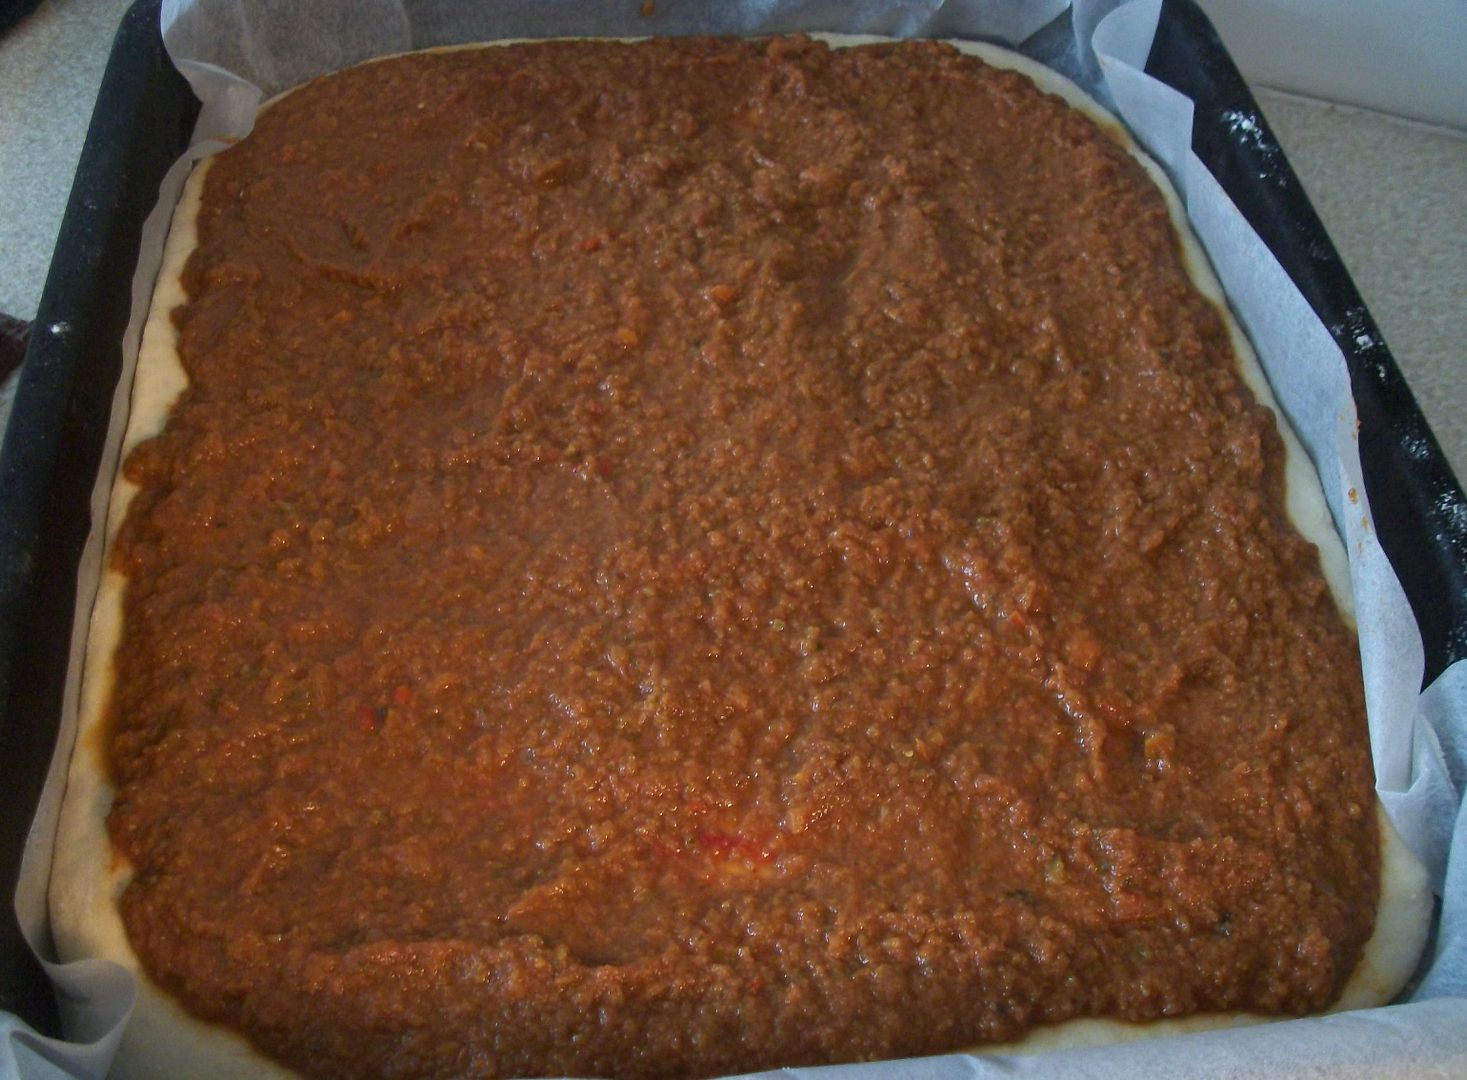
    I use a ladle to scoop a spoonful of tomato sauce & spread it out with the bottom of the spoon.
    This photo shows how much is too much to use, lol, it leaves the pizza a bit soggy. The next time I made it I put a thin layer which worked a lot better,
    Add your toppings - I got Kai to do this for me :-)
    Bake at 160C until it goes golden.

    Enjoy!!

    Thursday, 7 July 2011

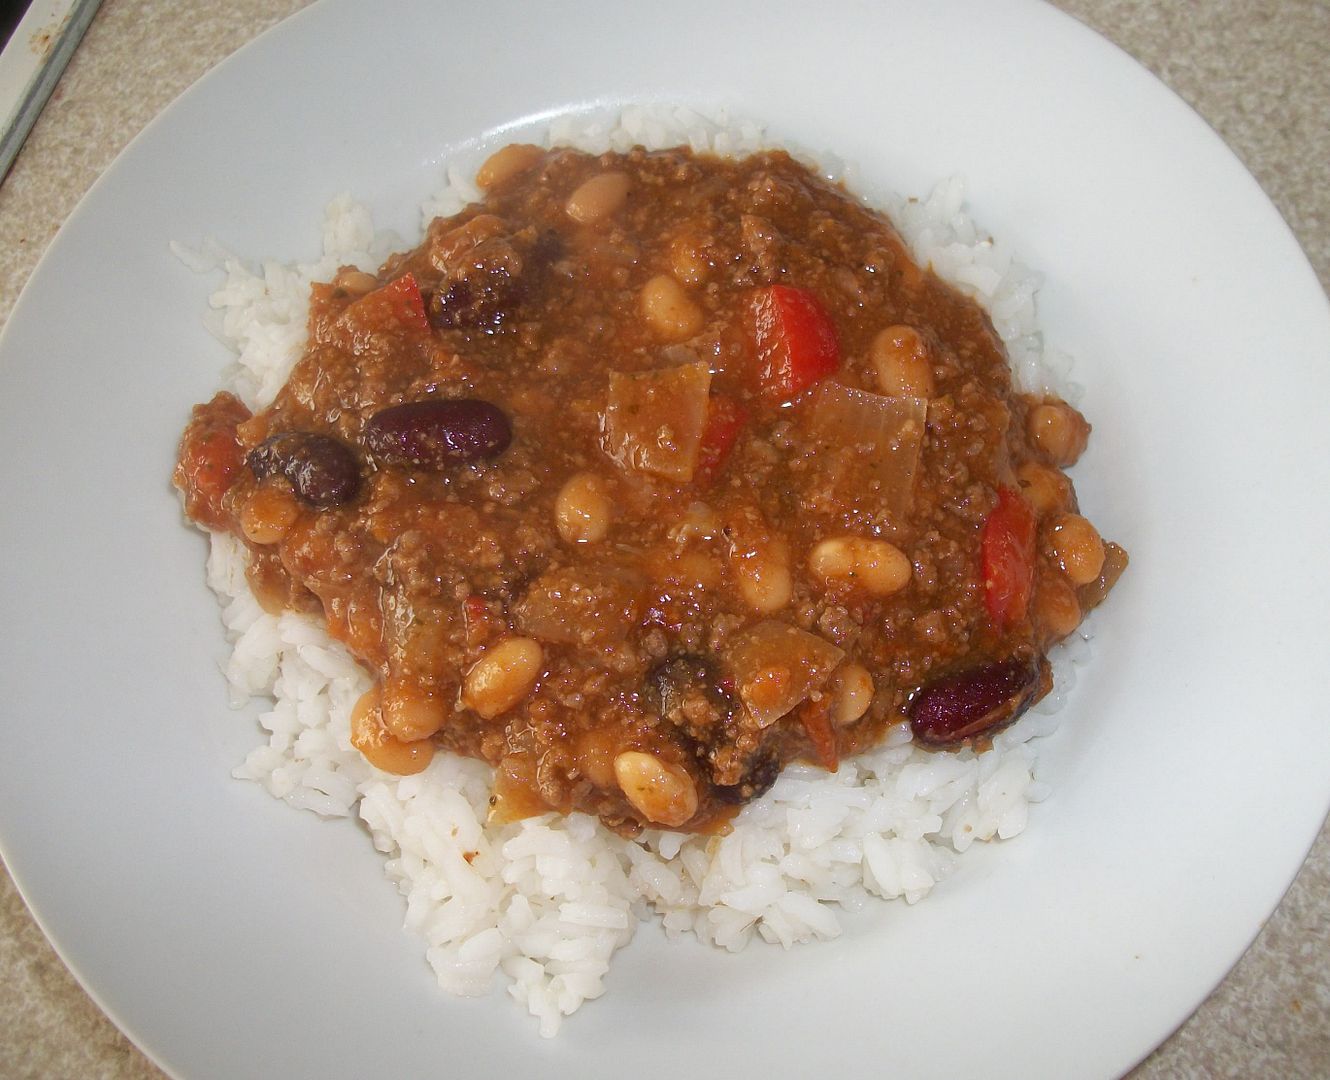
    Chilli Con Carne

    You will need:-
    Oil
    1 large onion
    1 red pepper - cubed
    1tsp hot chilli pepper or 1tbsp mild/medium (I actually use 1/2 tsp cayenne pepper instead as my lot dont like chilli)
    1tsp paprika
    1tsp ground cumin
    500g minced beef
    1/2 pt beef stock
    600ml homemade tomato sauce (see HERE)
    1/2 tsp dried Marjoram
    Salt & pepper
    tin Kidney beans
    tin baked beans

    Method:-
    add a splash of oil to the pan & cook the onions in it, on a low heat, until soft (about 5mins)
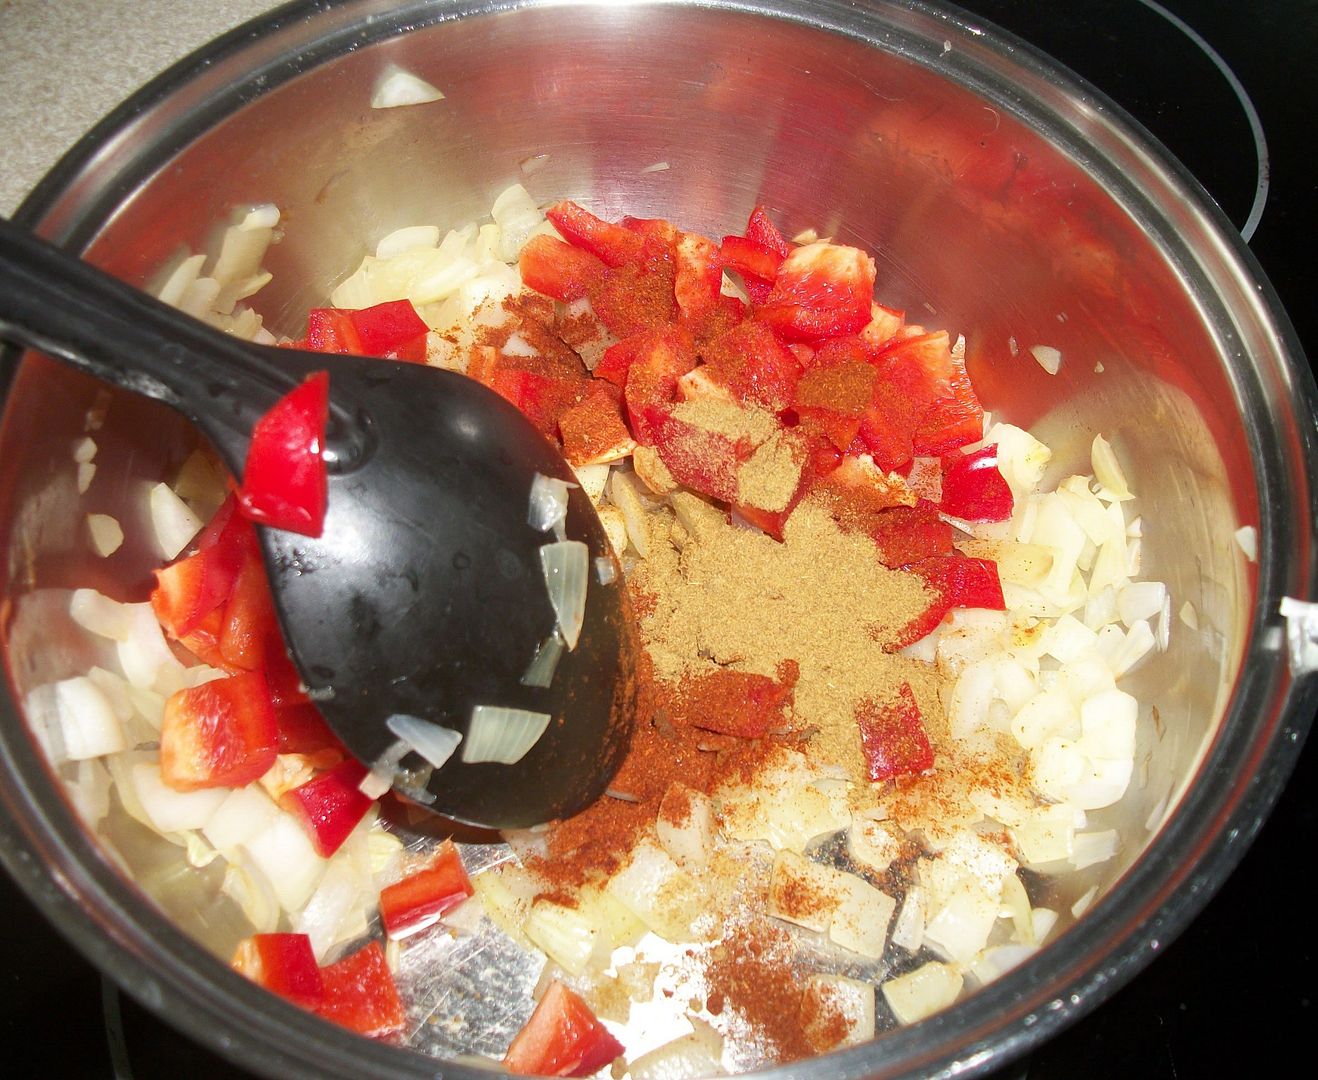
    Add the red pepper, chilli, paprika & cumin, stir. Cook for a further 5 mins stirring occassionally
    Add the mince & cook until brown before stirring in the stock, tomato sauce, marjoram, salt & pepper (to your own taste)
    Bring to the boil, stir, then simmer for 20mins stirring occassionally to make sure the bottom of the pan doesnt catch.
    Finally add both cans of beans & simmer for a further 10 mins.
    Taste to see if it needs any more seasoning, if it does then add it.
    Remove from the heat & leave for 10mins to allow flavours to infuse
    Personally I enjoy it most served on a plate of fluffy white rice.

    Wednesday, 6 July 2011

    Tomato Sauce with LOADS of hidden veg

    This is the first thing we made on the FEAST bus & is jam packed full of hidden veg, a tomato sauce that can be used on & in LOADS of things, so far I've used it on pizza, in chilli con carne & as a Pasta sauce, I'll be showing you these this week. I'm planning on using it in bolognaise, soup and anything else I'd normally put tinned tomatoes and tomato puree in.

    So on with the recipe.
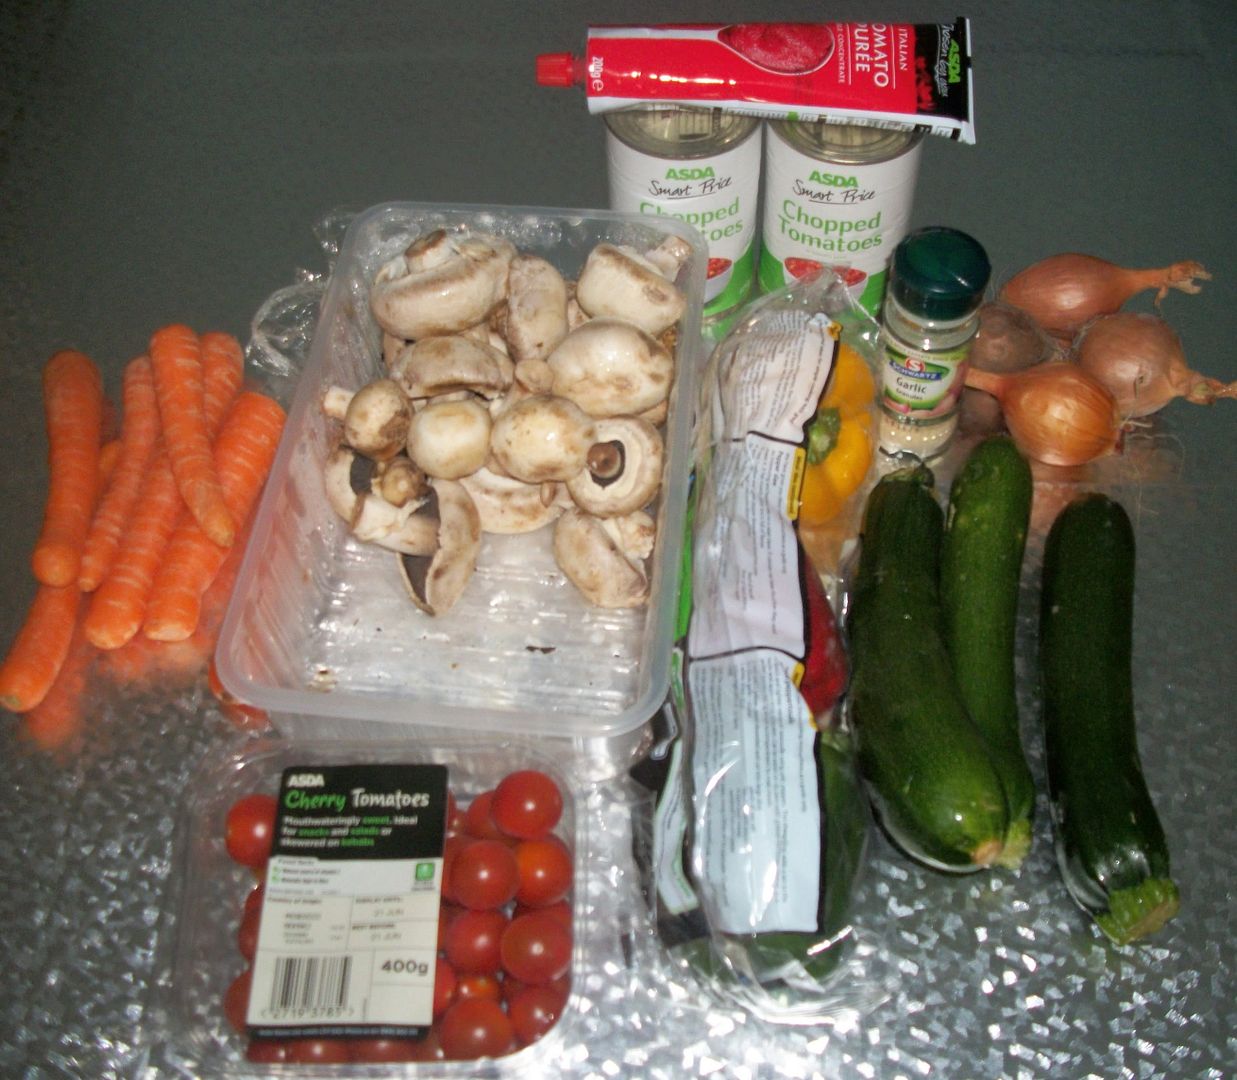
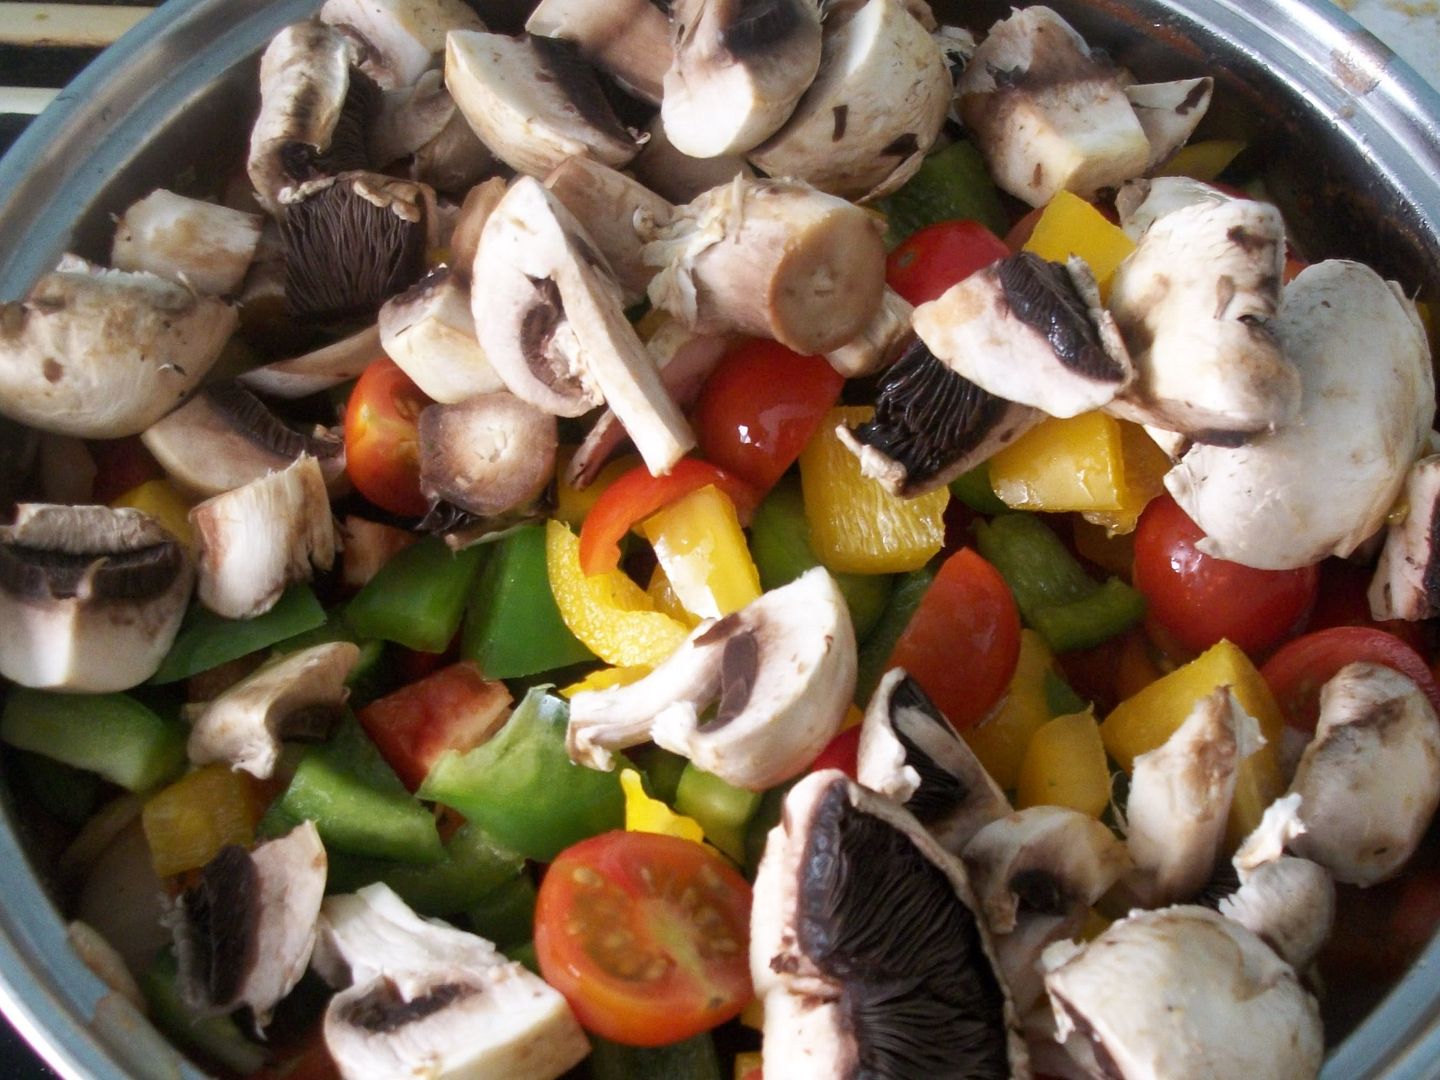
    Get a tin of tomatoes (or 2), tomatoe puree & a stack of veg (any except Parsnips & Broccoli, we were told they drown out the other flavours)
    This time I used:-
    2 tins of tomatoes
    1 tube of tomato puree
    1/2 a tub of cherry tomatoes
    1/2 tub mushrooms
    3 courgettes
    3 peppers (1 of each colour)
    about 8 medium sized carrots
    garlic powder
    3 onions
    4 frozen balls of spinach (not shown in the photo)
    You can pretty much use anything though, I've some frozen sprouts that arent being used as they're not very nice so I'll add these next time. We're meant to eat fruit & veg of every colour of the rainbow to get a wide spread of vitamins & minerals, this recipe easily does that.

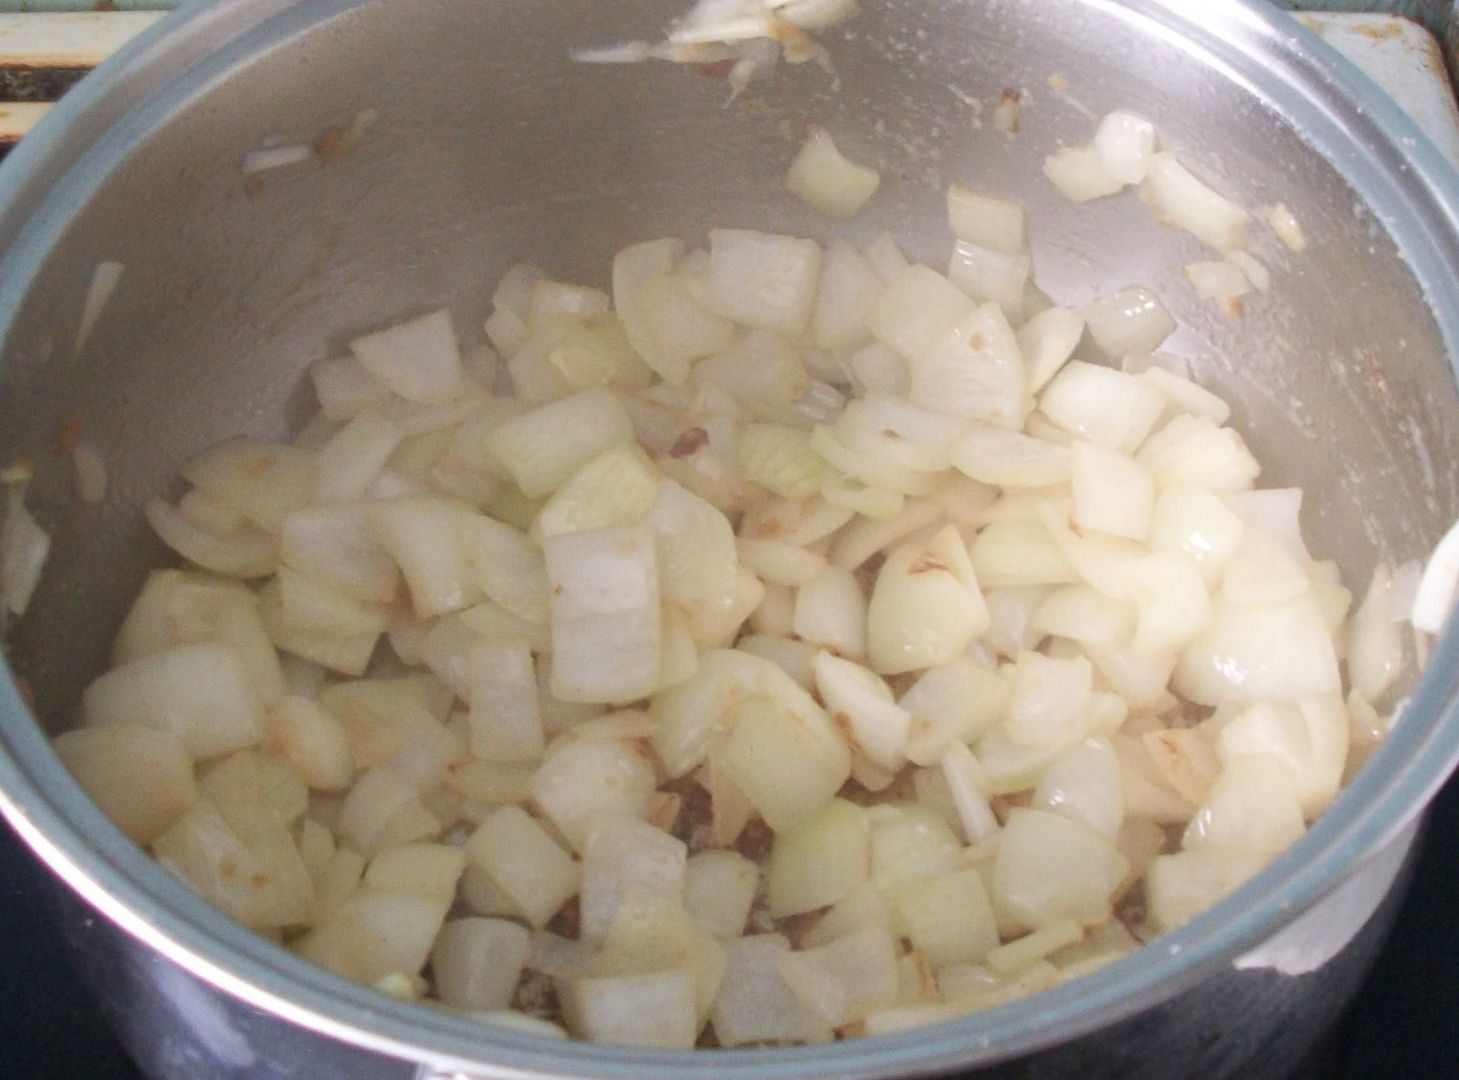
    Fry the onions with the garlic (powder, sauce or fresh garlic, its upto you) until soft
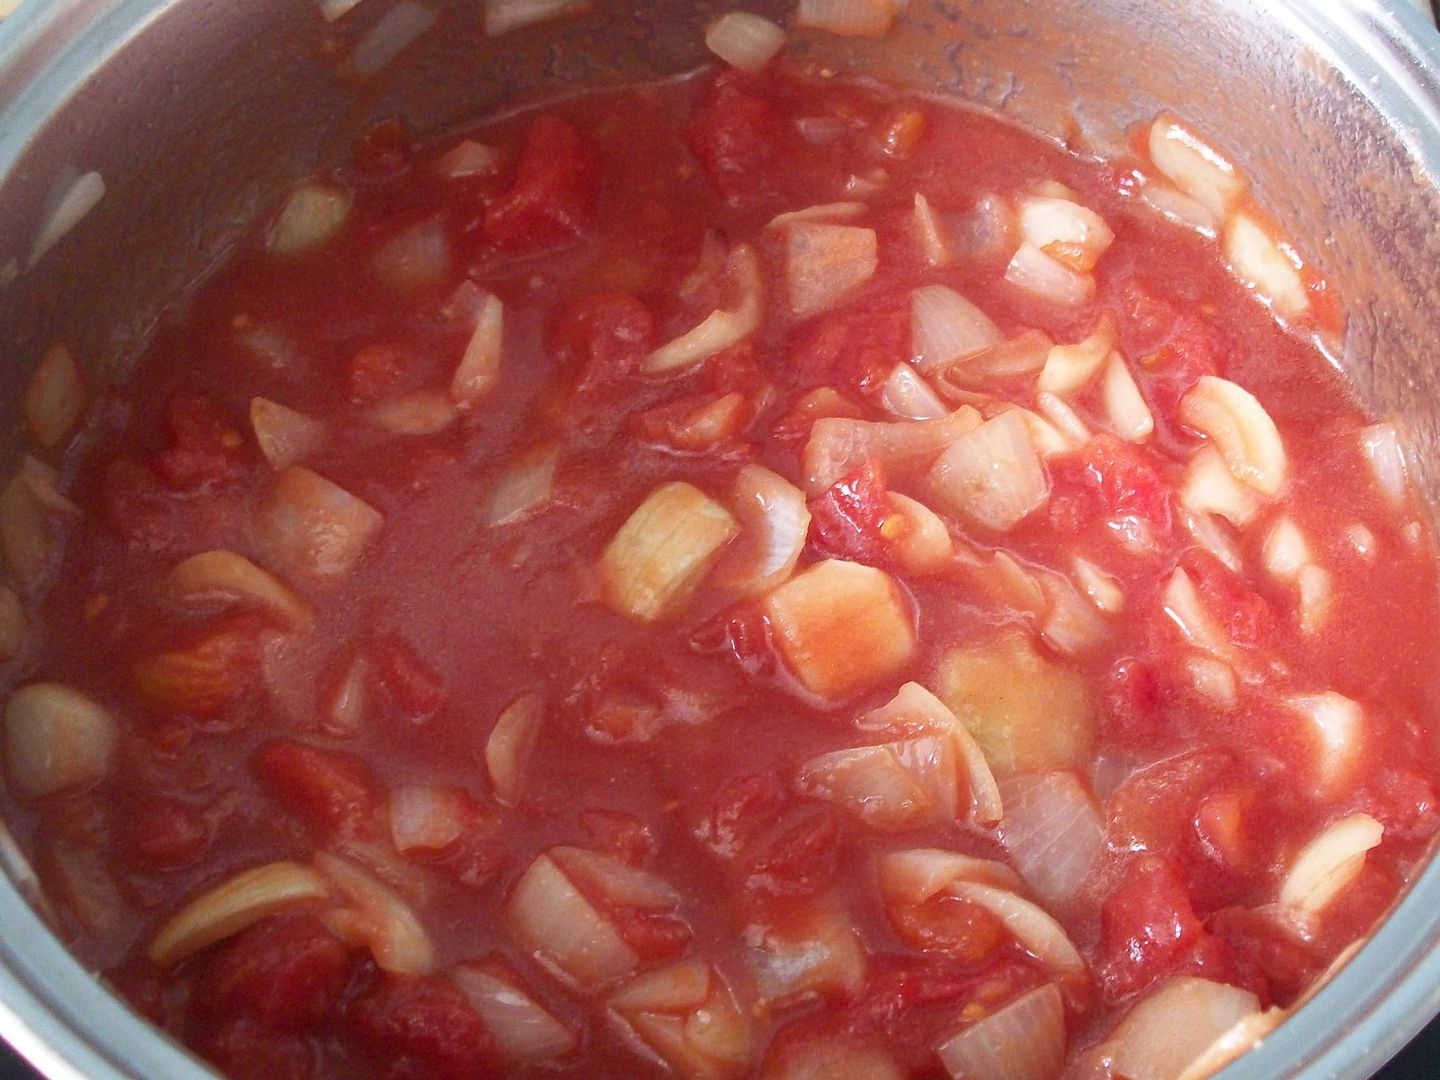
    Add the tinned tomatoes & tomato puree
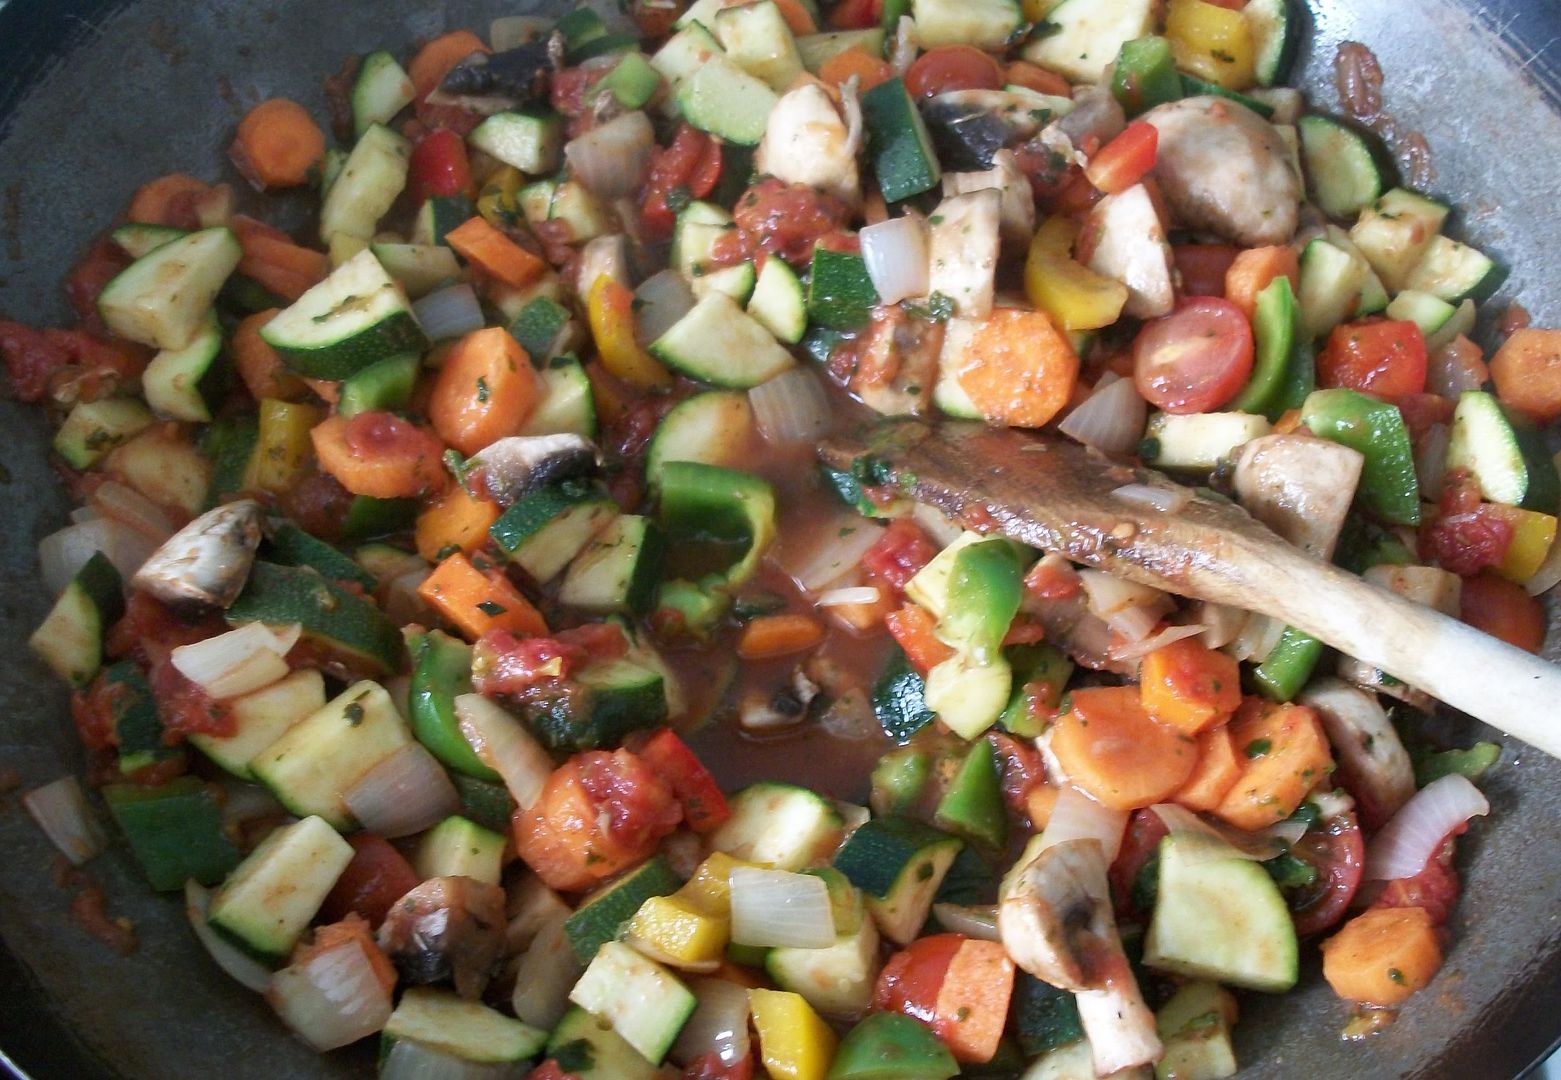
    Chop the veg & add them to the pan
    Oooops, my pans a bit too full
    I swapped & added it all into my wok
    Simmer until softening.
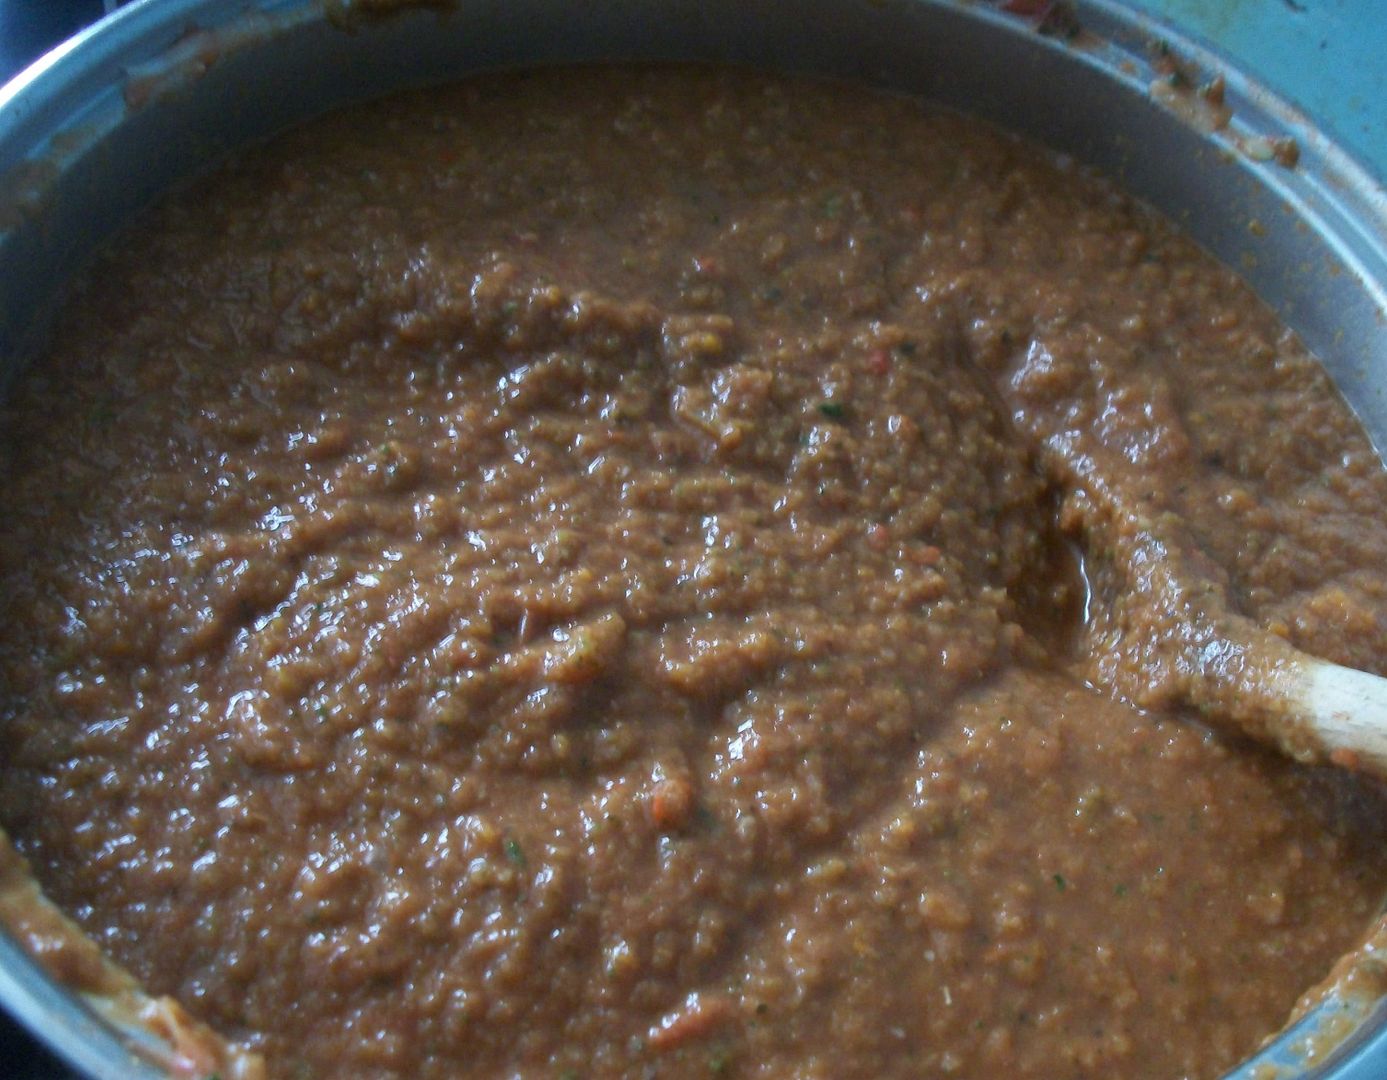
    Blend the lot until as lumpy/smooth as you want.
    It does end up a bit redder than this photo shows

    I then divide it between my plastic chinese tubs (these can be bought in poundland, or just wash out the ones you have left after getting take away)
    This amount works out to be about 6 meals, it keeps in the fridge well & can also be frozen.

    Tomorrow I'll show you how I use this sauce to make Chilli Con Carne.

    Wednesday, 29 June 2011

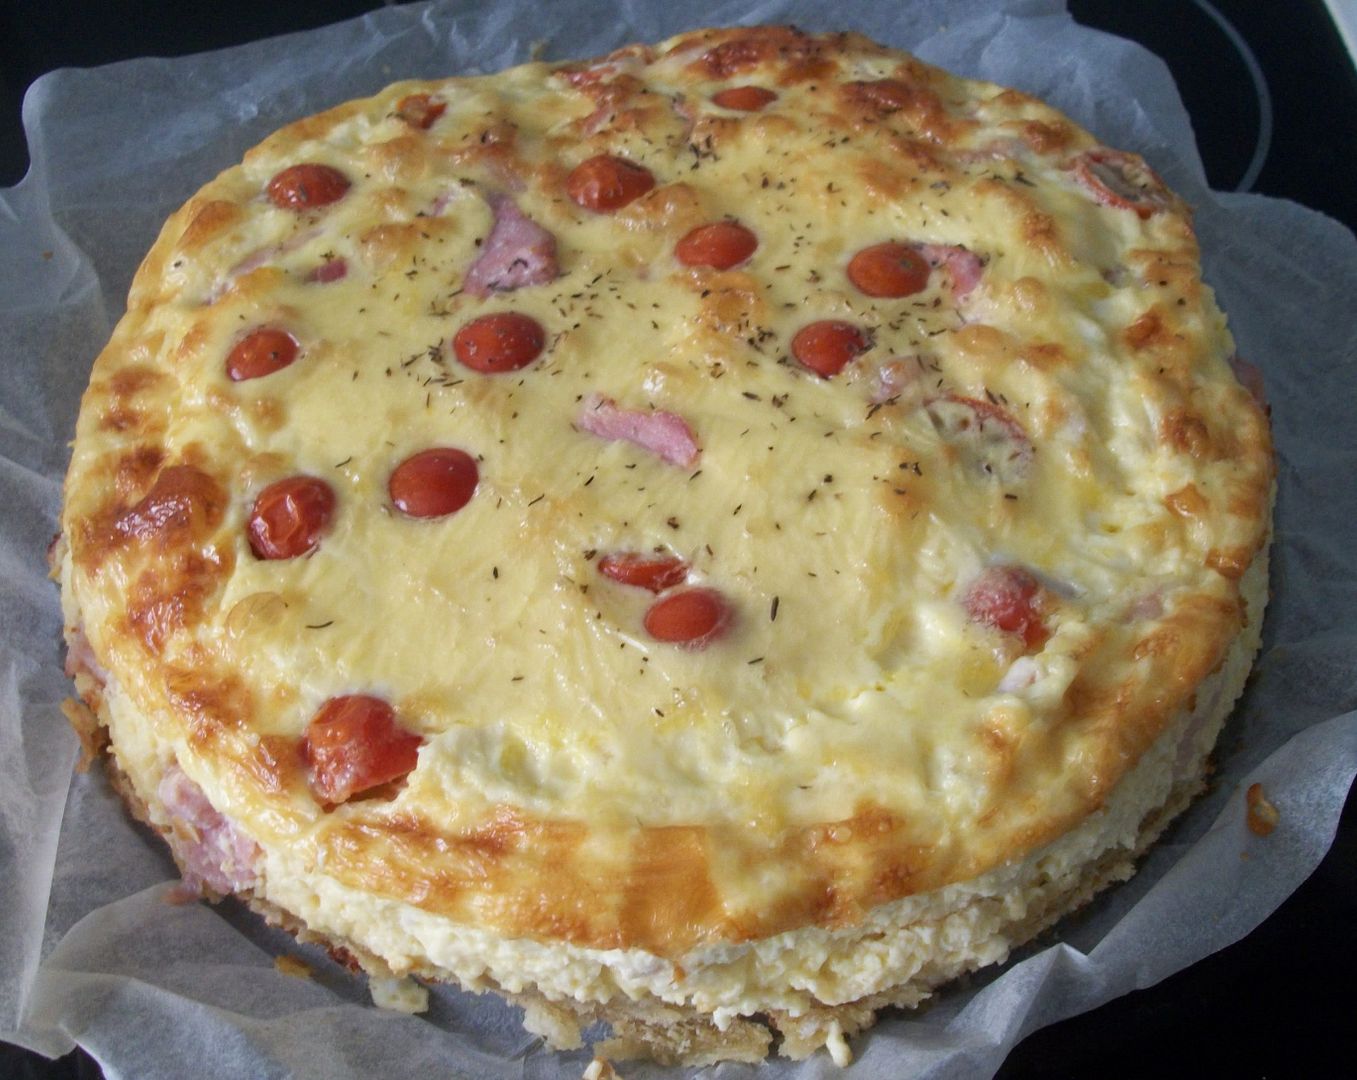
    Mmmmm Quiche Lorraine

    I've recently got a boost in my confidence with cooking so I'm cooking from scratch a LOT more. It can be hard to cook healthy meals that all 3 of my lads enjoy, the FEAST bus has helped out quite a bit with this. For those who have asked about the FEAST bus I'm planning on doing a blog post about it either this week if my camera (which Kai tried to take a picture of IN the paddling pool) works tomorrow, if not it will be next week, all shall be revealed.

    Currently the papercraft projects I'm working on cant be shown so you'll have a few recipes I've used over the next few days to browse through.

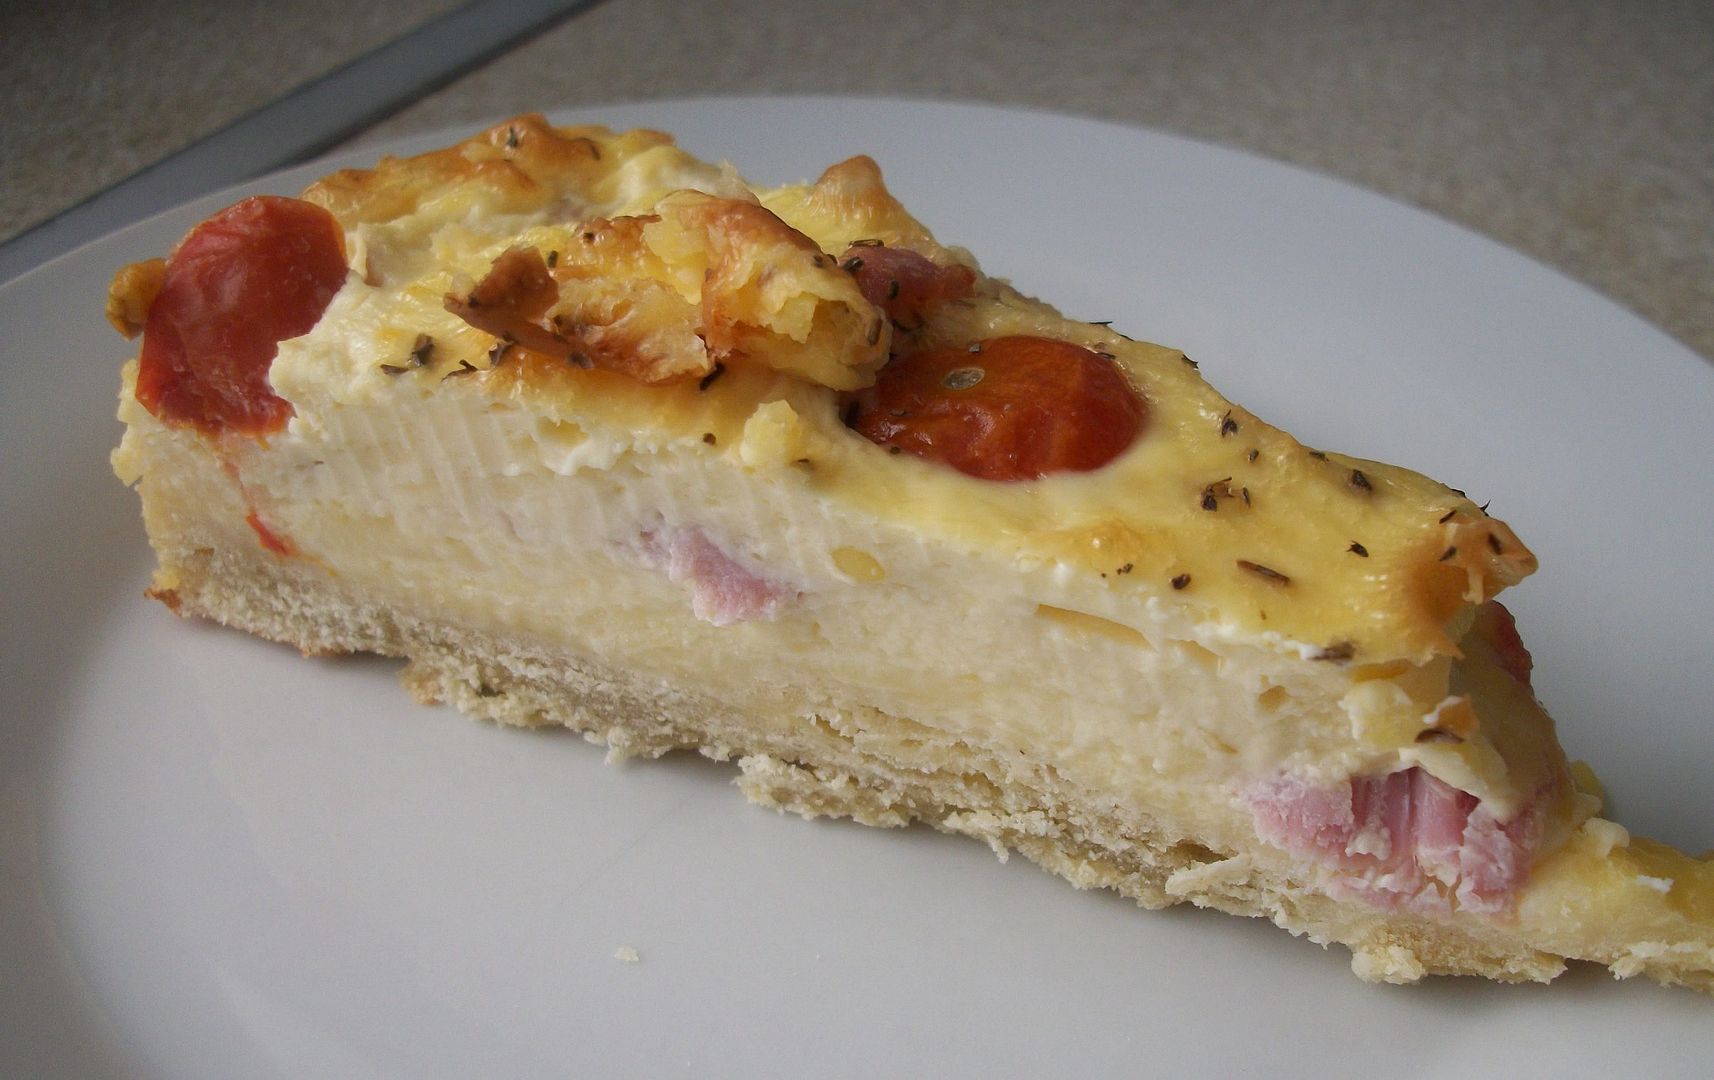
    I have cooked Quiche Lorraine twice now for my family & they think its delicious. I do it with a shortcrust base but non on the sides. Its a large quiche which not only does us as a warm tea but also as a yummy lunch the next day, or a couple of days after (it keeps well in the fridge & I personally find it even nicer cold).


    first off .... The Pastry
    175g/6oz plain flour (plus extra for dusting)
    salt
    75g/2¾oz butter (plus extra for greasing)
    Water

    To make the pastry, sift the flour together with a pinch of salt in a large bowl. Rub in the butter until you have a soft breadcrumb texture. Add enough cold water to make the crumb mixture come together to form a firm dough, and then rest it in the fridge for about 30 minutes wrapped in clingfilm.

    Preheat the oven to 190C/375F/Gas 5.

    Roll out the pastry on a light floured surface and line a 24cm/9inch well-buttered flan dish (I actually used a spring form cake tin, it worked great).

    When cooked the base can bubble & rise a bit ... I dont mind this but if you do line the base of the pastry with baking parchment and then fill it with baking beans. Place on a baking tray and bake blind for 20 minutes. Remove the beans and parchment and return to the oven for another five minutes to cook the base

    Now for The Filling
    250g/9oz English cheddar, grated
    4 tomatoes, sliced (optional) or a few cherry tomatoes cut in half
    200g/7oz bacon, chopped (bacon bits is a cheap, easy product to use)
    5 eggs, beaten
    100ml/3½fl oz milk
    200ml/7fl oz double cream
    freshly ground black pepper
    2 sprigs of fresh thyme

    Reduce the temperature of the oven to 160C/325F/Gas 3.
    Sprinkle the cheese into the pastry base and add the sliced tomatoes if you are using them. Fry the bacon pieces until crisp and sprinkle over them over the top.
    Combine the eggs with the milk and cream in a bowl and season well. Pour over the bacon and cheese. Sprinkle the thyme over the top.
    Bake for 30-40 minutes or until set. Remove from the oven and allow to cool and set further.
    I personally think this far surpasses any I've bought flavour wise, even if I do say so myself :-)

    Saturday, 14 May 2011

    Eek Pie

    This pie is a great way to use up left over meat, I make one most mondays to use up the roast left overs. & dont let the name put you off, the main ingredient is Leeks which Kai calls "Eeks"

    Ingredients:
    Glug Oil
    500g leeks - chopped
    2 veg stock cubes (make up with 2pints water)
    2tbsp plain flour (heaped)
    1 sheet puff pastry
    egg or milk to glaze
    Left over meat
    2tbsp creme freche/cream/yogurt (heaped)
    Pepper (optional)

    Method
    Add the glug of oil to the saucepan & follow with the leeks. give a quick fry & then turn the temperature down to simmer with the lid on. Leave it to simmer for 30mins, stirring every 5-10 mins to stop it from catching.

    Take off the heat & sprinkle the flour over the leeks before stirring in. Add the stock, meat, pepper and creme freche (or which ever you choose) & stir. At this stage you can also add any other veg, herbs etc that you want. Put back on the heat until it boils.

    Remove from the heat & strain the juices into another saucepan - this can then be reheated later as gravy &/or soup.

    Put the mixture thats in the strainer into a pie/pyrex dish and cover with the puff pastry - you can then tuck in the edges, or cut to fit. Brush over milk or egg & put into the oven - 190°C/375°F/gas 5 for about 30mins, checking towards the end of the cooking time to ensure  the pastry is golden but not going too dark.

    Serve up and add the reheated "gravy".

    Mmmm, creamy leek soup.

    I have tried this so far with bacon, ham, and chicken so far, the ham one being the favourite of my family, but all enjoyed. Its also a fab way to get vegetables into them :)
    Altering the type of stock also varies the taste enourmously, This week I boiled the chicken bones & used the stock from them giving the pie a strong chicken taste that almost hide the leek taste.

    Tuesday, 10 May 2011

    Caramel Shortbread

    WARNING: Turn away if you are on a diet!
    This are sooooooo not good for your waste but yummy in the tummy.

    Shortbread:
    225 g. plain flour
    75 g. caster sugar
    175 g. unsalted butter
    Caramel200 g. unsalted butter
    379g. can sweetened condensed milk
    4 tablespoons golden syrup
    Chocolate Topping
    325 g. plain chocolate

    brownie tin or similar, greased and the bottom lined with waxed paper
    Preheat the oven to 170 C/gas mark 3/325 F

    Put the flour and sugar into a bowl and rub in the butter, clumping the dough together to make a ball. Press this shortbread mixture into the tin and smooth it down, I used my sons little rolling pin to do this.

     Prick with a fork and cook for five minutes, then lower the oven to 150 C/gas mark 2/about 320 F, and cook for a further 30-40 minutes until pale golden and no longer doughy. let it cool in the tin.

    Melt the remaining 200 g. of butter in a large microwavable bowl, then add condensed milk and golden syrup. Whisk the mixture well until the butter is thoroughly incorporated. Now, I read that you could heat this mixture in the microwave for 6-7 minutes until boiling, stirring thoroughly every minute, however it boiled up & over within that minute. I could only heat it in 15second bursts which meant it took a very long time - next time I'll heat it the old fashioned way over a double boiler.
    What a mess!!
    It's ready when it's thickened and turned a light golden brown. I found the best way to test it was on a plate that had been in the fridge, like you would jam. If a drop goes solid/ doesnt run on the plate then its ready. Pour this molten toffee over the shortbread and leave to set.

     Melt chocolate and pour over the fudge mixture and leave to cool.

    Once set, cut the caramel shortbread into pieces. Makes about 24.

    Saturday, 26 March 2011

    Banana Fritters

    One of my families favourite puddings is banana fritters. They are simple to make, cheap & get the goodness in bananas down their throats :) This is even a good way to get rid of over ripe bananas.

    Ingredients
    Bananas
    2oz Flour
    1 egg
    1/4pt milk
    1/4tsp baking powder
    Veg oil for deep frying
    syrup or sugar

    Method
    Put the oil on to heat, keeping a close eye on it

    Sieve the flour and baking powder into a bowl. Make a well in the center and crack the egg into it. Combine a bit of flour with the egg & then add a small quantity of milk and stir. Continue adding the milk gradually, stirring all the while, until all the milk is added and the batter is of a smooth consistency. Beat for about 5 minutes, cover and set aside.


    Cut the bananas in half and cover them throughly in the batter mix. Add to the oil & fry until golden. Drain & place onto kitchen roll. Serve warm with either syrup or sugar sprinkled on top.

    Saturday, 5 March 2011

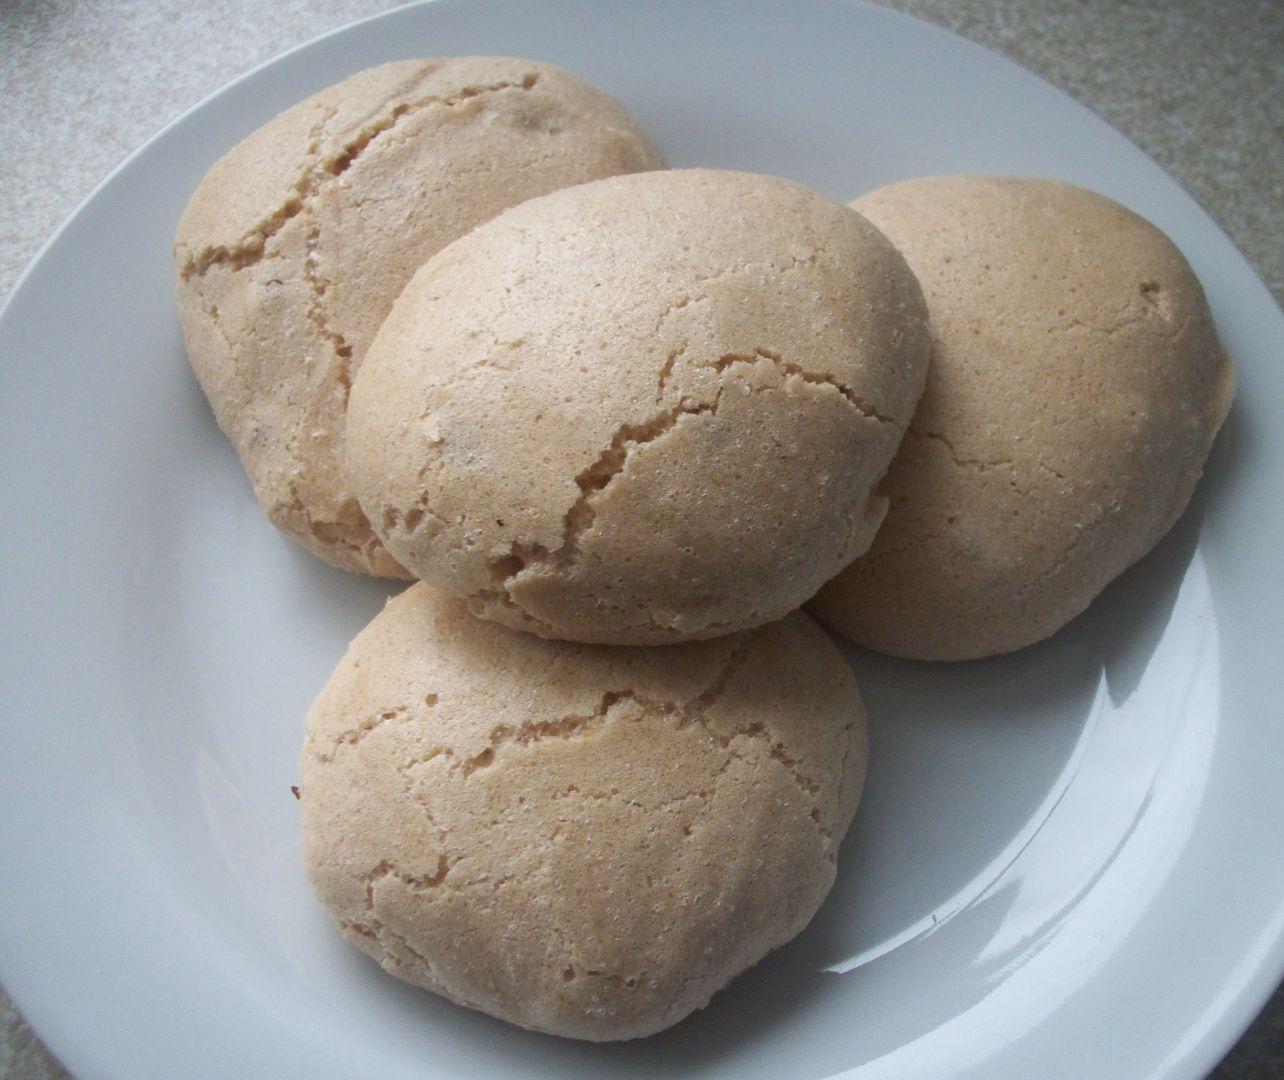
    Brown Sugar Meringues

    I grew up with having brown sugar meringues made for us by my Mom. They are easy to make and are far superior in taste to the usual plain meringues.
    these are all thats left out of a batch of 24 after 3 days :-O (yes, I did eat most of them **blushes**)

    Heres how to make them...

    Ingredients:-
    3 egg whites
    3oz caster sugar
    4oz brown sugar

    Whisk the egg whites until it forms stiff peaks (when turn the whisk off & lift up it creates a "peak" in the egg whites that stay up & pointy)
    Whisk in Caster sugar gradually until it forms firm peaks (when turn the whisk off & lift up it creates a "peak" in the egg whites that stay up & but the points curve under)
    Sprinkle brown sugar over the mix and fold in carefully.
    Place a tablespoon of the mix onto a baking sheet covered in baking paper.
    Preheat oven to 140oC, bake for 1&1/2 hours.
    When cooked turn the oven off & do not remove until completely cool.
    Use a fish slice to remove.

    Saturday, 26 February 2011

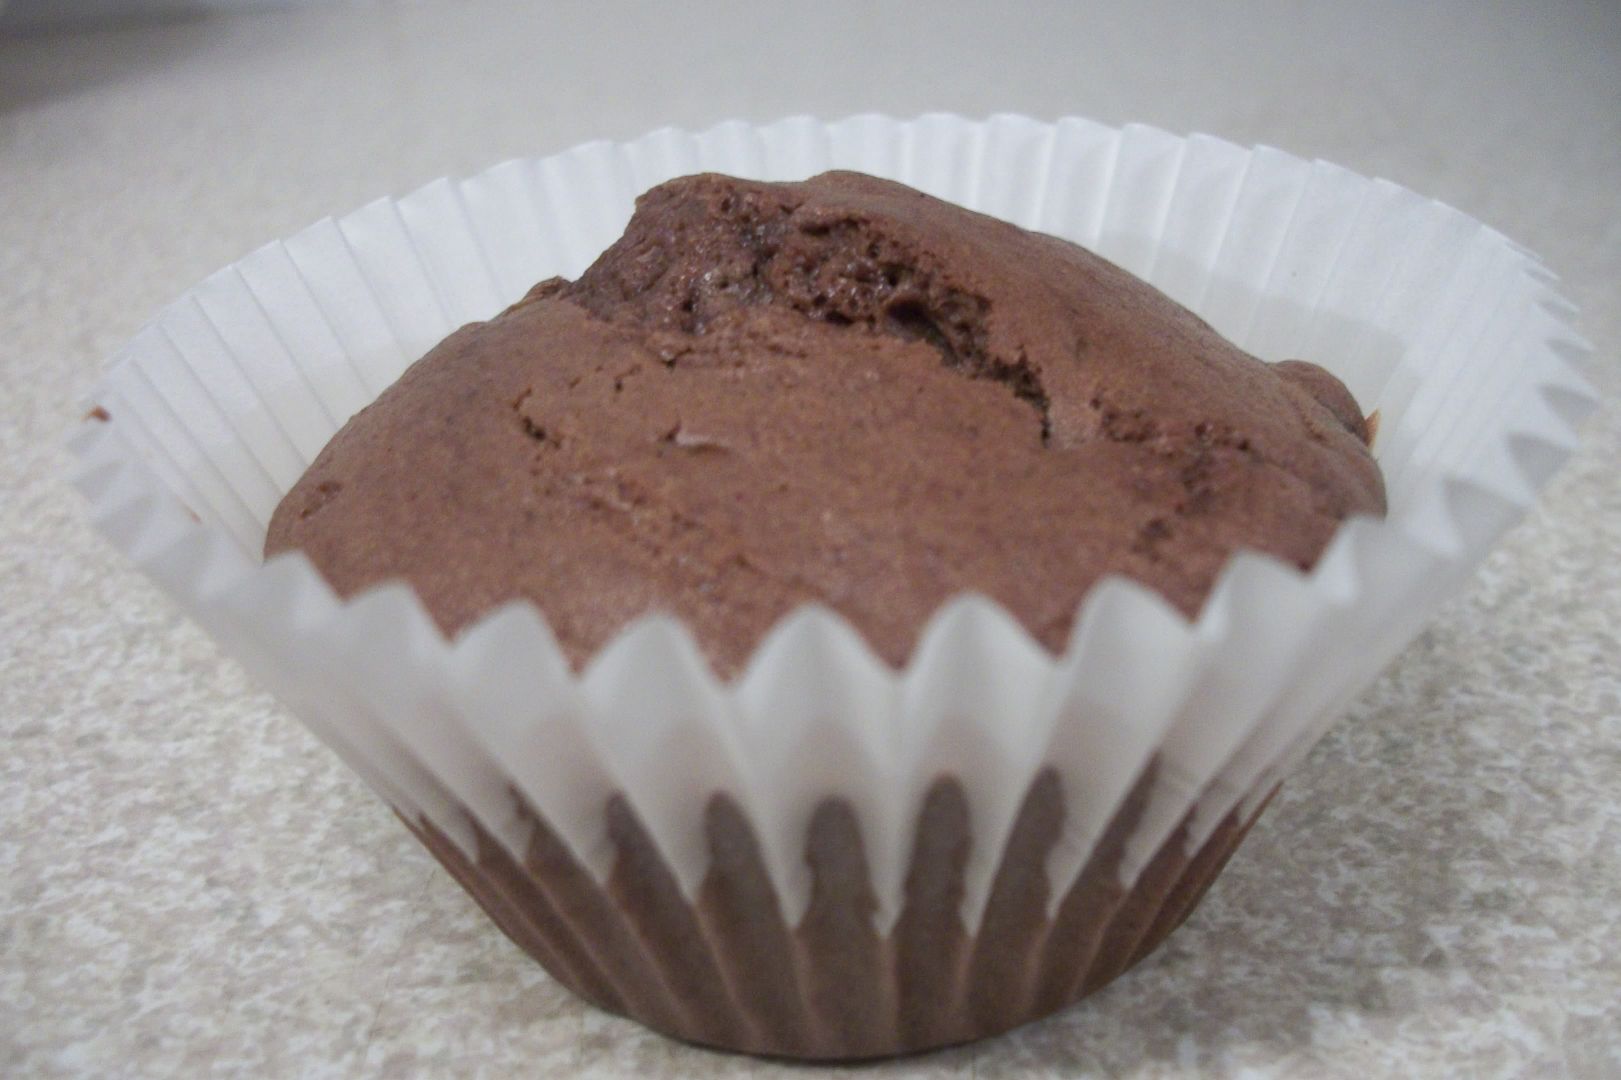
    Skinny Chocolate & Cranberry Muffins

    The kids were asking for a pudding & I was after something sweet as well so, having found this recipe for Skinny Chocolate & Cranberry Muffins earlier I set them too work.

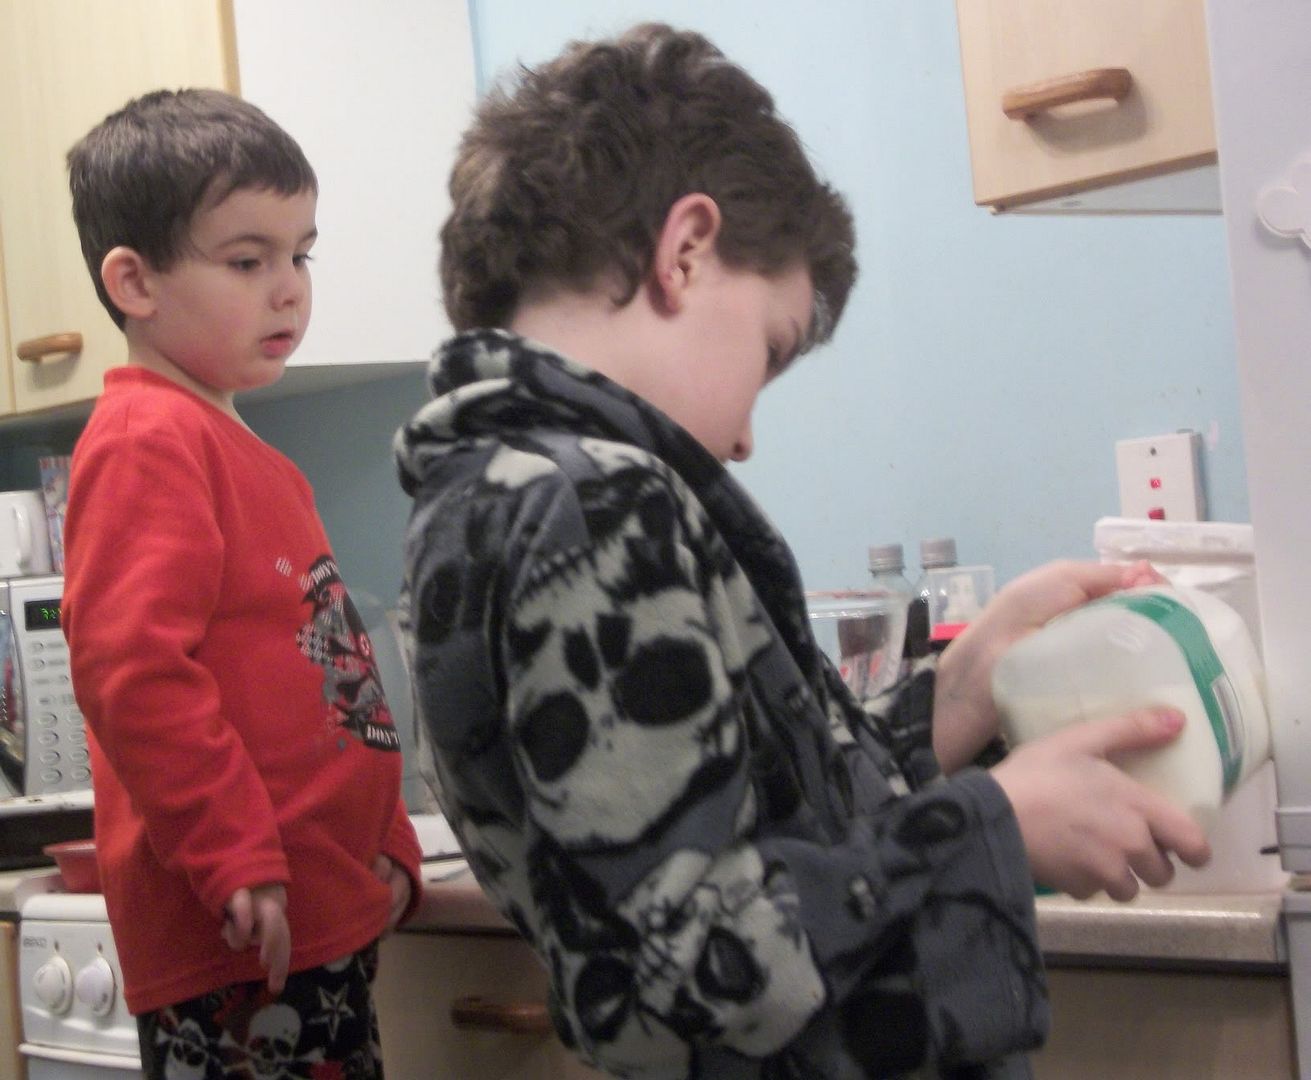
    Zack weighed out the dry ingredients before Kai sieved them. While Kai was doing this Zack would then measure out the wet ingredients into another bowl. They swapped bowls again so Kai could stir the wet ingredients while Zack melted the chocolate. Zack gave the wet ingredients a final stir before slowly pouring them into the dry ingredients as Kai stirred. I finished off my putting them into the muffin cases and baking them.

    This team work cooking worked very well with no arguements!! Very rare for my 2, theres normally at least the odd bit of moaning from them as Kai doesnt want to share as he's enjoying a particular job (well he is only 3) or Zack retaliates by winding him up (as most older siblings do).

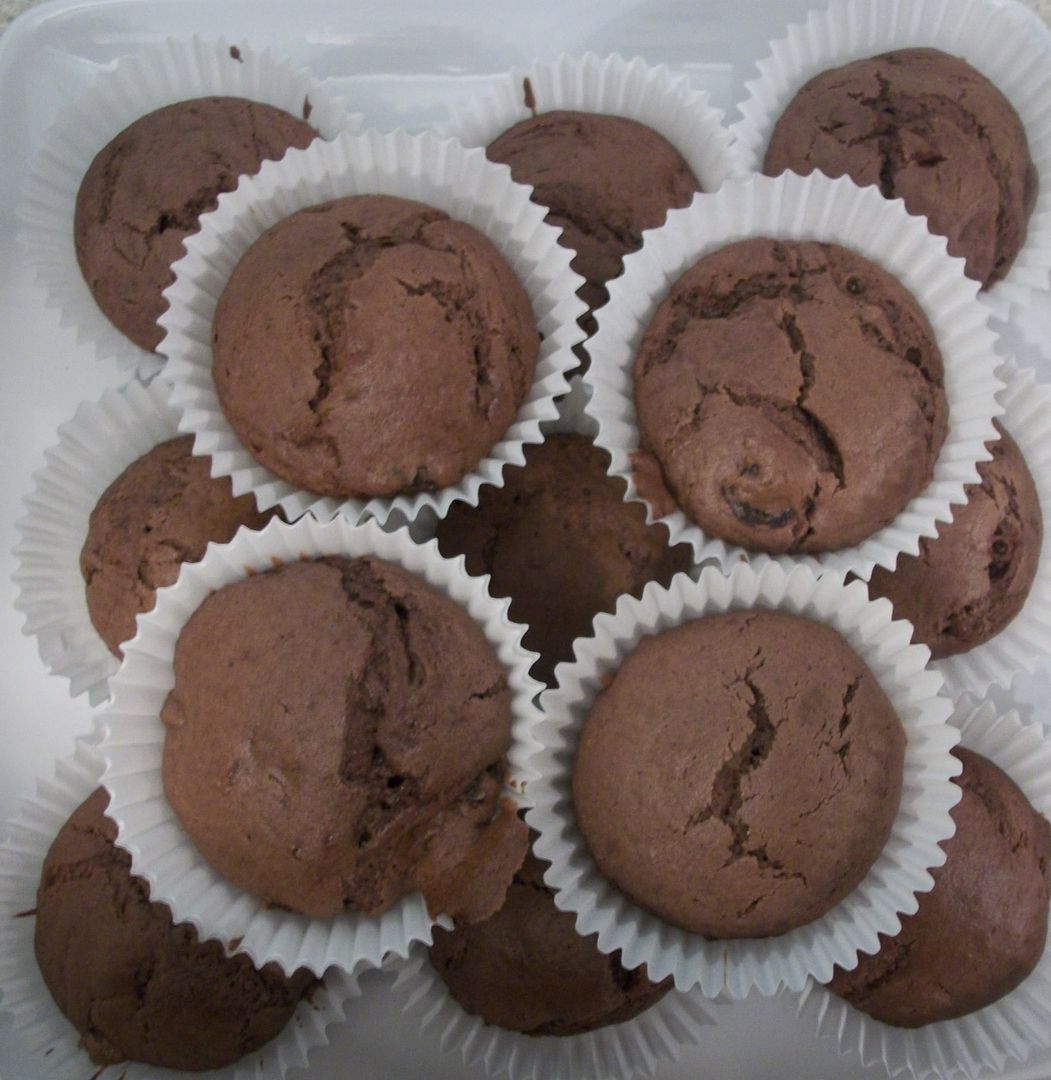
    The muffins can out looking & tasting divine - They are also fairly healthy, both by being low in fat & getting fruit into the kiddies :)

    Saturday, 12 February 2011

    Homemade Eclairs / Profiteroles

    One of my favourite puddings are Profiteroles and Eclairs, I count them as one as its only really the shape that alters them from the one to the other. They are sooooooooo simple to make but will impress your guests.
    Ingredients:
    50g (2oz) butter or Marg
    60g (2 1/2oz) plain flour (all purpose flour)
    2 eggs, well beaten
    150ml (1/4pt) water
    125g (4oz) chocolate
    a small carton whipping cream

    Method:
    1. Grease a baking sheet and dampen it under a cold tap for a few seconds - place to one side until needed.
    2. Cut all the butter and heat it in a saucepan with the water. Sift the flour into a bowl.
    3. When the mixture in the saucepan begins to boil take it off the heat & tip in all the flour in one go.
    4. Beat the mixture until it is smooth and comes away from the sides of the pan. This only takes a minute or two.
    5. Cool the mixture for 5mins then beat in the egg a bit at a time to make a thick, smooth, glossy paste
    6. Turn the oven on to 200C, 400F, gas Mark 6.
    7. Put teaspoons of pastry on the baking sheet and put in the oven. (for eclairs put the pastry into lines, you could even do this with an icing bag) After 10mins turn the temperature upto 220C, 425F, gas mark 7
    8. Bake for another 15-20mins, then peep into the oven. The buns should look puffy and golden brown.
    9. Put them onto a wire rack & prick a hole into the side of them to let out steam, otherwise they'll get soggy & collapse.
    10. Put the chocolate into a bowl. then gently heat this over a pan of water until the chocolate melts. Stir until smooth & scoop over the eclairs.
    11. When the eclairs have cooled make a larger hole in the side and fill with whipped cream - I find this easiest to do with a good quality icing bag with a nozzle on, that way you can just pop the nozzle inside & squeeze the cream in.
    Tada, all done & ready to eat!

    Linkwithin

    Related Posts Plugin for WordPress, Blogger...