Honestly it is!!! Or at least its the start of the Summer Holidays.Yet again I've been compiling a list of activities for the kids to do when they're bored. Every weekend I'll give you a breakdown of what I've been upto with them over the previous week. Some weeks will be busier than others as I believe some of the time kids need to do their own thing & think up their own activities, to strengthen their independence and imagination (and lets face it, to give me a break ;)
Kai is 5 and Zack is 13 so there will be some activities they'll do together, some with Zack helping Kai to do, and other times they'll have different activities to suit their age and personalities. We'll also have the odd day out.
To get you started HERE's my list from last year, HERE's my pinterest kids activities board and HERE is any other post involving summer & my kiddies winkles.
A few of you have joined in & know the routine but for those of you who havent ... If you have any blog posts on kids activities, or pinterest board, or just know of any, I would really love it if you could link them up in the comments so that together we can keep our children amused this summer holiday.
Showing posts with label Kids. Show all posts
Showing posts with label Kids. Show all posts
Saturday, 21 July 2012
Saturday, 14 April 2012
Angry Birds Birthday
Its been a busy couple of weeks with the children being off school where I have got little done in the way of crafting but did manage to sneak in a bit of crafting.
Kai had his 5th birthday which kind of had a Ben 10/Angry Birds theme to it with my makes taking on the Angry Birds theme.
First off....
An angry birds "Happy Birthday" banner using angry bird style writing on angry bird kinda coloured bunting.
Also, an Angry birds cake. Kai likes Asda's sponge cake so I bought a photo cake from there & used that for my base. With it being rectangular & covered in white fondant icing it was perfect to decorate (they also freeze & then defrost REALLY well.
I printed out an angry birds picture, traced it onto greaseproof paper & used that as my template. I could then roll out the fondant icing (I bought ready coloured), put the template paper on top & draw over it with an embossing tool. I'd then remove the template & cut the image out of the fondant before sticking onto the cake with a small amount of water. It took the best part of a morning but I think it was well worth it.
Thursday, 9 February 2012
Party Crafts - Cards & Invites
We made 3 cards this week in Party Crafts
This is the "rocking card", quite simply a circular piece of card folded in half and decorated. Can you tell Kai likes sticky gems?
This is my favourite, the cupcake easel card. I crimped the paper to form the cupcake case, I thought it made it a little bit more cupcake like - & Lynne (our teacher) is nicking the idea to use again **polishes her crafty halo & sits smuggly**. & of course we needed sticky gems on it ;-)
You shall be seeing more of these when I make them as I think its a lovely card to make.
This party invite I made in the hour before the kids came into the room (along with preparation for the other cards.
As you can see it splits into 3. The holder, made from 2 cards, stuck together at the back & cut diagonally from the creases so when they are closed they look as pictured. On the back is stuck a strip of magnetic tape so it can be stuck to the fridge & therefore easier to find.
The actual invite, printed off & stuck to a coordinating piece of card - note to self, read invites before sticking down, this one says HER party, well I suppose it could be for me :-)
I also added a loop of ribbon so its easier to pull out.
Lastly, the image, stuck onto circular card & acts as the rsvp. There is a paperclip attached to the back so it can fasten to the holder.
Due to the half term holidays we get a bit of a break now from party crafts, but have been told we have 2 more lessons left after half term, woohoo!
Wednesday, 8 February 2012
Handmade Hedgehog costume.
The school put in their weekly newsletter on monday that on friday Kai's year could dress up as either a fairy, a hobgoblin or some other magical creature in connection to them learning about A Midsummer Nights Dream.
I discussed it with Kai, who wasn't in the mood to dress up as anything so I suggested we pack his dinosaur all in one which could slip over his school clothes if he felt like it (it easily passes as a dragon).
On wednesday there was a notice put on the class doors saying that they could dress up as Fairies, hobgoblins or WOODLAND CREATURES, so once again I discussed it with Kai, this time he wanted to be a robin.
A Robin right, so he would need a red tummy, a beak, brown clothes & wings that wouldnt get ripped. The following day I popped up the shops & grabbed a brown fleece blanket from primark to turn into wings & feathers.
On the way home Kai states he wants to be a hedgehog, luckily I hadnt had chance to start sewing by then.
Hmmm, a hedgehog ... I could smell of burning as the gears slowly began to move in my mind.
I cut the blanket into a sports bib shape and checked it would fit over Kai's head.
Then I began cutting layer after layer of zigzags out of the remaining blanket before attaching these onto the back.
I also made 2 small ears & attached to hair clips that would be hidden underneath, & a cone nose, covered in the brown fleece & a black felt tip.
Kai's hair was spiked & he decided he didnt like wearing the ears but he was very happy with his costume.
Being a very chilly day I had to put a jumper on him which didnt go as well as the brown T-shirt underneath, but rather that than be cold.
Finally he wanted to add his own touch..........
But I told him there was no way he was going to school in my brand new, 4" high boots!!!!
Monday, 6 February 2012
Party Crafts - Decorations
Banner
Kai & I had great fun making this banner. The yellow jungle paper wrapping paper cut out with nesties. I also cut out the parrot & elephant from the wrapping paper to use as well. The largest triangle nestie wasnt large enough for what we wanted so these were measured & cut out to size. The letters were stamped and Kai coloured them in before I cut them out & they were stuck on. Finally we threaded the curling ribbon through holes we'd punched. I think I've finally got the banner bug!
Cup hugger
These cupholders can be used with a drinks cup using a straw to actually drink from it, or on pen holder etc.
These were so simpe to make but very cute. Lynne had a biiiiiiiiig die cutter at home to cut the body shape, which we then drew around head templates and created our characters. Kai thoroughly enjoyed colouring his in & putting it together.
I chopped the thumbs off mine coz, well, elephants dont have thumbs! & applied circular stickers for its nails.
Card Holder
Using the another on of the body die cuts as we had used on the cup hugger we made card holders. We stuck 3 envelopes together, the flap behind the one above. In the top one we slipped in the die cut body & stuck it down. Finally we stamped some letters onto punched out flowers to spell out KAI & attached them.
Cards can now be slipped inside to show them off, Kai actually uses his to keep his spelling cards in.
Once we got home Kai wanted me to decorate his a bit more, so here is its makeover...
I also made my own...
Heres' a close up so you can get the idea of it a bit easier
There are 12 envelopes, each one has a letter of a month on it, on the right are the birthdays/celebrations in that month. I plan to make cards in advance & slip them in the pockets all ready. The colours match the ones that my kitchen will be & it hangs on the back of the kitchen door below my calendar. When the doors open it cant be seen, and usually its only me whose ever in the room when the doors shut so no-one will be getting a sneak peek at their cards ;-)
3 party craft lessons over & only 2 more left, monday mornings shall be a whole lot emptier & tougher once we finish :-(
 |
| The S fell off from Kai's original name plaque & as of yet hasn't been replaced |
Cup hugger
These cupholders can be used with a drinks cup using a straw to actually drink from it, or on pen holder etc.
These were so simpe to make but very cute. Lynne had a biiiiiiiiig die cutter at home to cut the body shape, which we then drew around head templates and created our characters. Kai thoroughly enjoyed colouring his in & putting it together.
I chopped the thumbs off mine coz, well, elephants dont have thumbs! & applied circular stickers for its nails.
Card Holder
Using the another on of the body die cuts as we had used on the cup hugger we made card holders. We stuck 3 envelopes together, the flap behind the one above. In the top one we slipped in the die cut body & stuck it down. Finally we stamped some letters onto punched out flowers to spell out KAI & attached them.
Cards can now be slipped inside to show them off, Kai actually uses his to keep his spelling cards in.
Once we got home Kai wanted me to decorate his a bit more, so here is its makeover...
I also made my own...
Heres' a close up so you can get the idea of it a bit easier
There are 12 envelopes, each one has a letter of a month on it, on the right are the birthdays/celebrations in that month. I plan to make cards in advance & slip them in the pockets all ready. The colours match the ones that my kitchen will be & it hangs on the back of the kitchen door below my calendar. When the doors open it cant be seen, and usually its only me whose ever in the room when the doors shut so no-one will be getting a sneak peek at their cards ;-)
3 party craft lessons over & only 2 more left, monday mornings shall be a whole lot emptier & tougher once we finish :-(
Saturday, 4 February 2012
Party Crafts - Cupcake decorations
Lesson 2 of party crafts was to decorate a cupcake, make a cupcake holder and "flag" to go in the cupcake, along with a cellophane bag, complete with tag to carry them in, and a party bag.
We parents made the cupcake holders ready for the children to decorate before making our own, just so we know how to do everything of course ;-) Mine had a night time theme to it so plenty of stars, blue & yellow.
Kai decided to go for an animal sticker/toy story theme.
The cellophane bags were actually clear folder pockets with the white edge cut off & the bottom corners stuck underneath.
It was a simple crafting activity but we both really enjoyed it, especially eating the cakes afterwards ;-)
Saturday, 21 January 2012
Party Crafts - Place names & a game
On monday Kai & I made place names on our family learning course, these also doubled up as counters for a game.
I coloured in my figure & he coloured in his, we then cut them out & stuck them to a lollipop stick. The lollipop stick was pushed into a bottle top full of plasticine. We could have used any shapes, and also added our names onto the image if we'd wanted, I think you can tel which ones mine & which ones Kai's though ;-)
The game was using the clock you can see in the background, its made from a disposable plate . The hands are a lollipop stick, cut in 2, and a hole punched in the ends for a brad to go through, the plate also has a hole in the centre for this as well. The plate then has the numbers put on & gems stuck on for decoration.
The aim of the game is to get to number 12 first. 3 dice are rolled, if one of them is a 1 you can move to number one, then its the next persons go. If you dont roll the number you need then again its the next persons go. If your on number 1 you'll then want to roll a 2, then, the next go, a 3 etc etc until someone reaches 12. For older children you can use sums, they must use at least 2 of the dice to make the number they need. For even older children/adults they must use all 3 dice to create a sum to make the number they need (very countdown).
Cant wait to find out what we'll be making next monday.
Wednesday, 31 August 2011
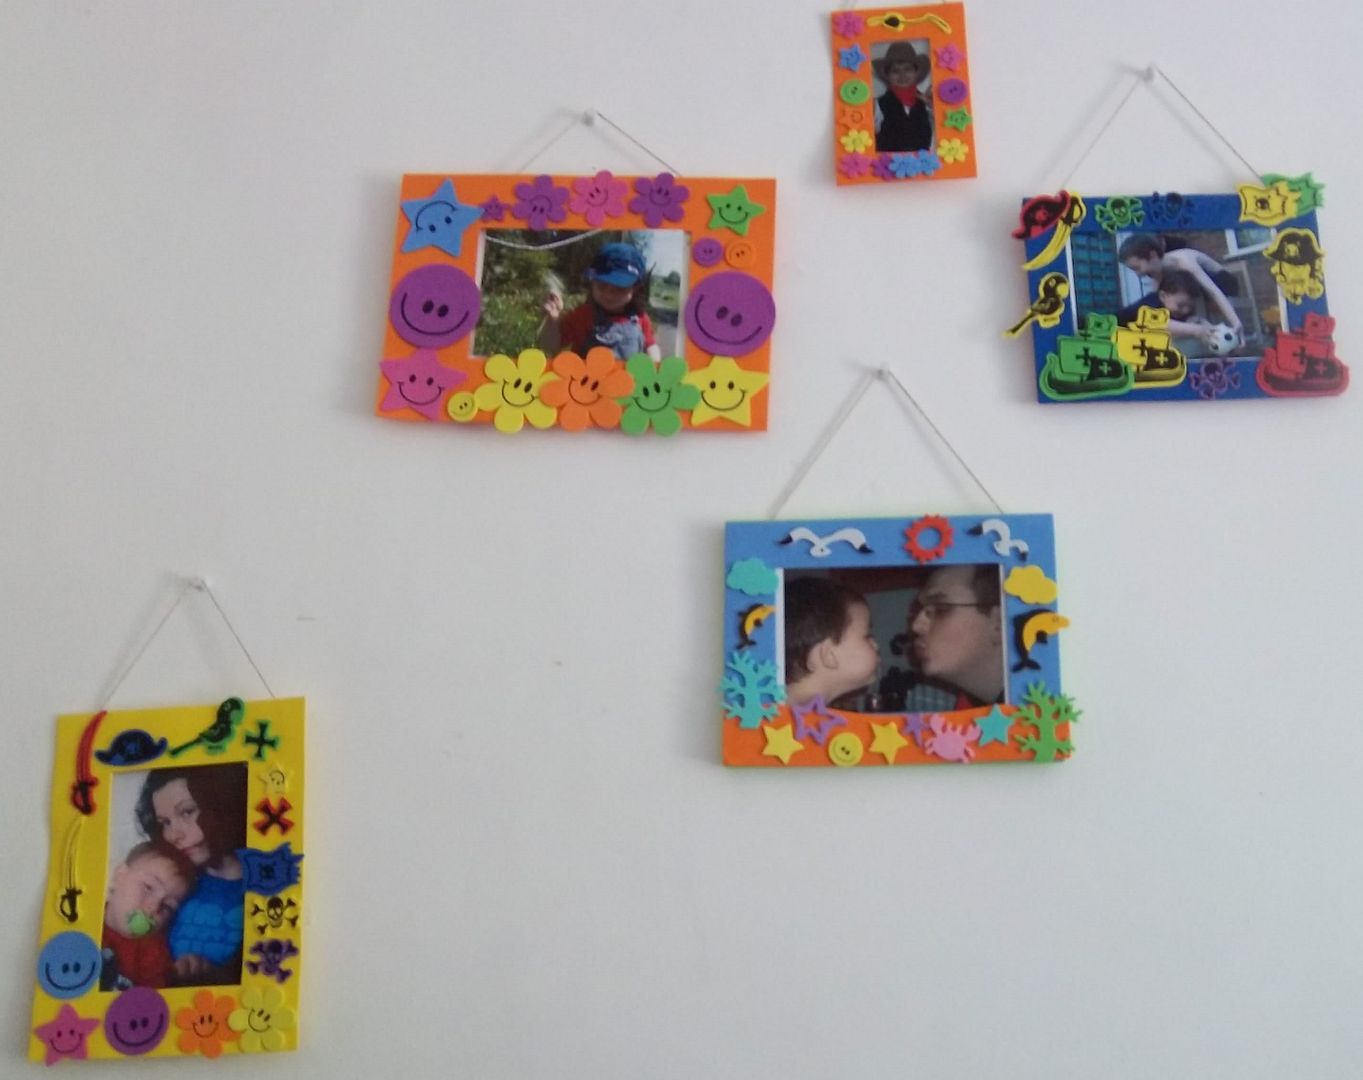
How to make Foam Frames.
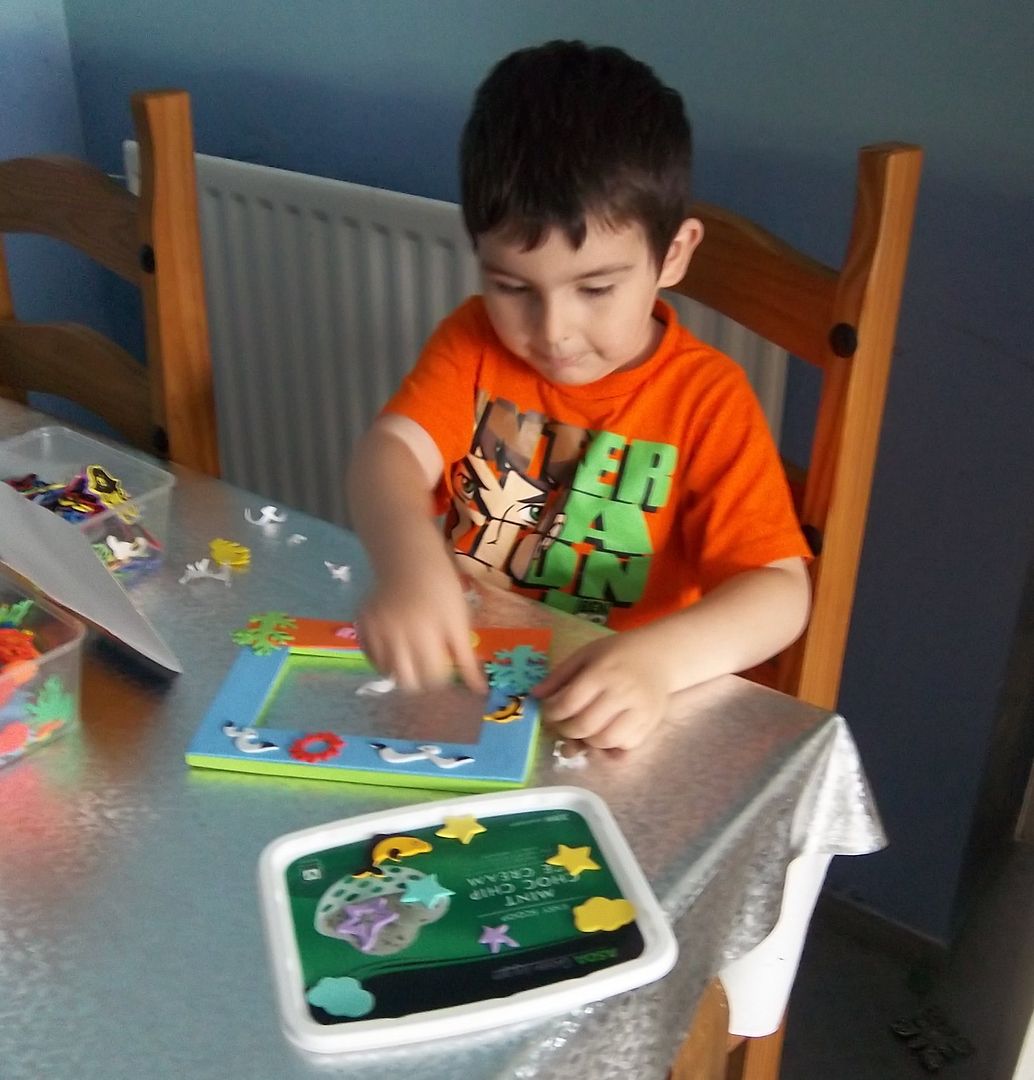
I spotted a frame making kit at a reduced price & bought it with the thought "I'm sure we can make our own as well". I picked up a pack of foam from poundland as well as some foam shapes. On a day when Kai was getting upset because the big boys were playing big boy games that he couldnt join in I got them out.
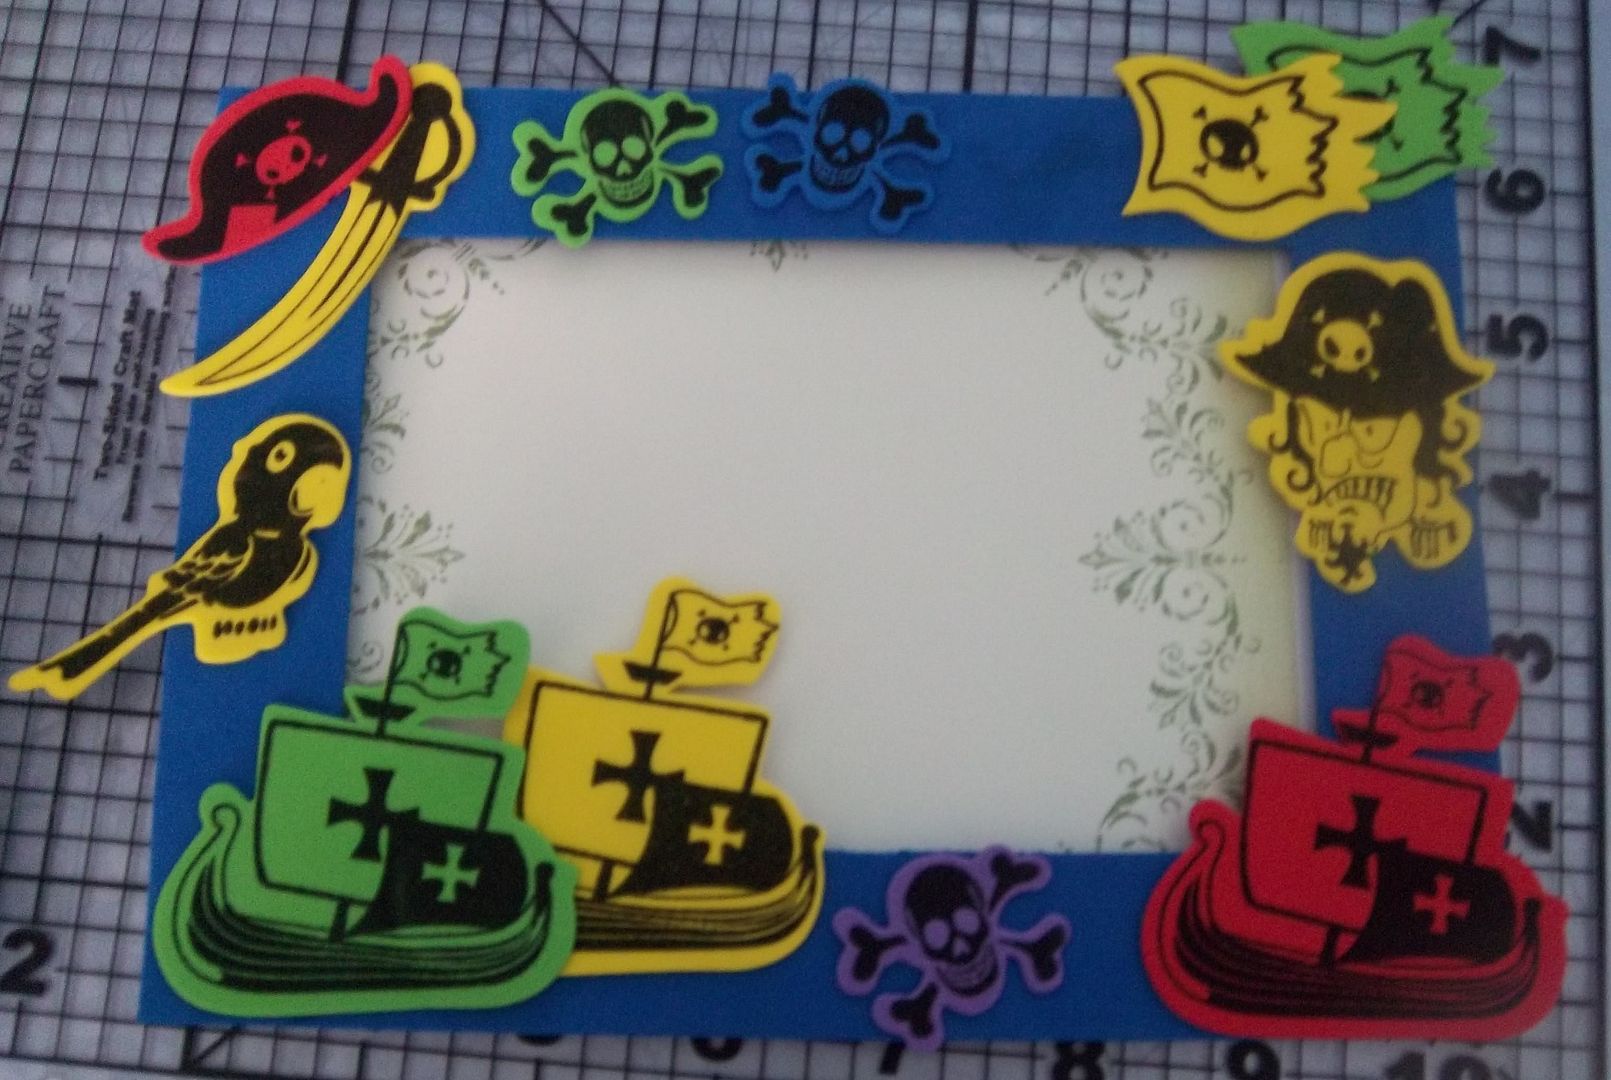
Kai started off using the kit, decorating its frame while I cut out frame shaped pieces of foam - I kept to the basic rectangle hole inside a larger rectangle but I'm sure with a bit of time & patience you could cut some really intricate designs out.
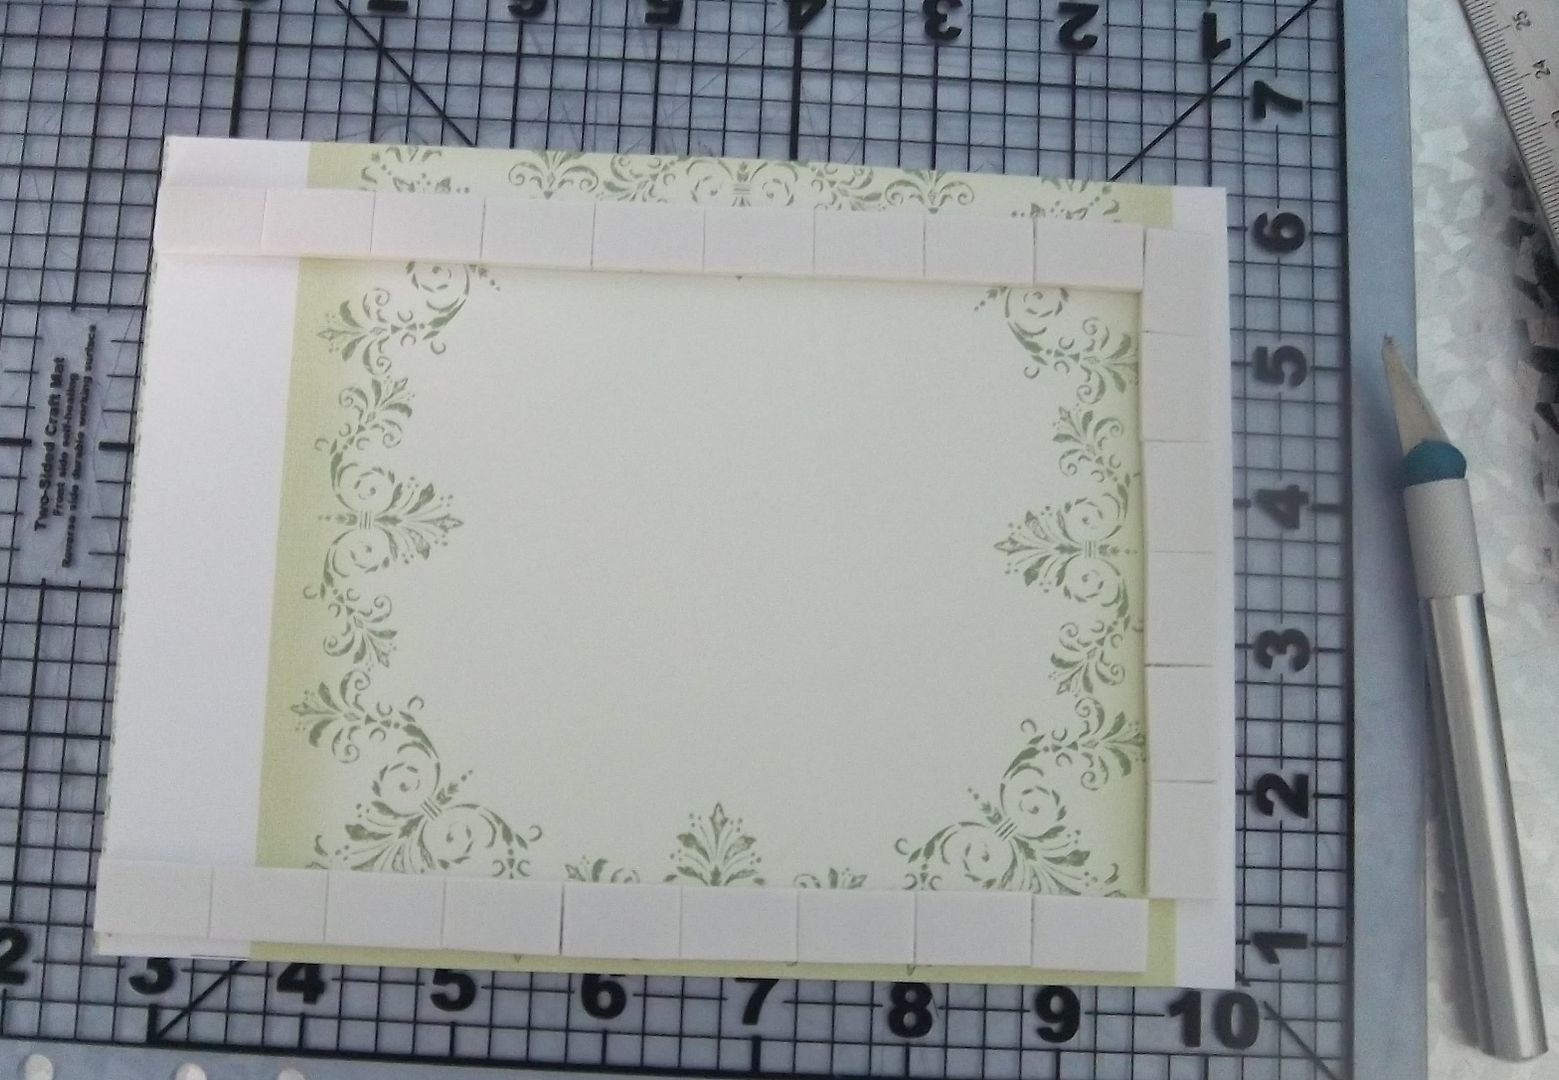
While Kai decorated these frames I cut scrap card out, slightly small than the frame and stuck foam sticky pads along the edge, leaving a slight border and a gap at one end.
When Kai was done I stuck this onto the back of the foam
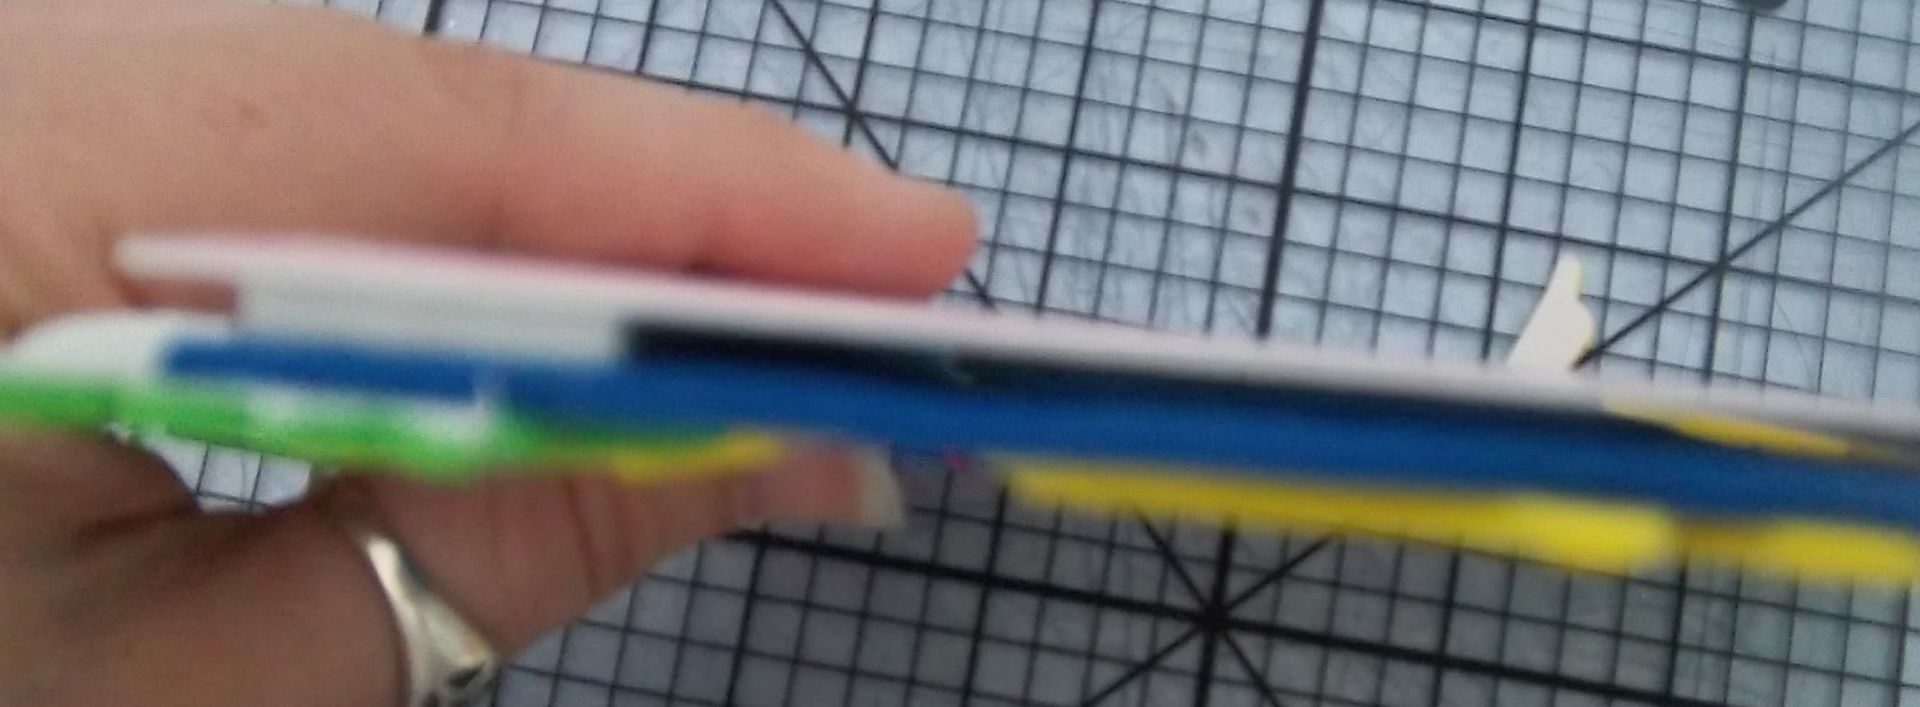
These pads leave a nice gap so a photo or picture can slide nicely in & be changed for another when you want
Finally I used tape to attach string to the back of the foam so the picture could be hung up
Tuesday, 30 August 2011
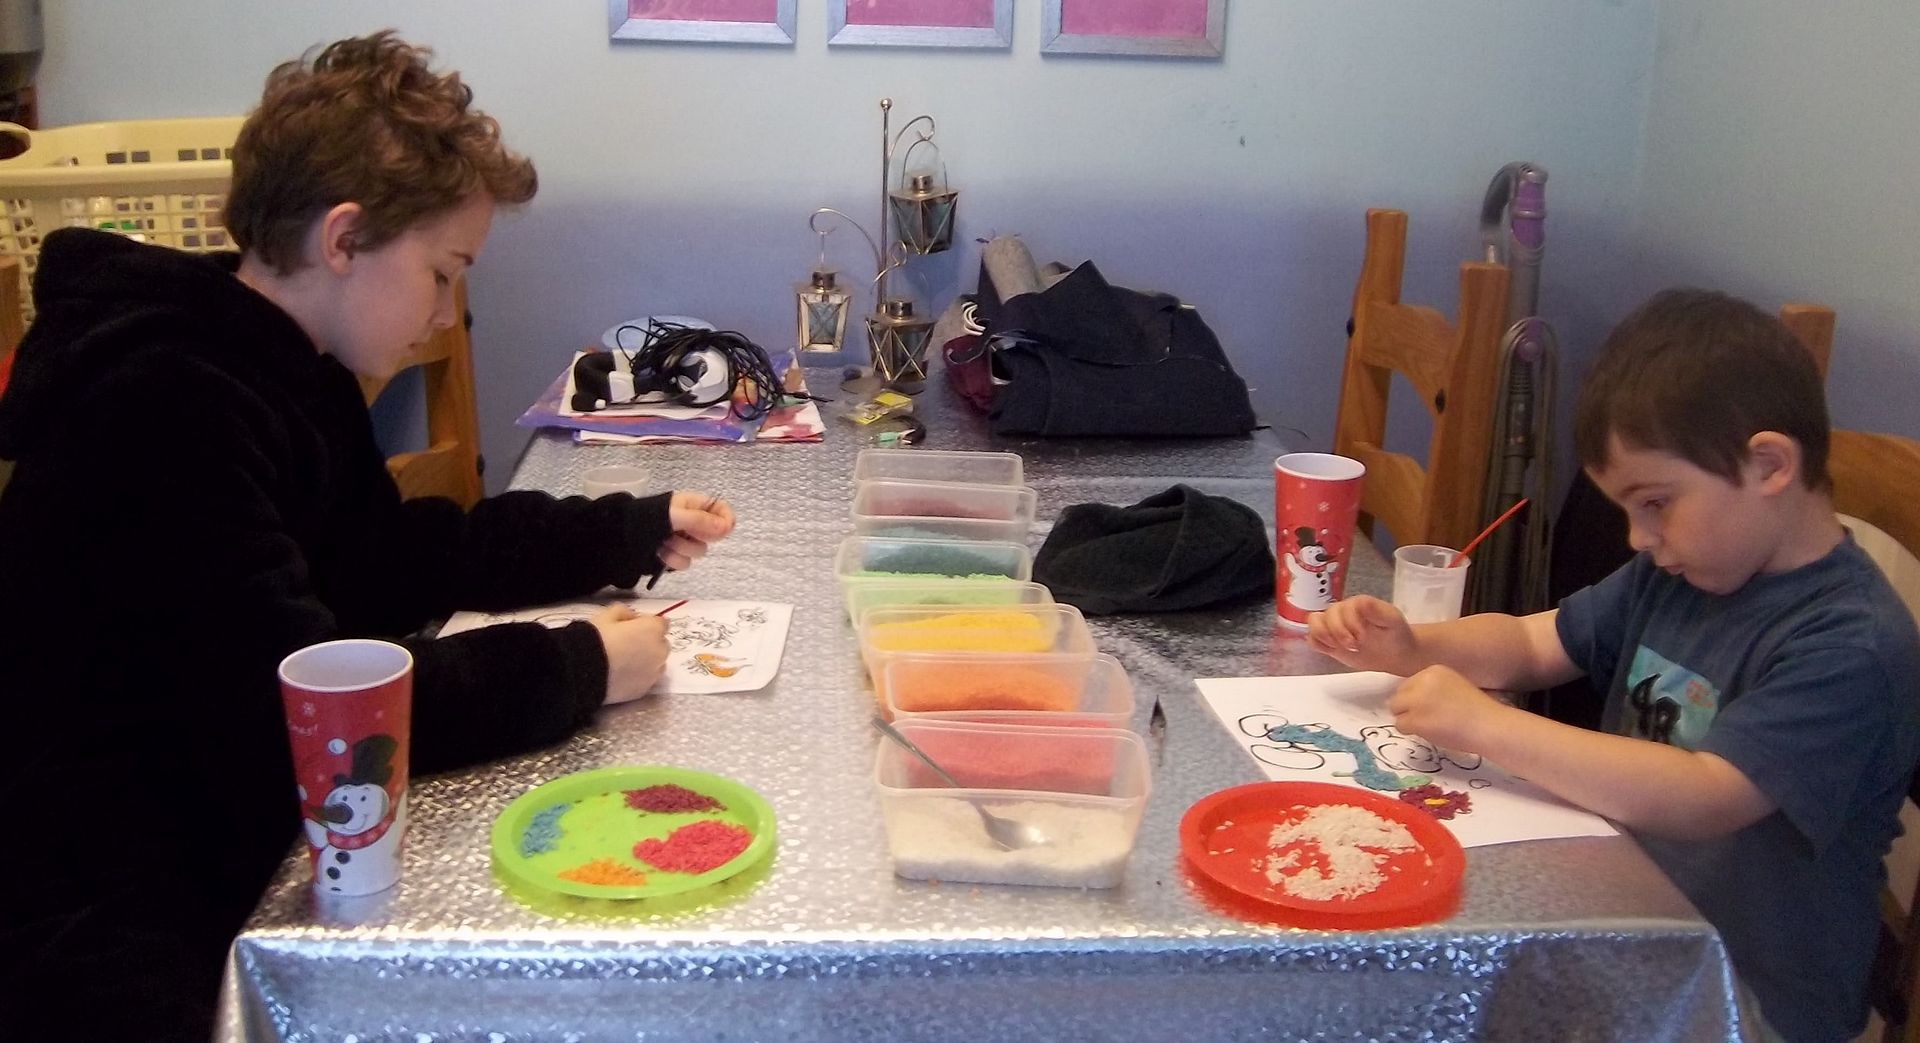
Dyed Rice Pictures
Dying rice is EASY & I can think of a few ideas for it, one of the main ones being to make pictures with.
So, How to Dye Rice...
You will need:-
Rice (well dur!)
Liquid Food Colouring
Sealable food bags
Hand sanitiser (the no water needed, contains alcohol sort)
a tray lined with baking paper.
Put Rice in the food bag, add a squirt of hand sanitiser and a couple of drops of food colouring. Shake it up & squidge it round until all the rice is covered. If the colour isnt deep enough add a bit more food colouring, shake & squidge again. Repeat until you get the colour you want.
Tip out onto the baking paper, spread it out a bit and leave to dry.
When dry run the rice through your fingers just to seperate it all.
I printed out some colouring-in pictures onto card and let the kids loose on them with glue and the rice.
It kept them busy for hours. Kai's were simple pictures with large areas of colour whereas Zacks were a bit more detailed & complex which meant a bit more control and using single grains of rice in places.
Monday, 29 August 2011
Kids stress heads
Take a balloon, stretch it & fill it with play dough (you can find the recipe I use HERE). I find the easiest way to do this is to cut the spout off a cordial / fizzy pop bottle & stretch the end of the balloon over it, this holds it open nicely for you to poke the play dough through.
When its the size you want tie the end (without the cordial spout in) & hand to the kids to decorate.
Decorating can be done with marker pens, or items glued on. REMEMBER, gluing items on can impede the ability to squish the "stress head", or they might just fall off.
Heres what Zack & Kai came up with (Zacks is on the left, Kai's "Daddy alien, because it has a beard & Moustache" is on the right)
Sunday, 28 August 2011
A Week to the end of the Summer Holidays
Yes, only a week to go in this house, & my mind is already on the other side, the side that is planning what to do with 6hours kiddie free, even turning towards Christmas ideas :-O But thats a whole other blo post.
So, as I've had a lil break from blogging, how about I spend this week recapping on a few of theactivities I've been doing with the kiddies .... well, more like mainly with Kai as Zacks amused himself a lot of the time by going bowling, playing with friends etc etc
Lets start simple...
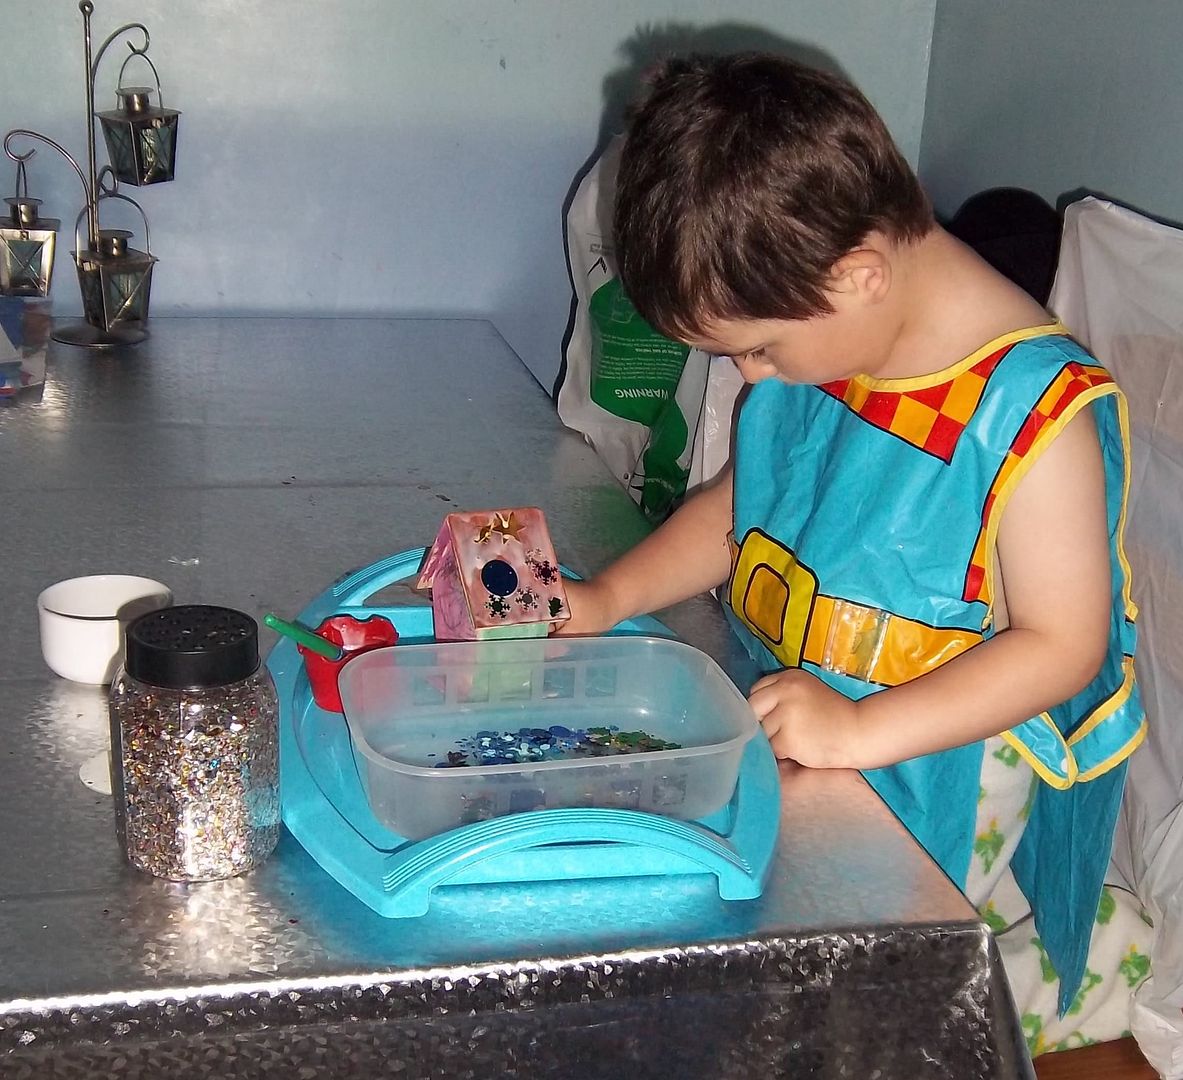
Gluing with sequins & confetti .... last year Kai decorated a mini wooden bird house with felt tips & stickers at our local shopping centre; This year he painted it & when dry added sequins & confetti.
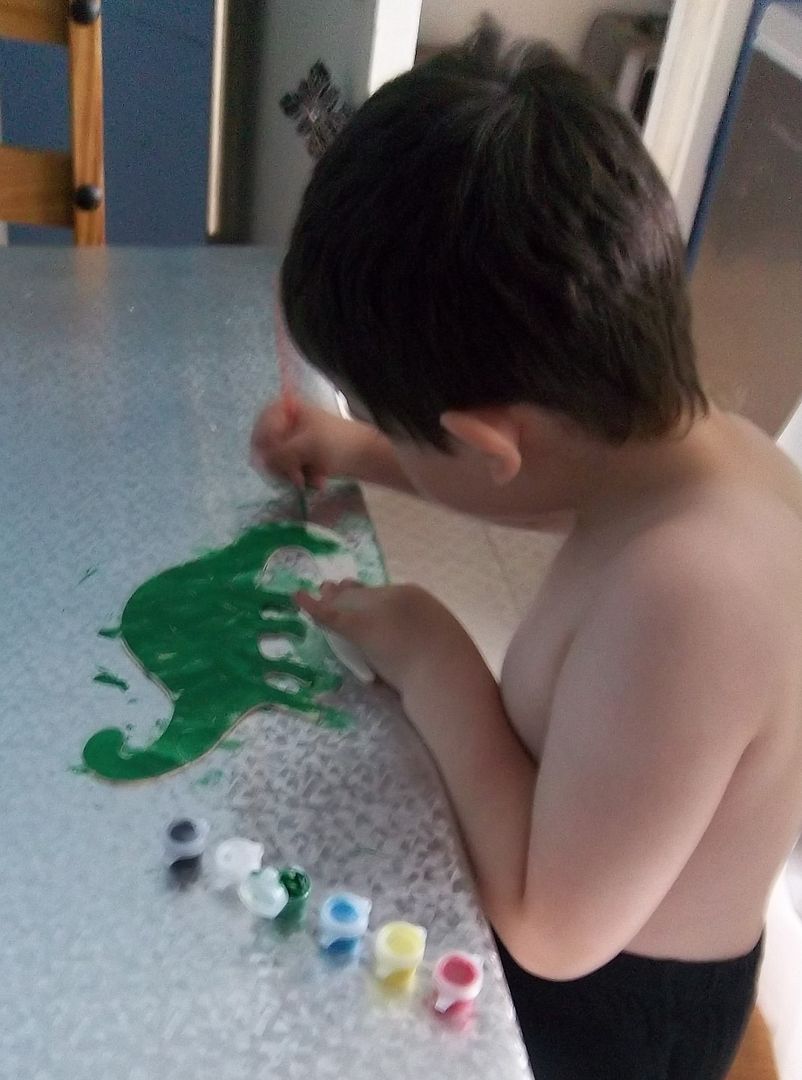
I found some kits in Wilkinsons which were paintable plywood jigsaws, they were only £1!!!! bargain I thought. I chose a dinosaur one (Kai is crazy on dinosaurs) thinking Kai could paint the jigsaw pieces & Zack could paint the base. As it happened Zack was busy else where so Kai happily did both.
I'm sure if you are fairly adapt at using a hack saw or a jig saw you could easily make your own.
So, as I've had a lil break from blogging, how about I spend this week recapping on a few of theactivities I've been doing with the kiddies .... well, more like mainly with Kai as Zacks amused himself a lot of the time by going bowling, playing with friends etc etc
Lets start simple...
We did good ol' painting .... I find a good use for the abundance of charity bags we end up with is to put them over the backs of the chairs - that way, when Kai climbs down to go wash his hands, he doesnt get hand prints on the wood.
I found some kits in Wilkinsons which were paintable plywood jigsaws, they were only £1!!!! bargain I thought. I chose a dinosaur one (Kai is crazy on dinosaurs) thinking Kai could paint the jigsaw pieces & Zack could paint the base. As it happened Zack was busy else where so Kai happily did both.
I'm sure if you are fairly adapt at using a hack saw or a jig saw you could easily make your own.
Sunday, 24 July 2011
Fruity, cooling treats
It has been a GLORIOUSLY sunny day, & I think we could all do with a cooling treat.
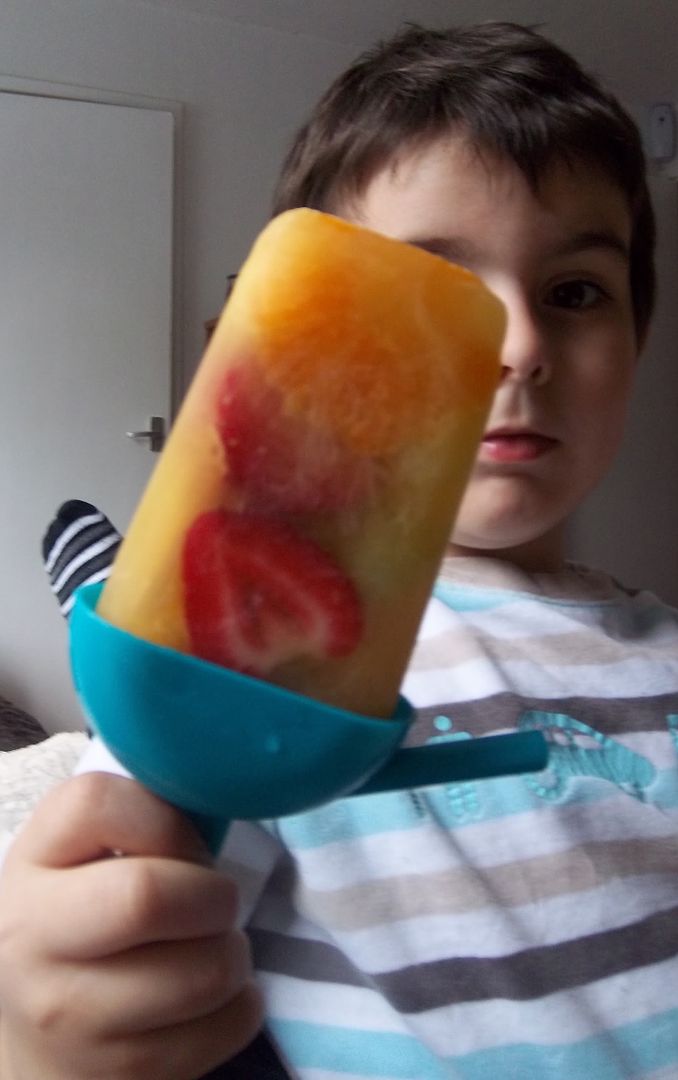
Here, have a fruity ice lolly that Kai & I made.
We sliced up any soft fruit we had in ..... I'm sure you could use harder fruit such as apples & pears but I find ones that are softer such as strawberries, grapes & oranges are easier to eat in a lolly.
The fruit was popped into a lolly maker, followed by pure orange juice, then frozen. Tada, fruity ice lolly.
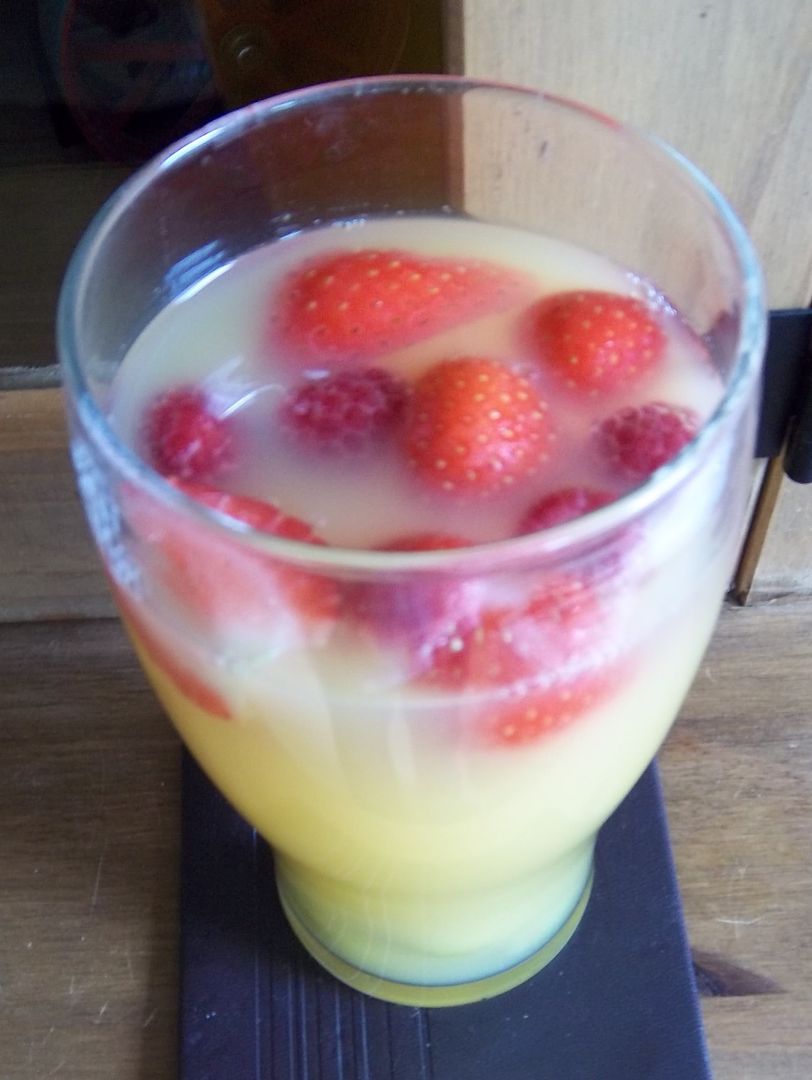
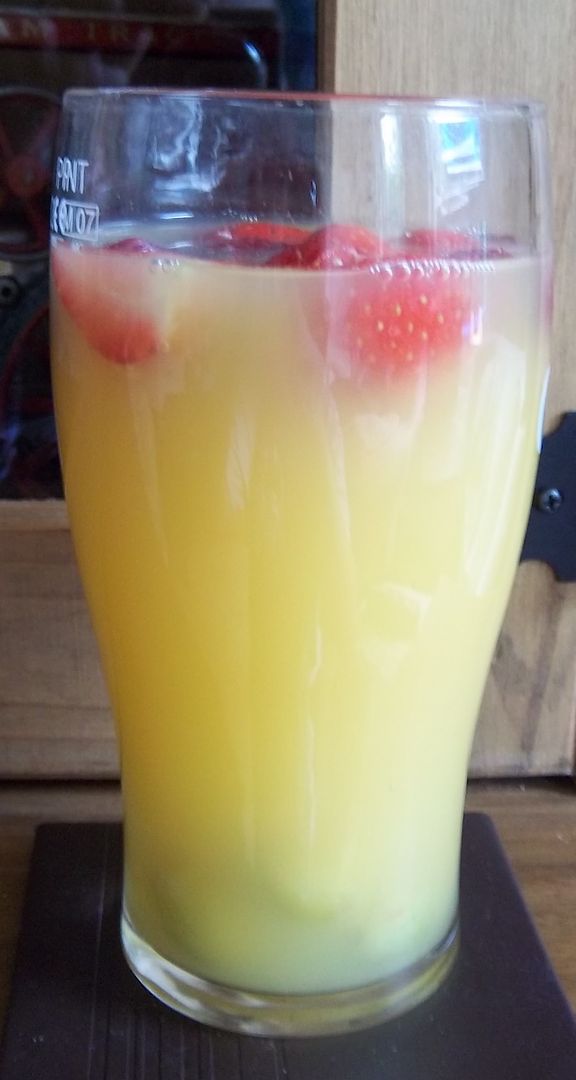
Want something a bit more grown up? Try freezing chunks of fruit & then using them instead of ice cubes
As they defrost, some of the fruit such as raspberries, release their juices flavouring your drink.
We tried it in OJ, but I'll be trying it again another time in lemonade.
You could also use it to teach your little ones about sinking & floating .... see the grapes at the bottom?
Thursday, 16 December 2010
Altering Baubles
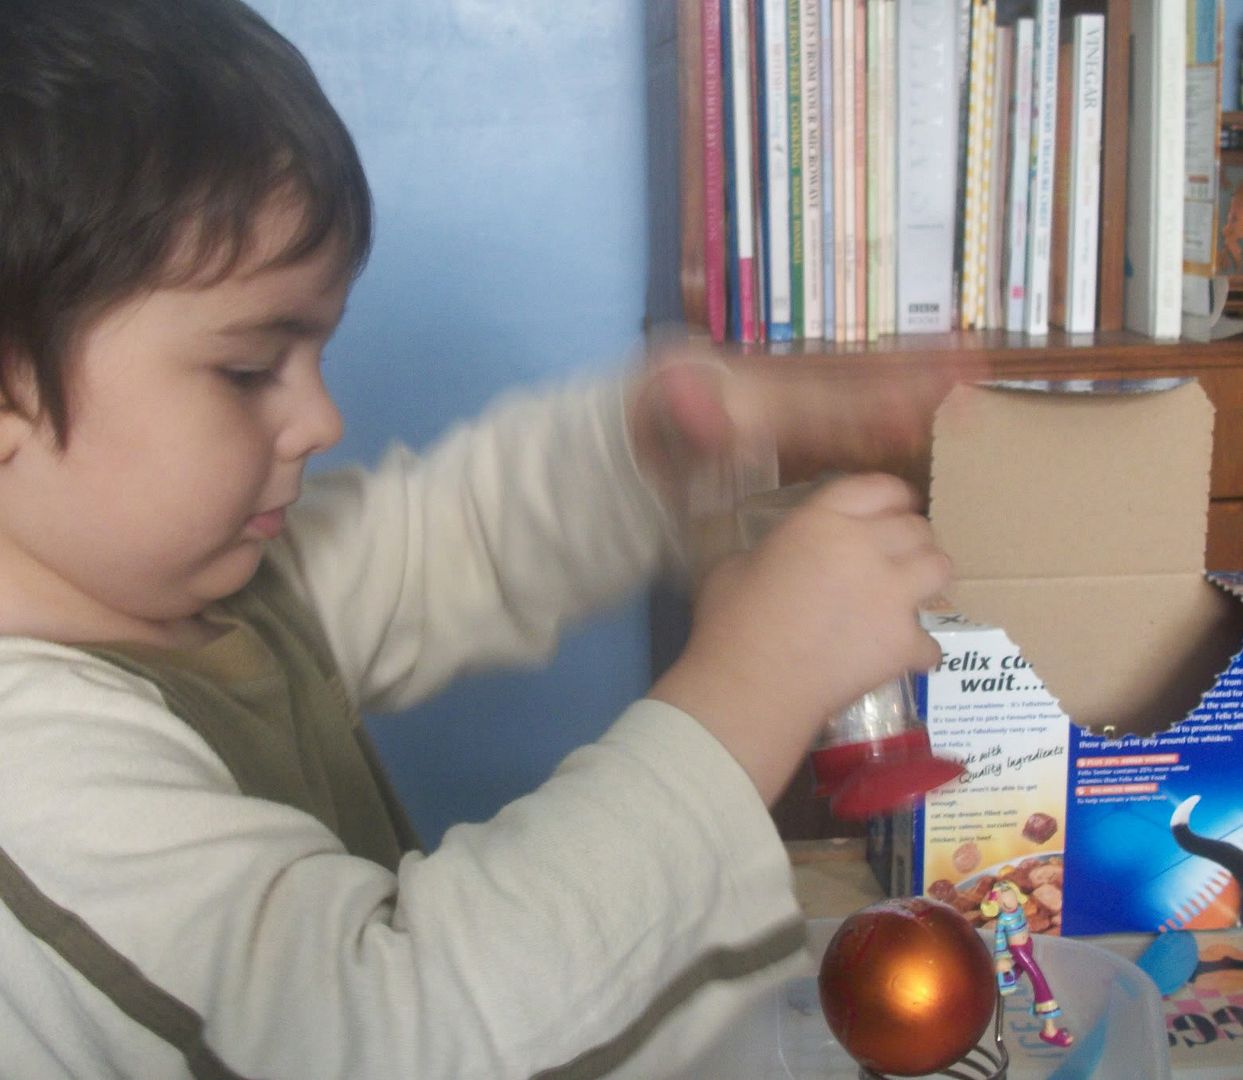
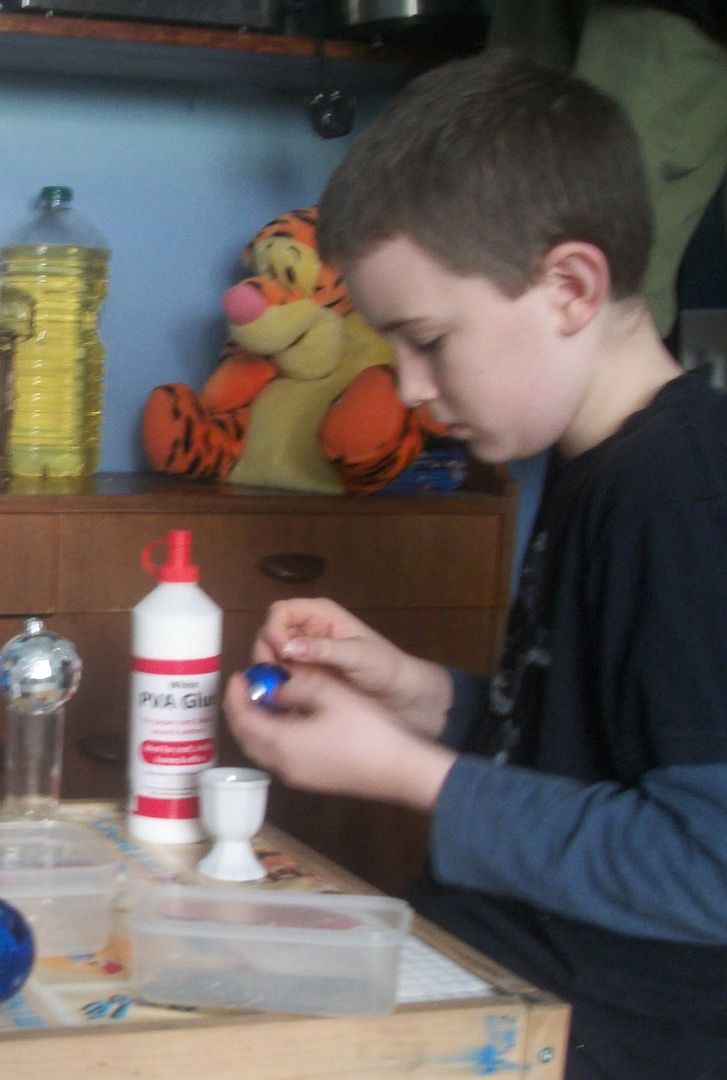
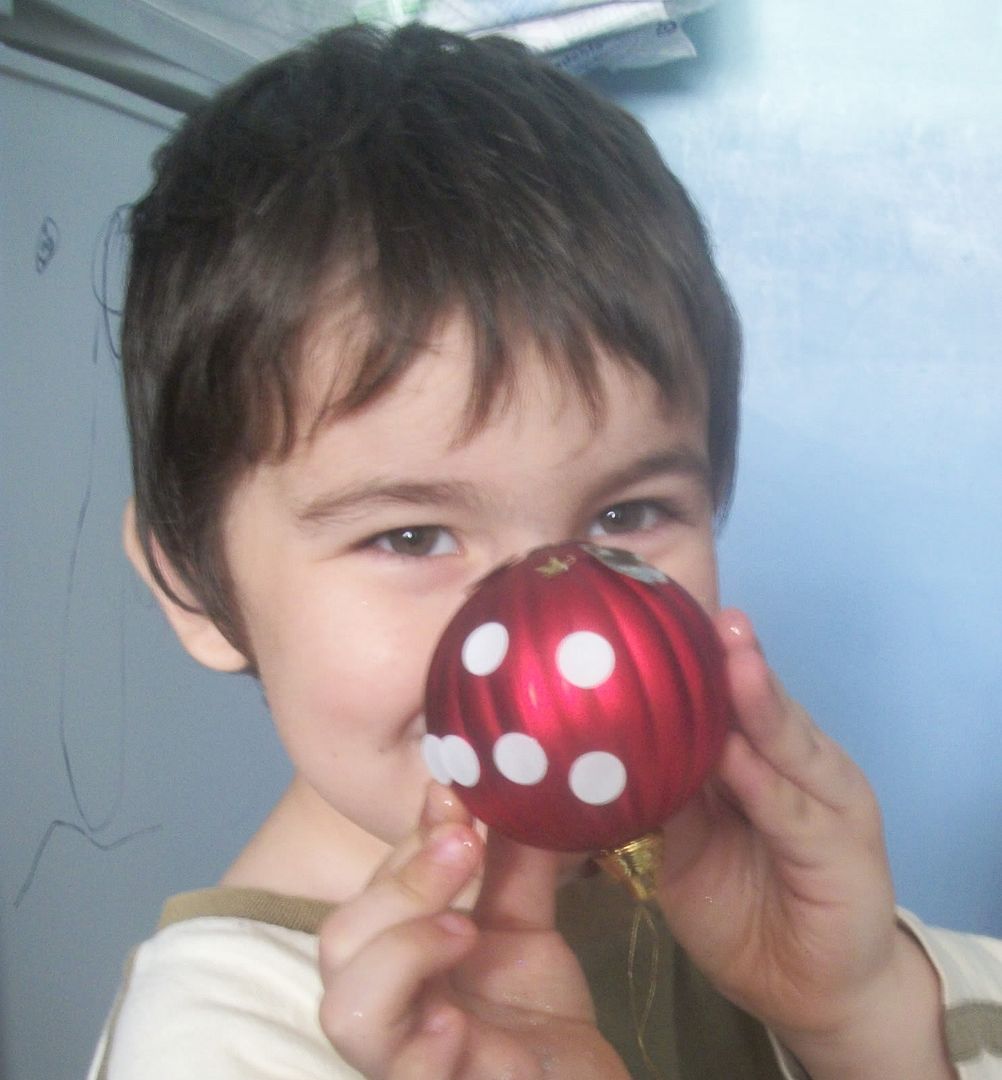
At this time of year I am rather busy, and the kids are rather excited so just before December, on one day that the kids were being particularly annoying lively I decided to get my spare baubles out for them to play.
It was a lot of gluey, glittery....
stickey...
....good fun
They happily decorated their own trees with these on December 1st.
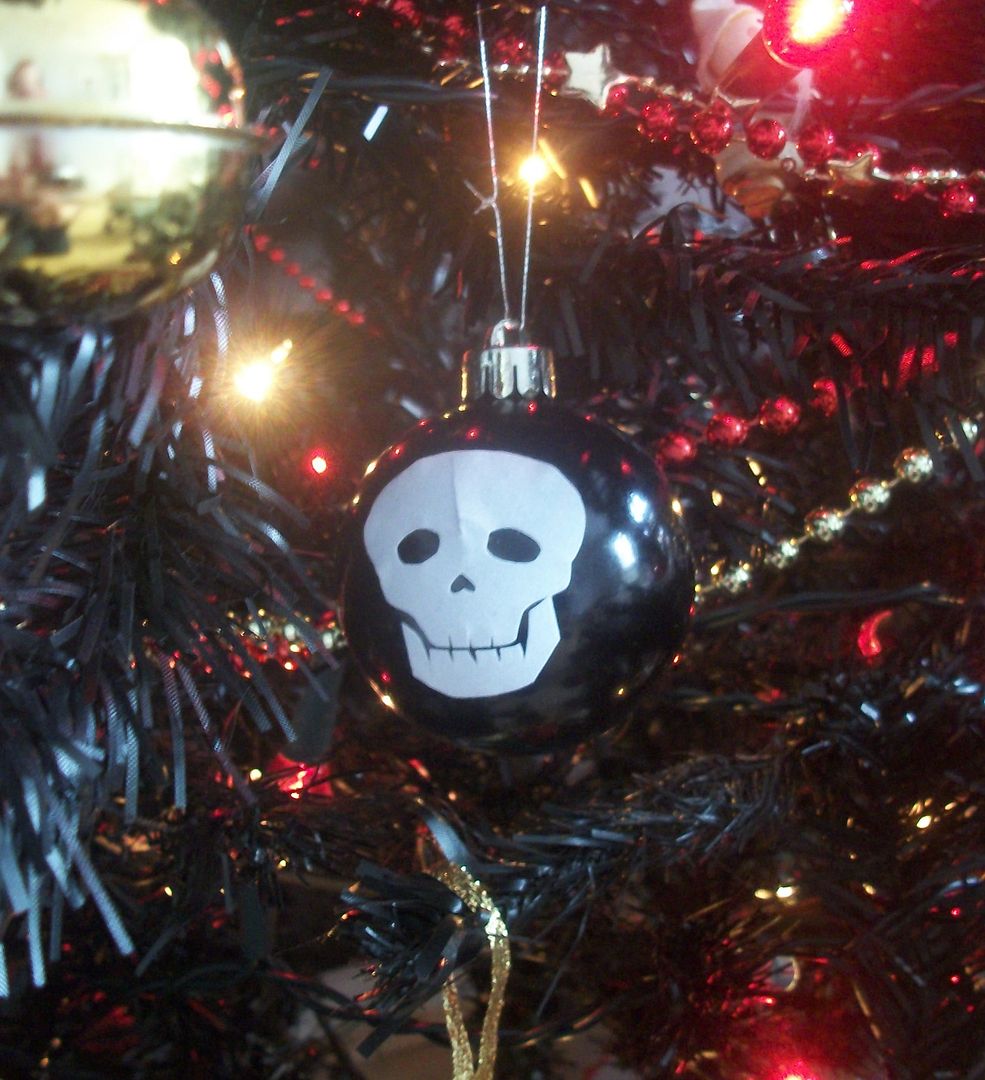
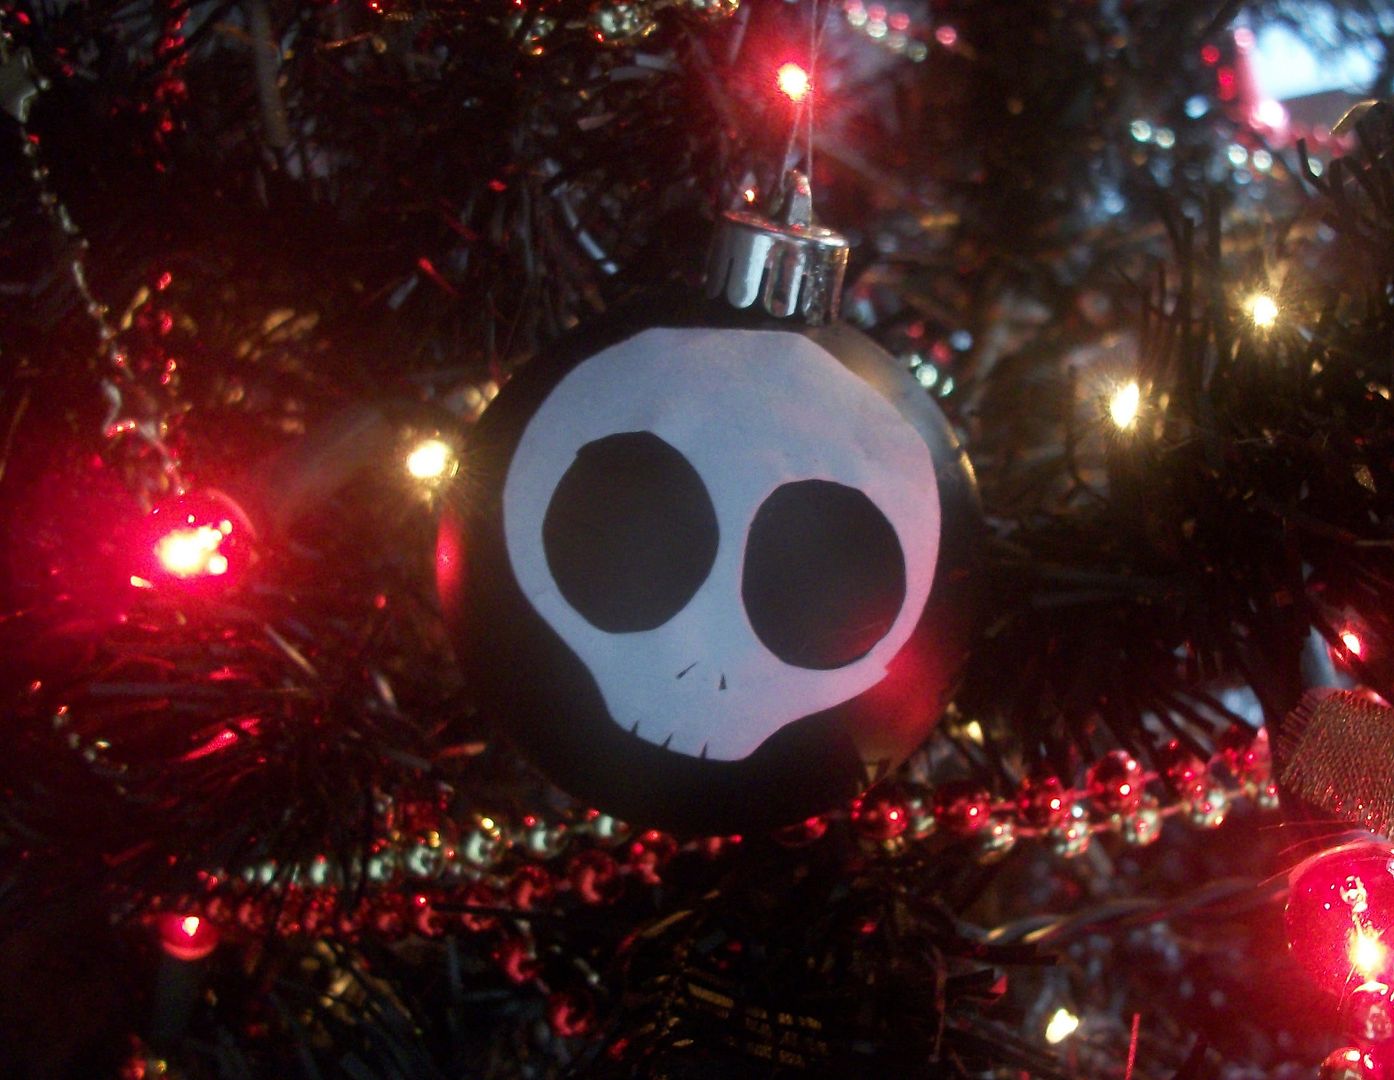
I even had a play later using papercrafts sticky back velvety roll.
Yes, skulls have even made it onto my christmas tree, YAY!!
I know Nicky from Creative Flourishes has done similar on her baubles to make characters, and v.posh looking baubles.
Have you tried altering any baubles?
Subscribe to:
Posts (Atom)


