It turns out that I dont even need to think to be creative, my subconcious can do it all for me!
A group of us were doing our semi-annual meet up at the NEC, and it had been decided we'd wear rabbit ears so we could find each other in the crowd.
While altering my clothes to wear on the day my OH noticed that everything had an Alice in Wonderland theme (I only noticed this with the shoes, lol) and commented how I'd taken the Rabbit ears idea and ran with it .... I personally hadnt conciously made this link, but hey, its either coincidence or my subconciousness is just as crafty :)
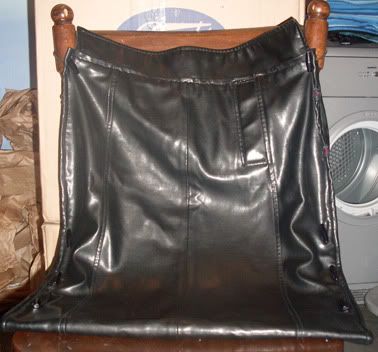
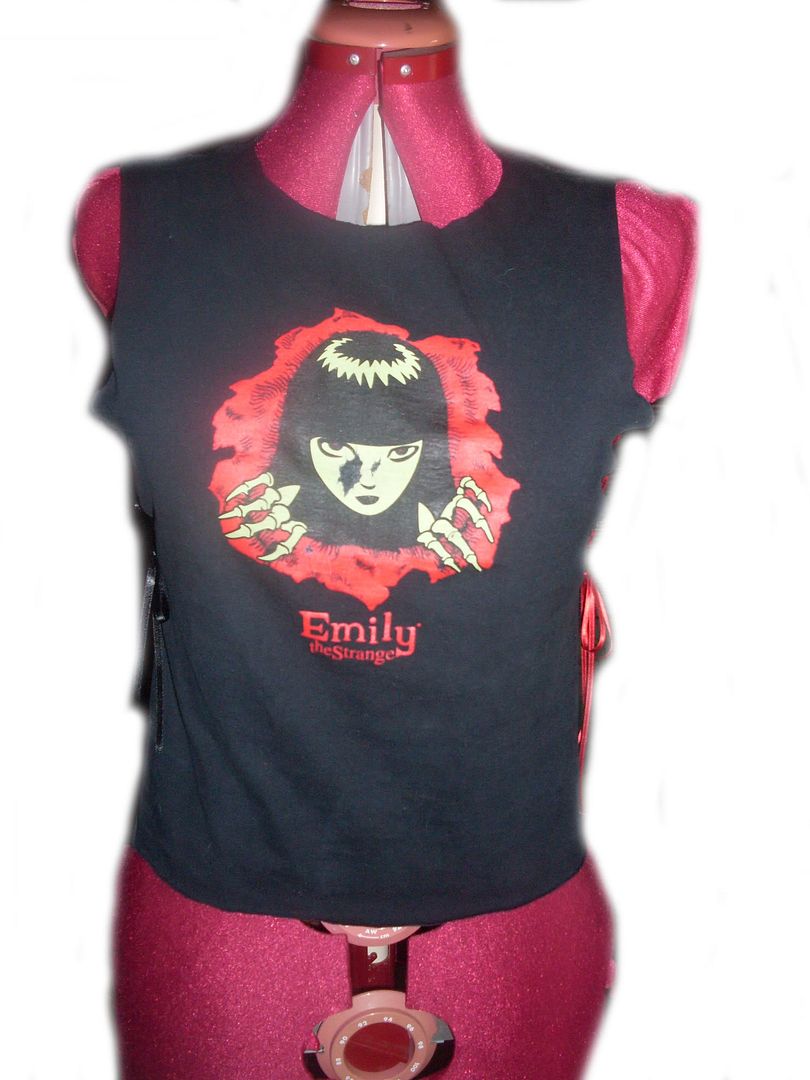
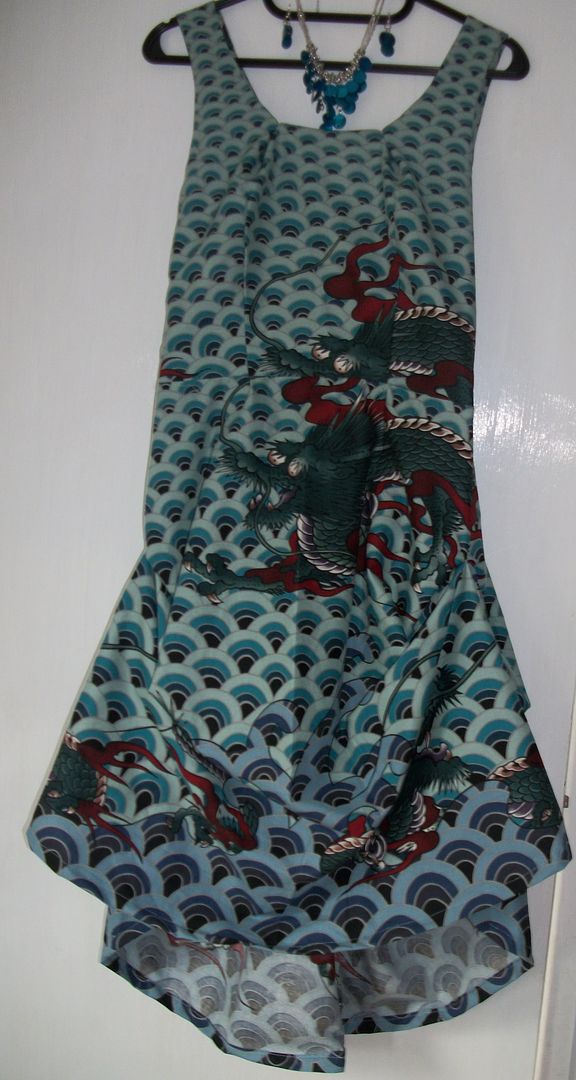
So heres the long T-shirt I started off with ....
 It hung 1/2 way down my thighs, which is normally a very flattering length but with this it just looked frumpily straight up and down, even with my lumps & bumps **cough, cough** I mean curves
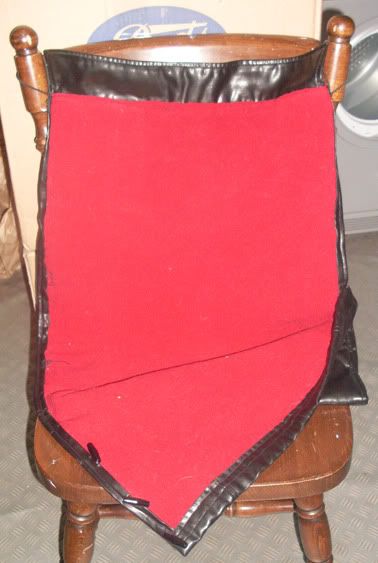
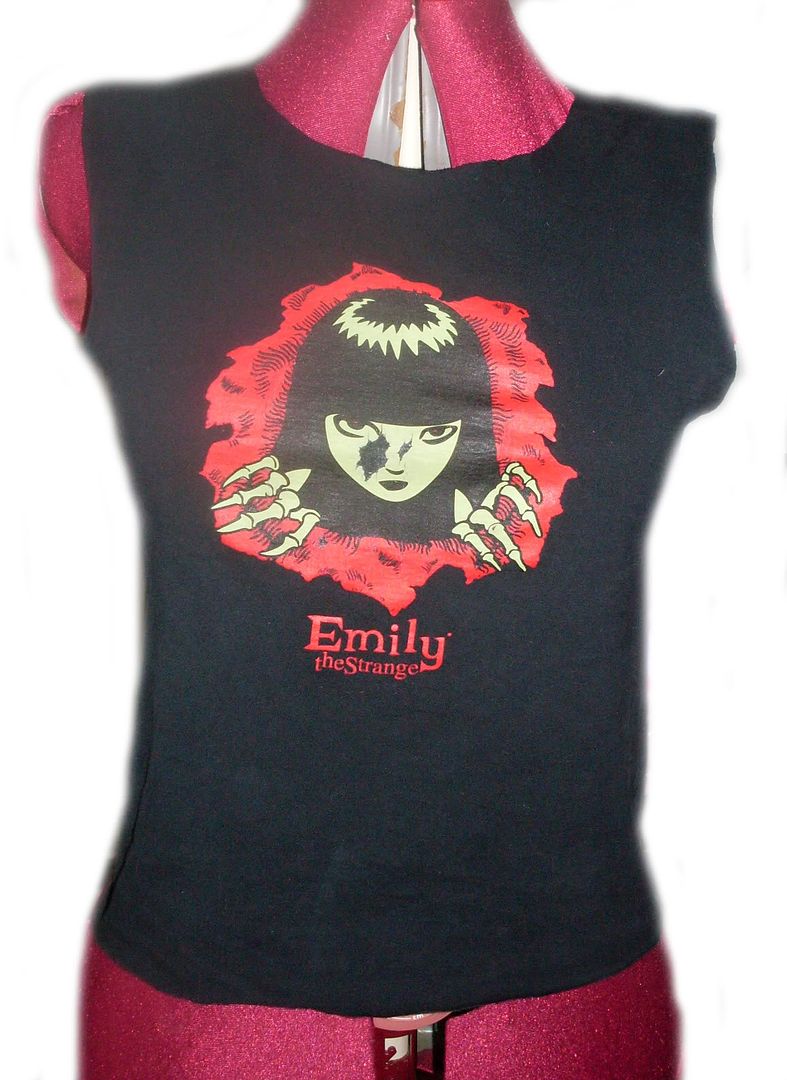
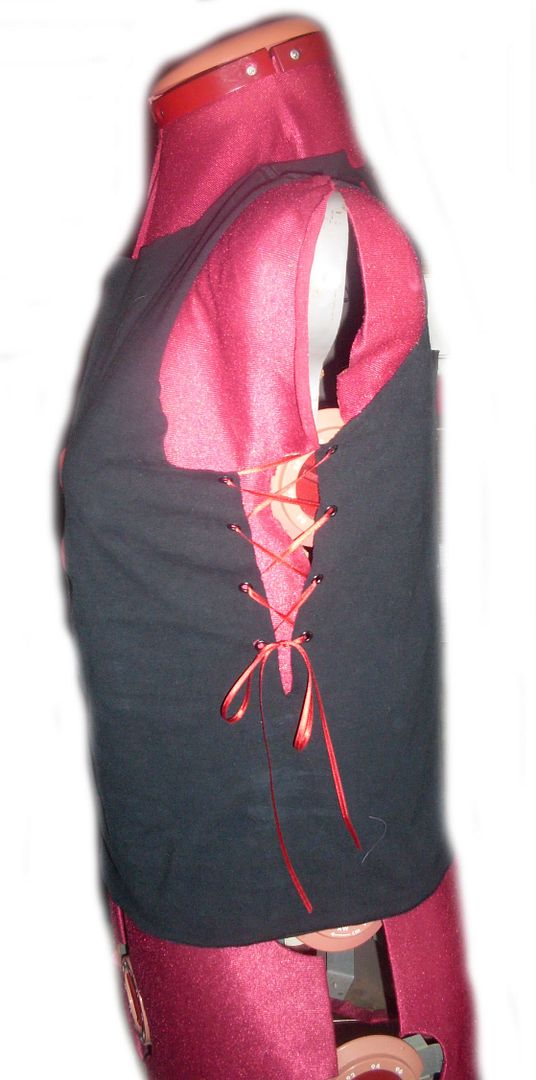
So I decided to gather up the side to give it a modern, more flattering shape. Before doing this I realised I needed to make any other alterations to make it easier, so I printed off a pocket watch/rose design onto a T-shirt trasfer sheet and cut out the design. I then ironed it on.
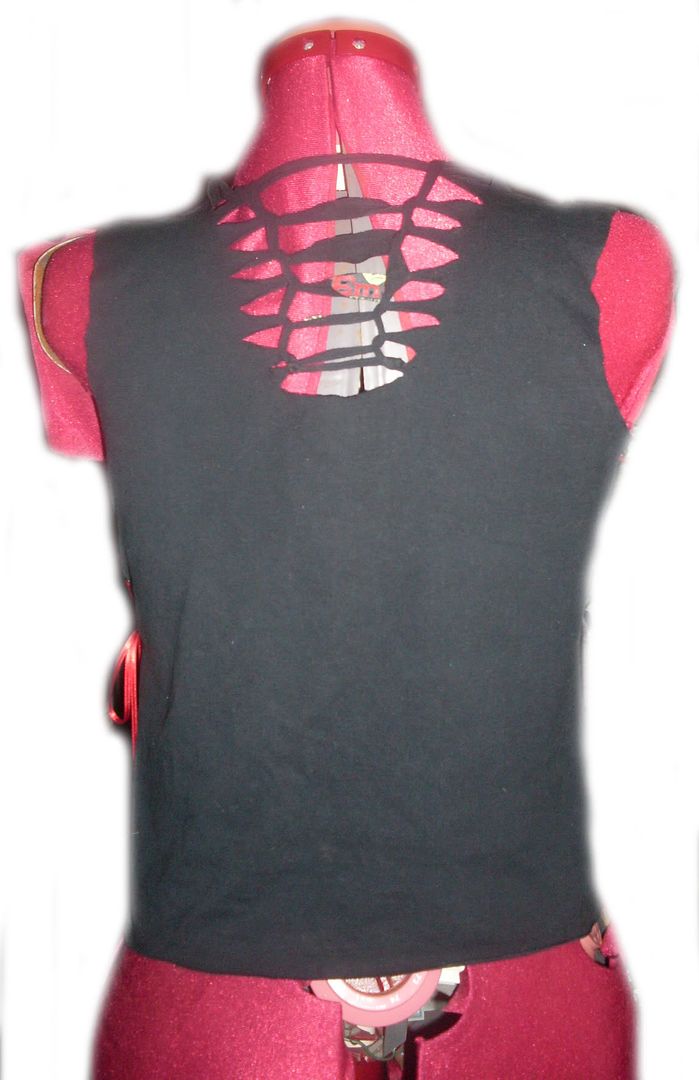
Following this I pinned lace to the end of the sleeves and bottom of the t-shirt and sewed it on using a stretch stitch.
Finally I finished it off by using a long stitch and gathering it up. I unfortunatley need to redo this & then sew over it to strengthen it. So heres us all at the nec with our wabbit ears on, of course I have to be different and make my own to match what I was wearing (& so they'd be black & red, lol). Not the most flattering pictures but I've had worse ;)

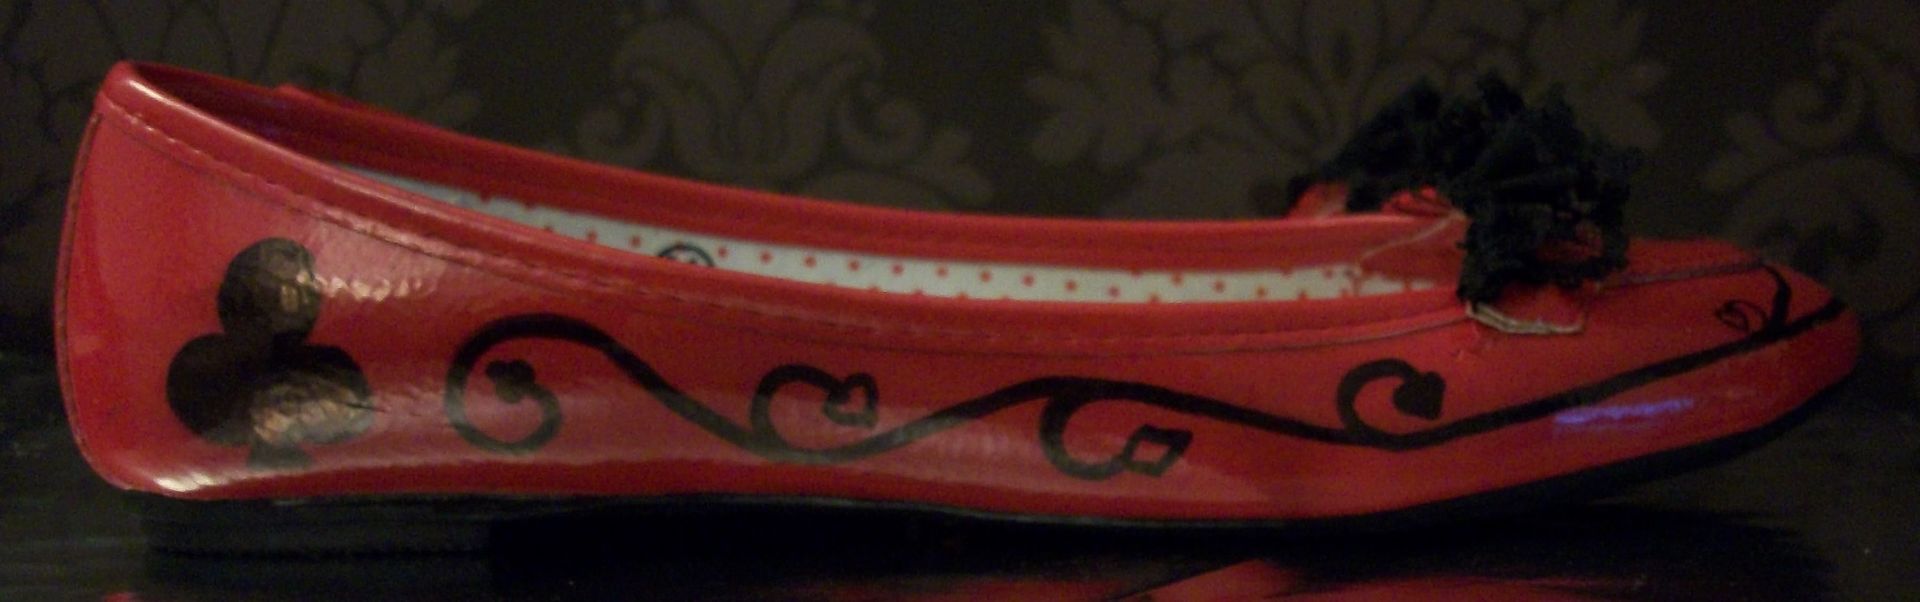
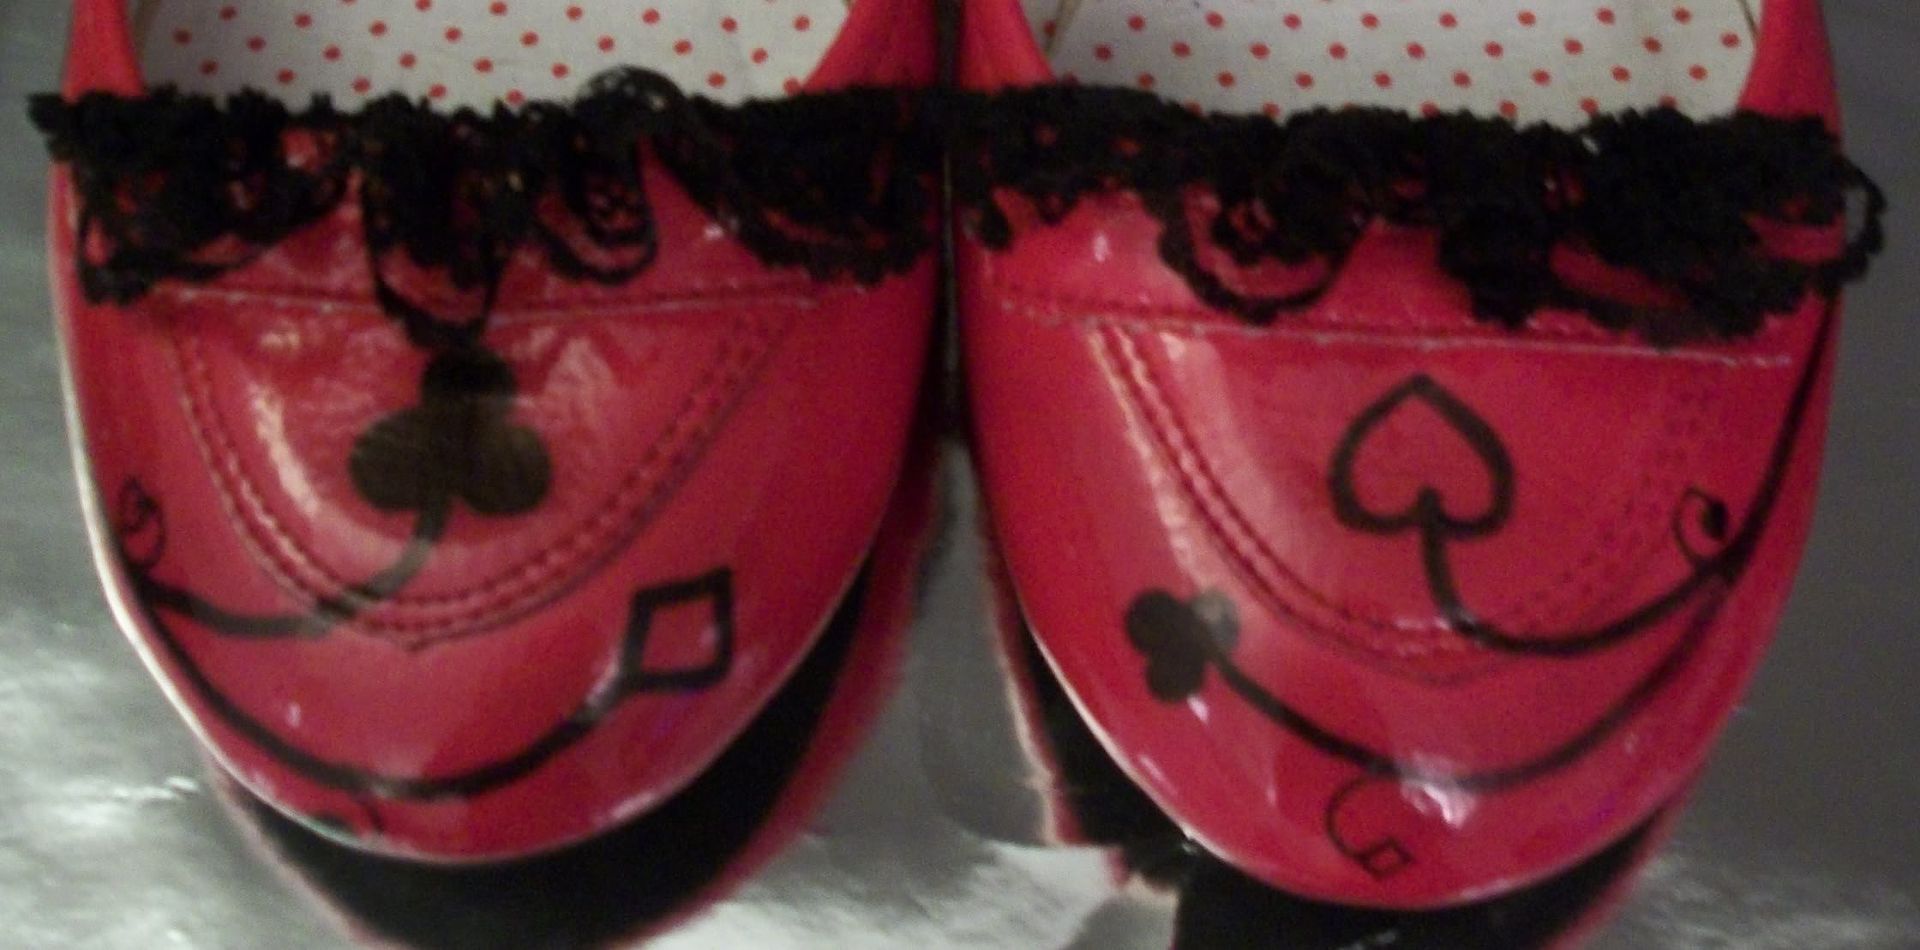
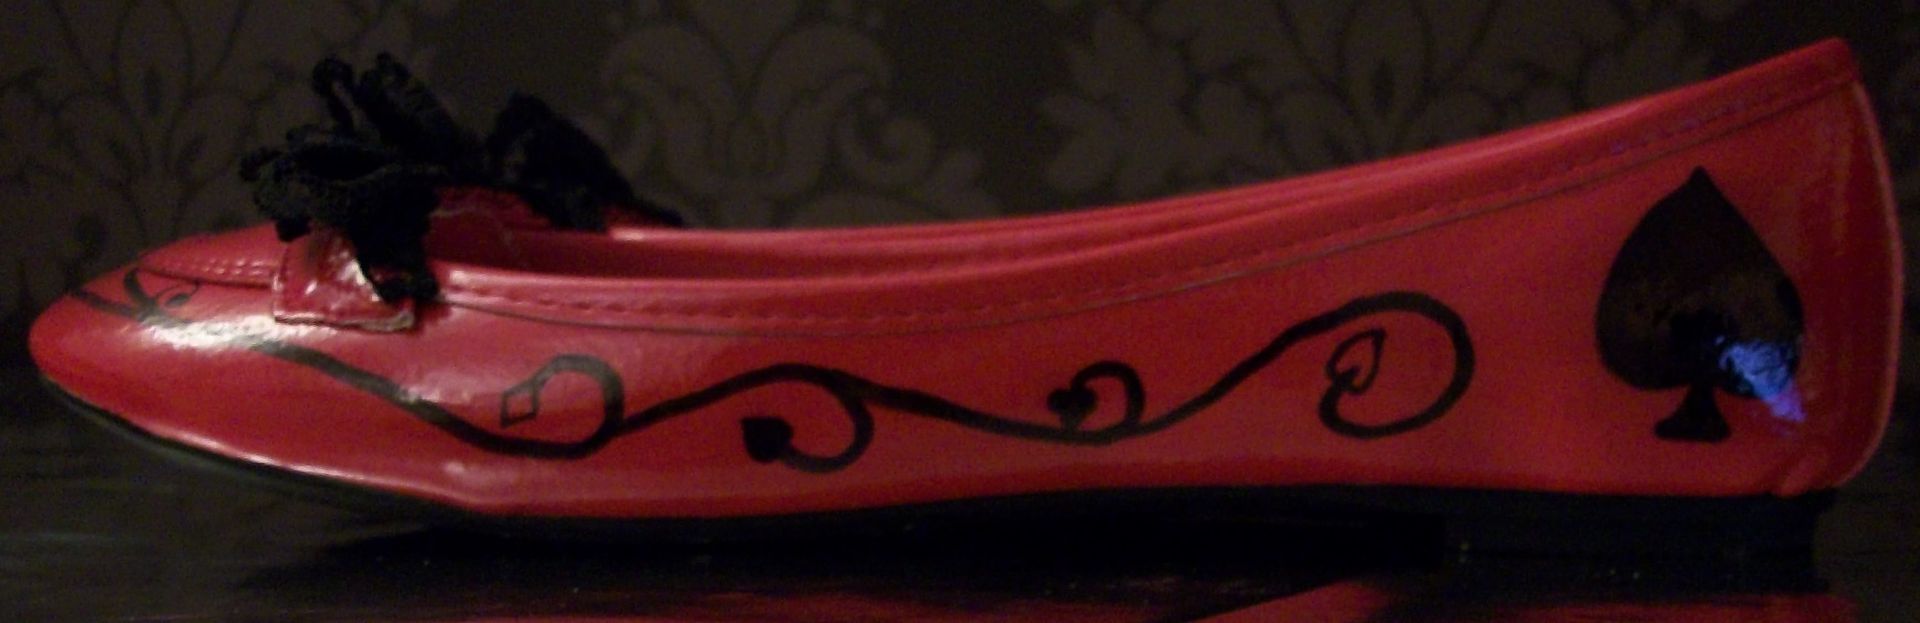
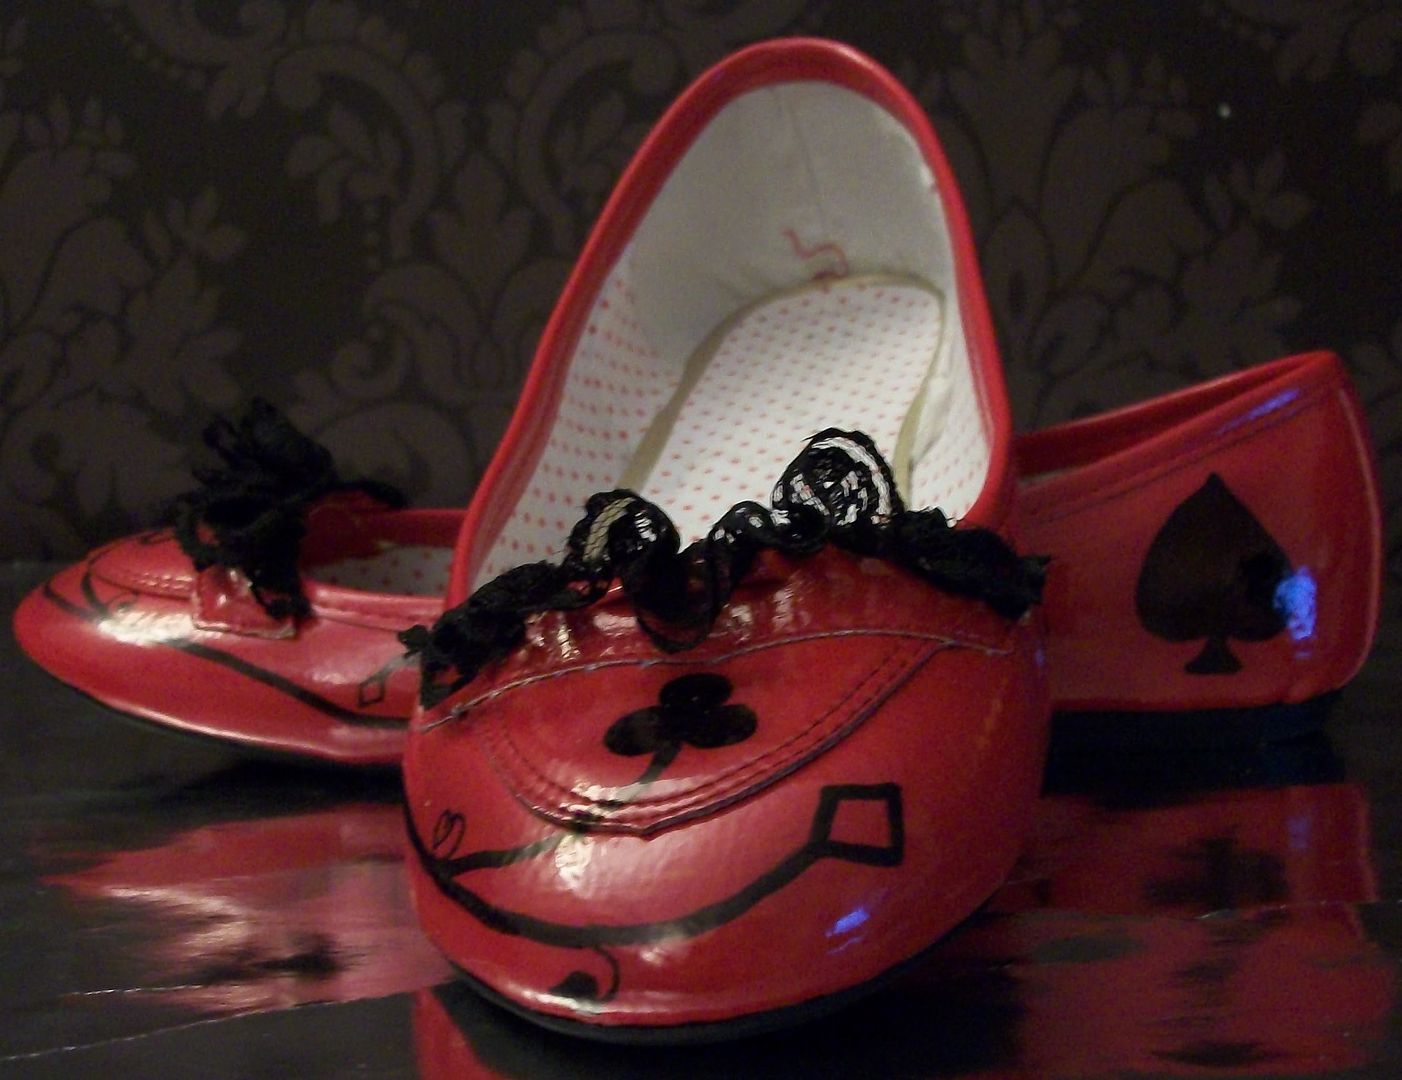
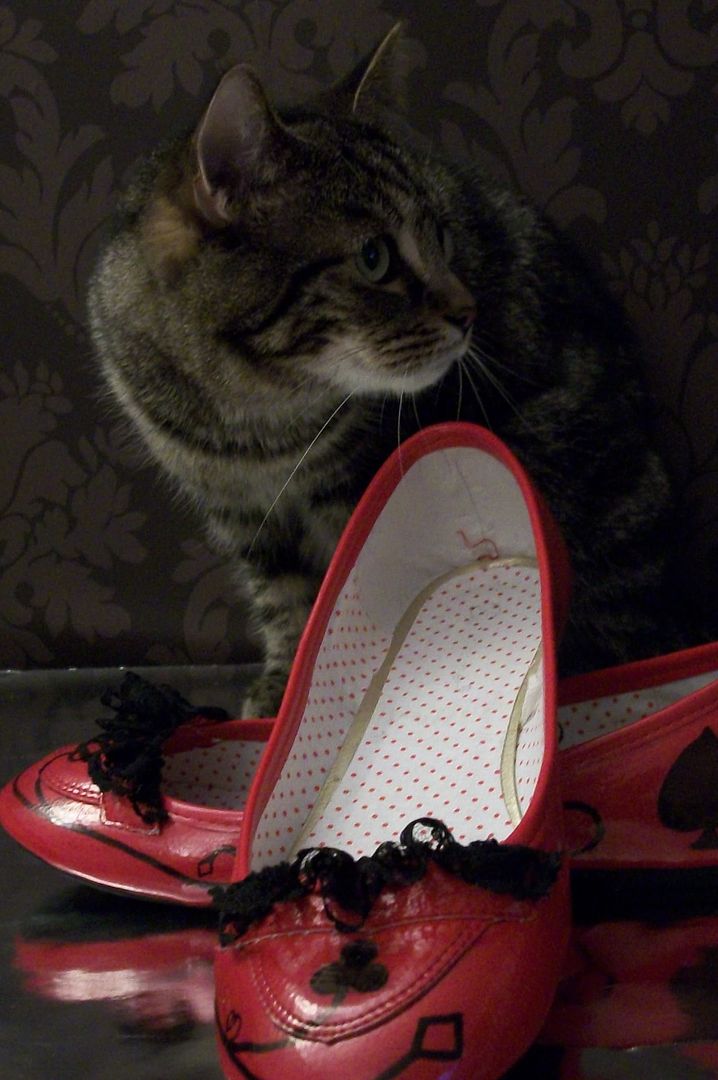
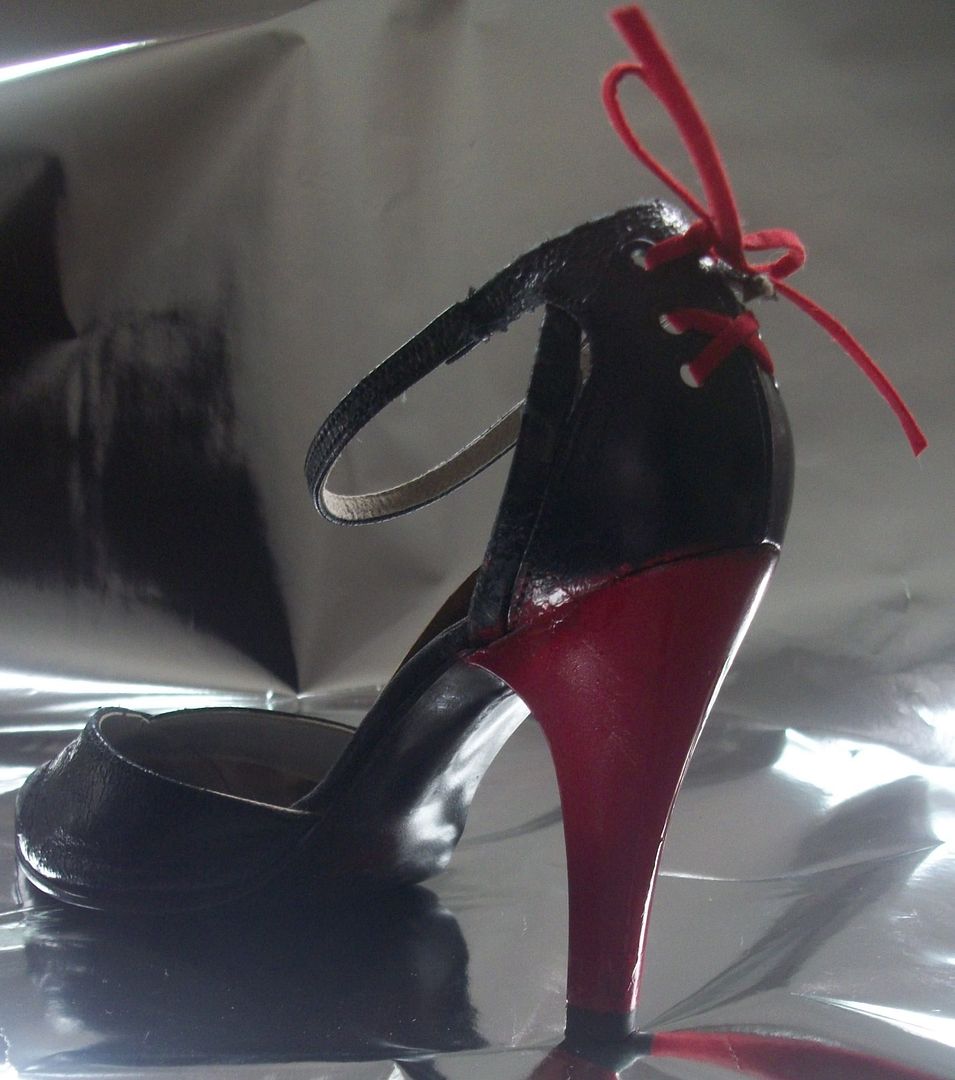
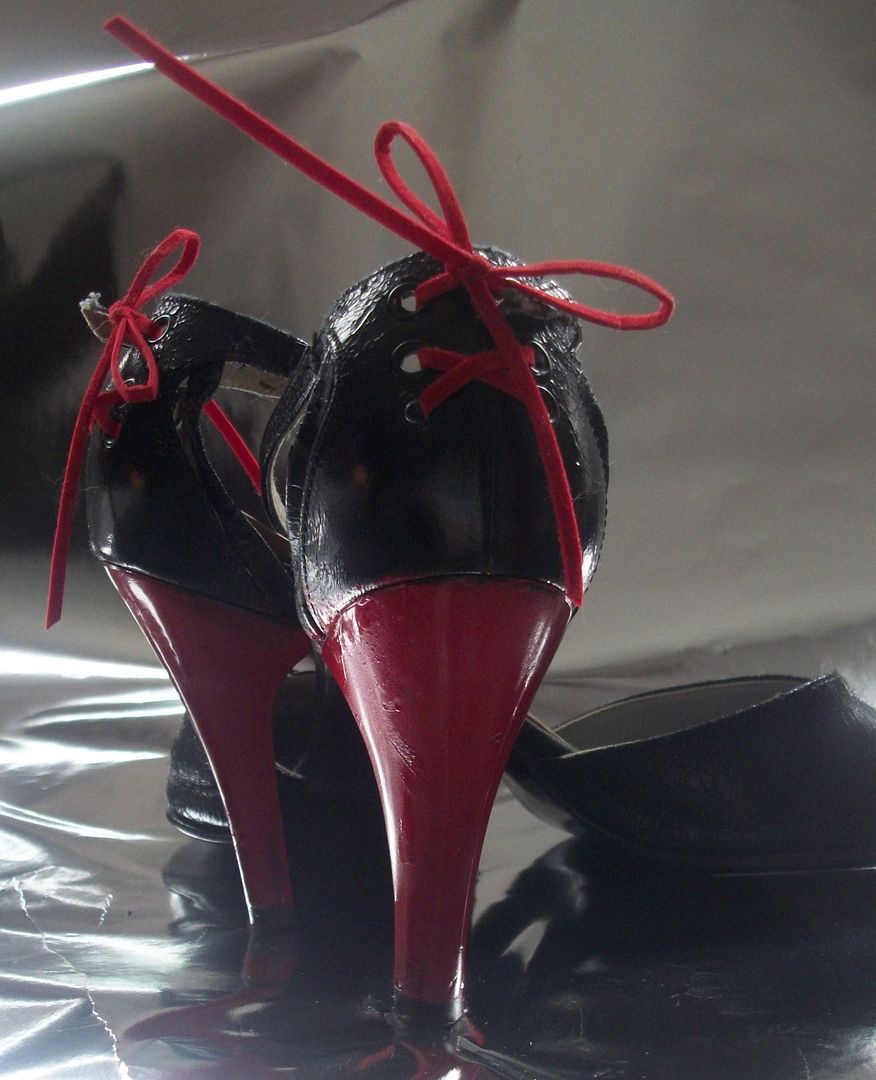
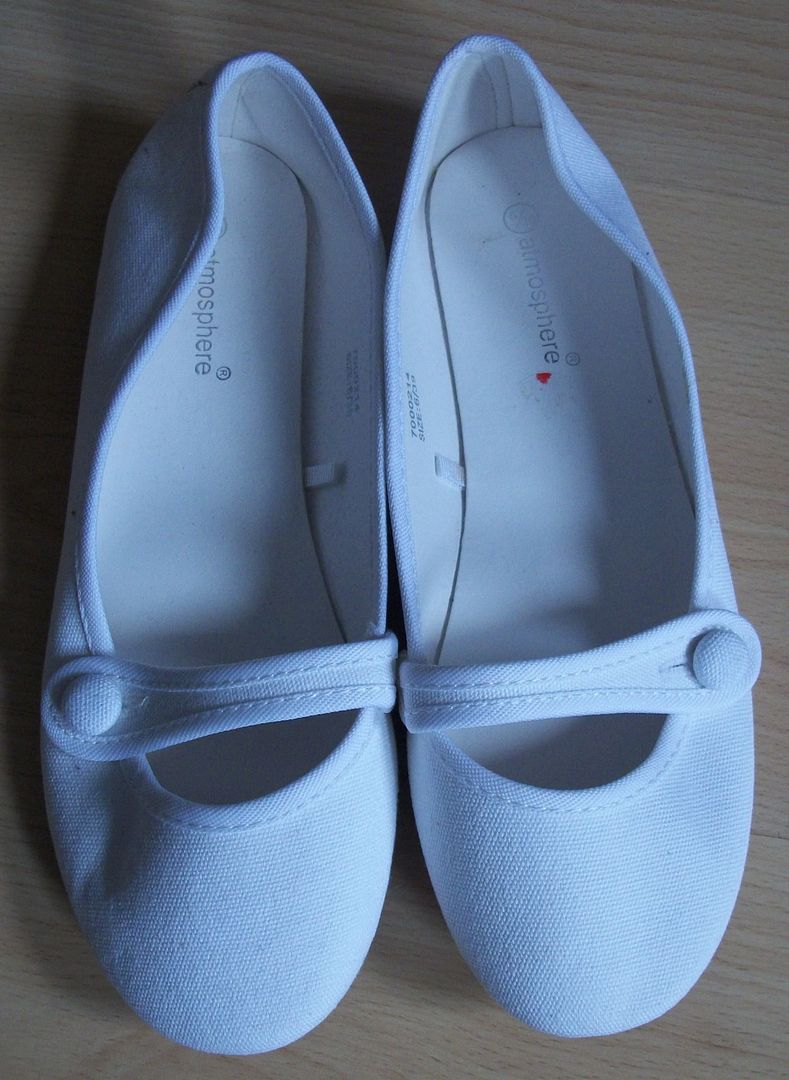
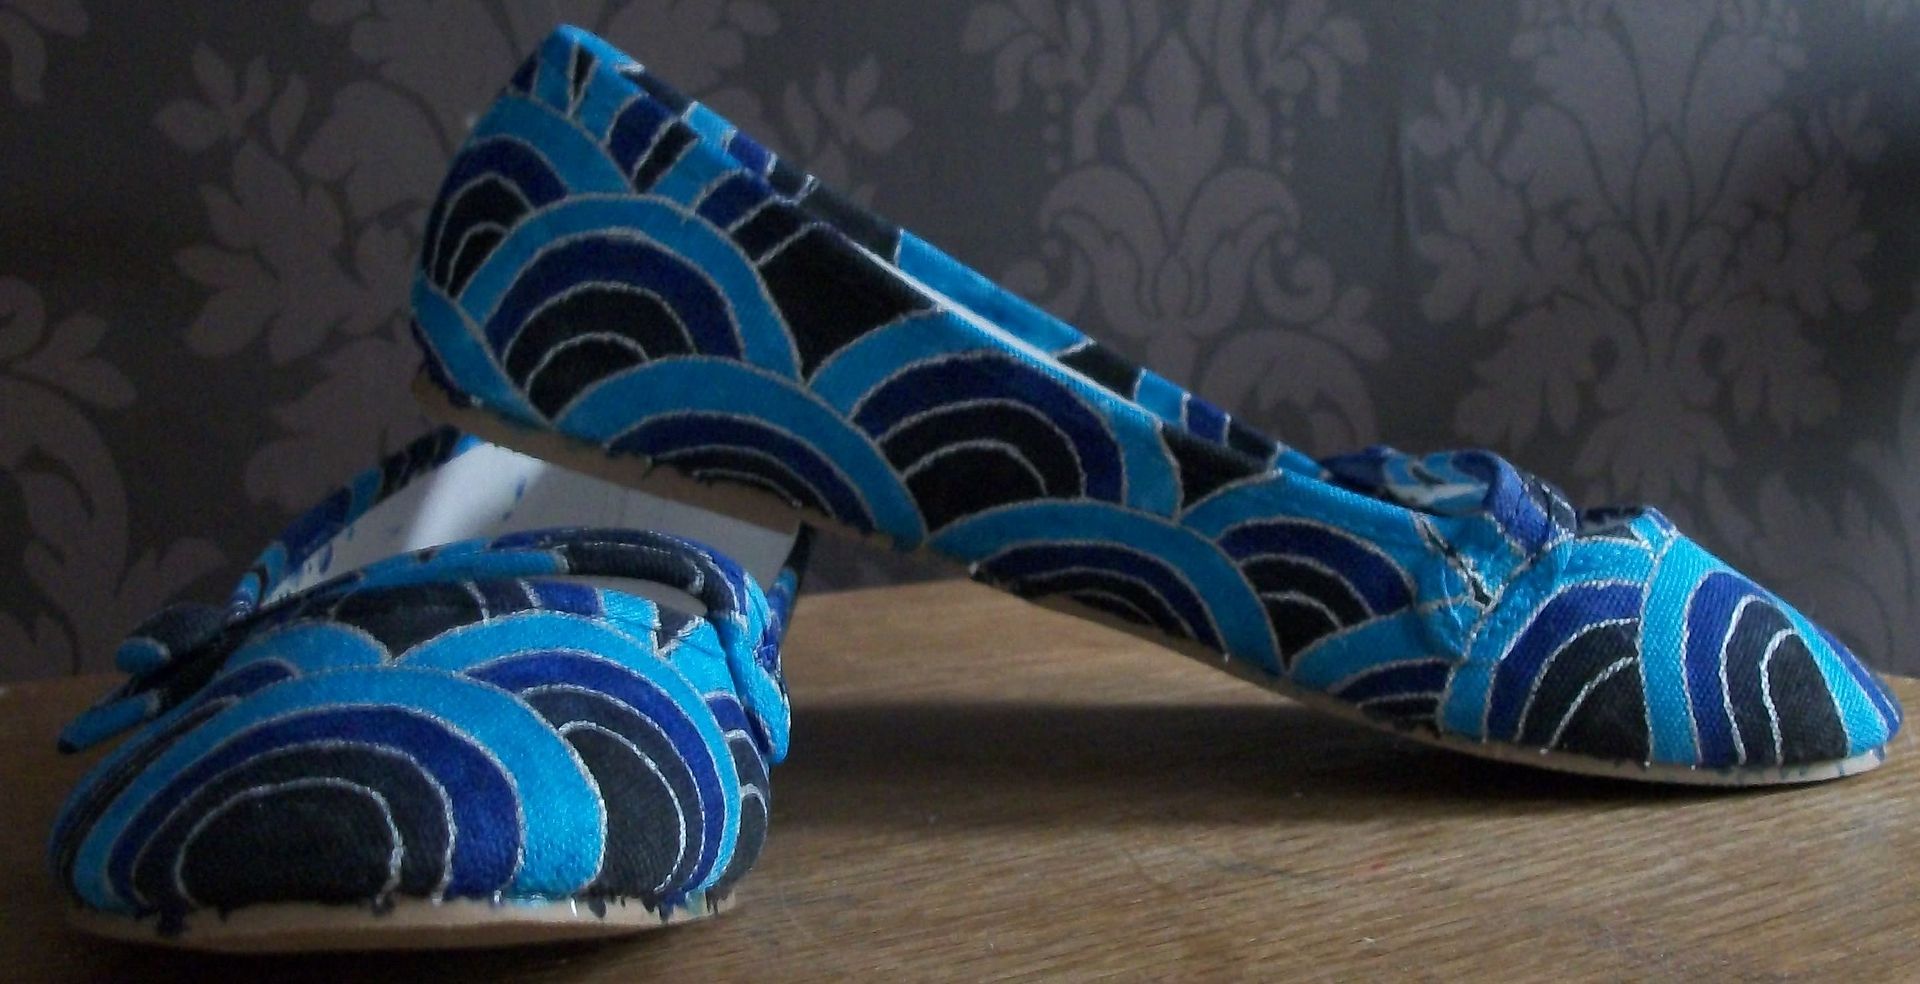
Next Sunday ... The matching shoes, first time I've sewn onto shoes!

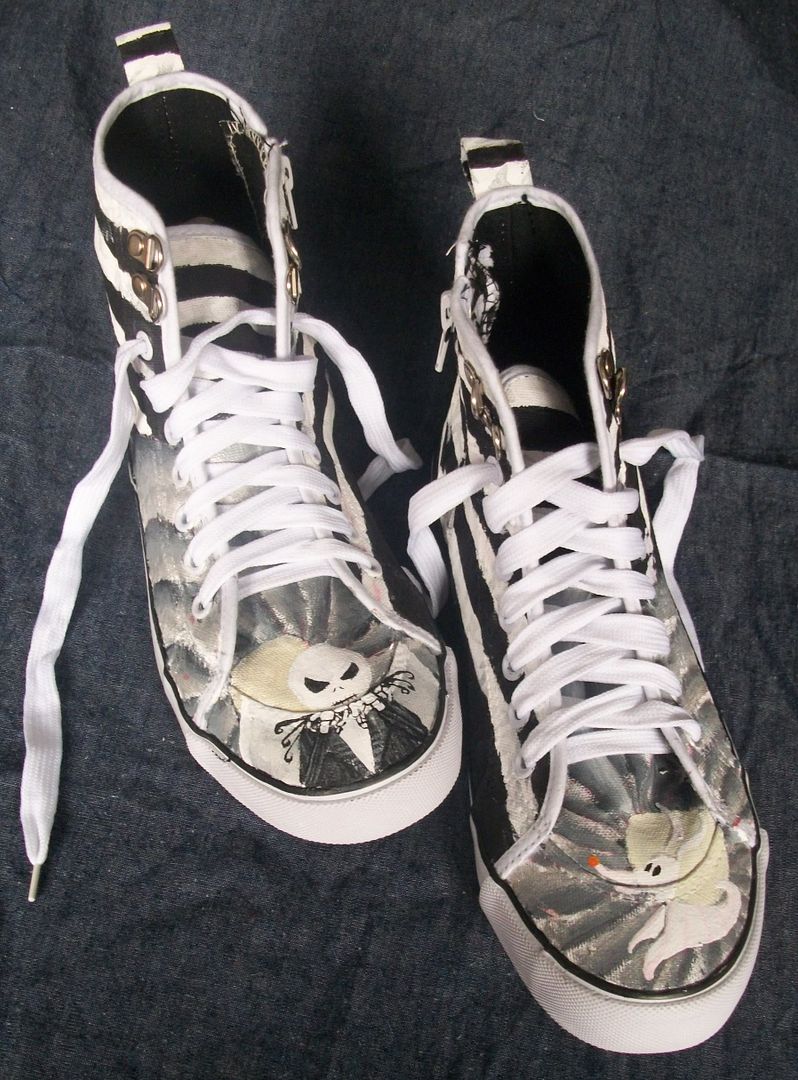


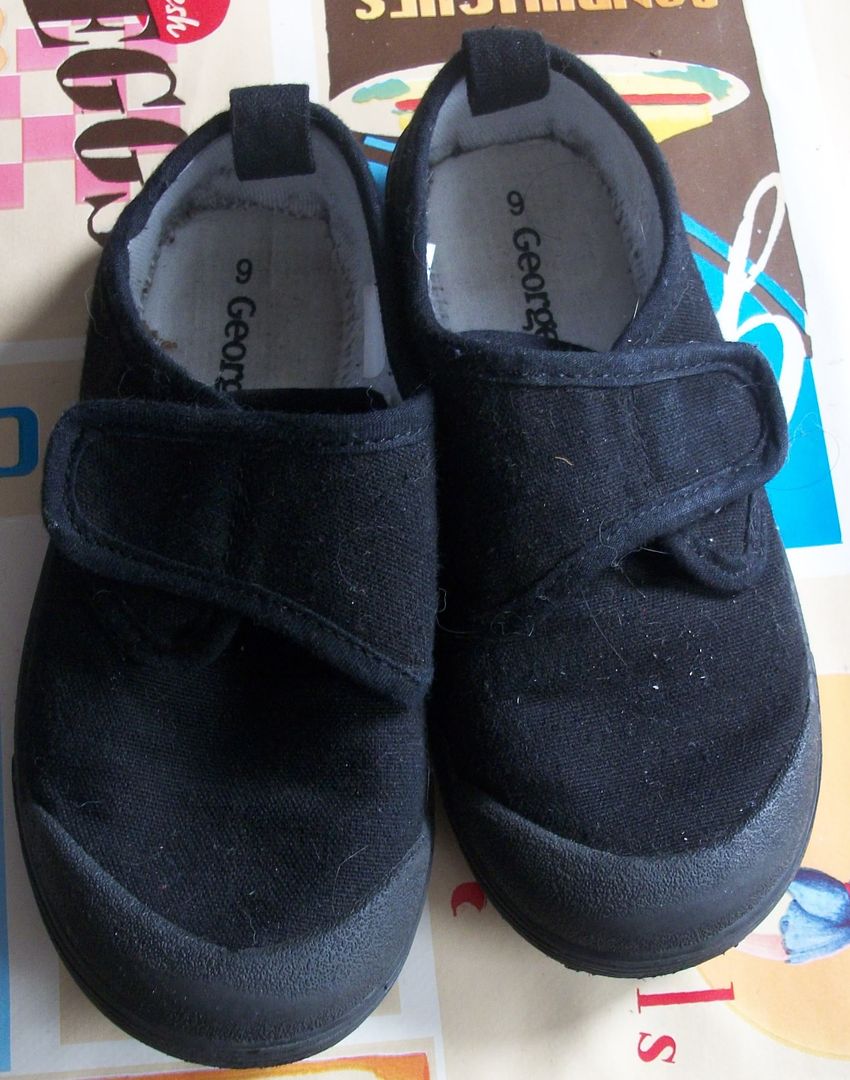
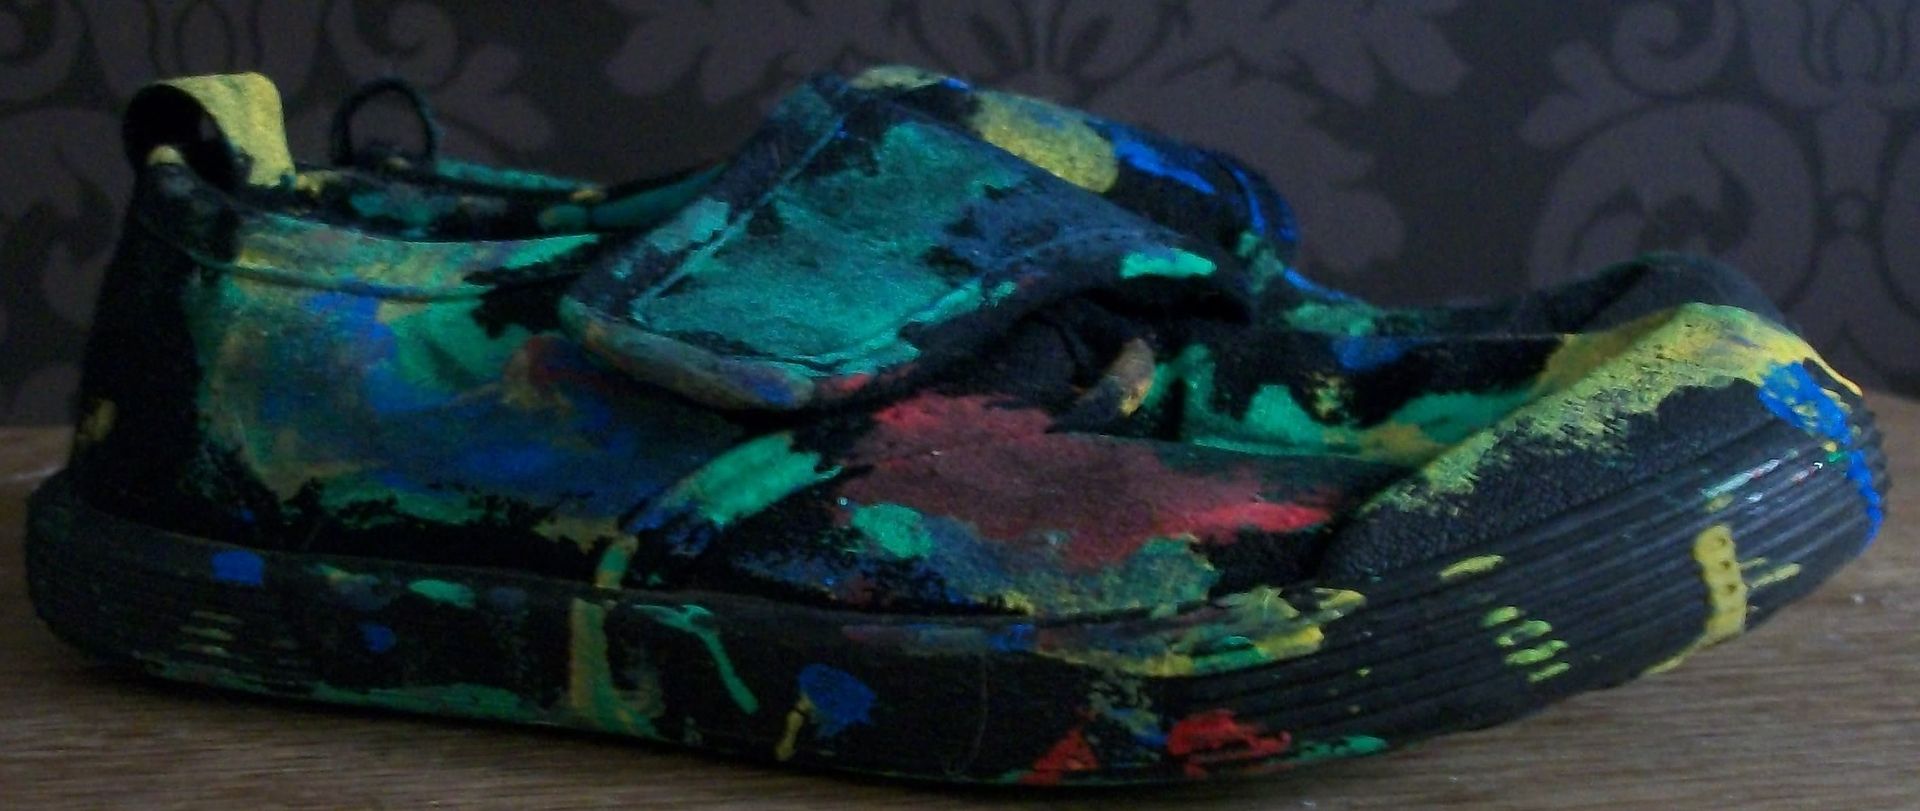
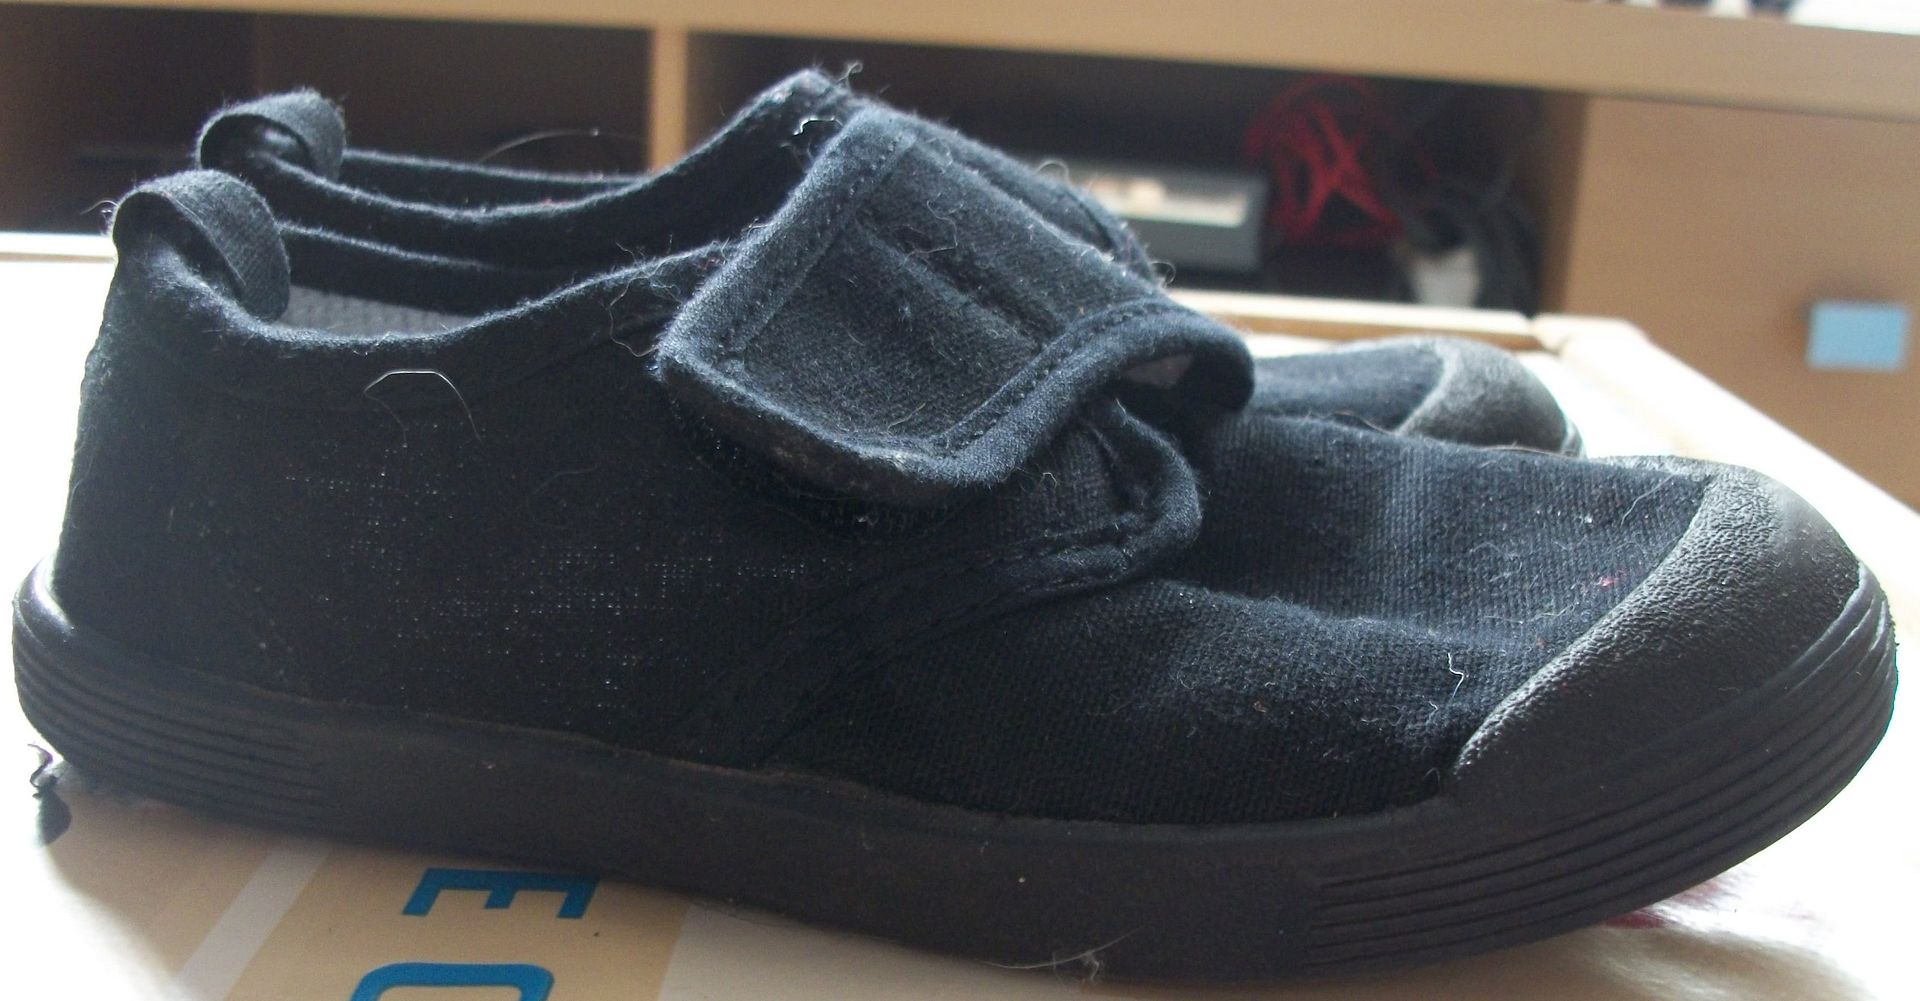 To make it even cheaper I let them use acrylic or poster paints, they stain them quite nicely, as many a school jumper sleeve will prove.
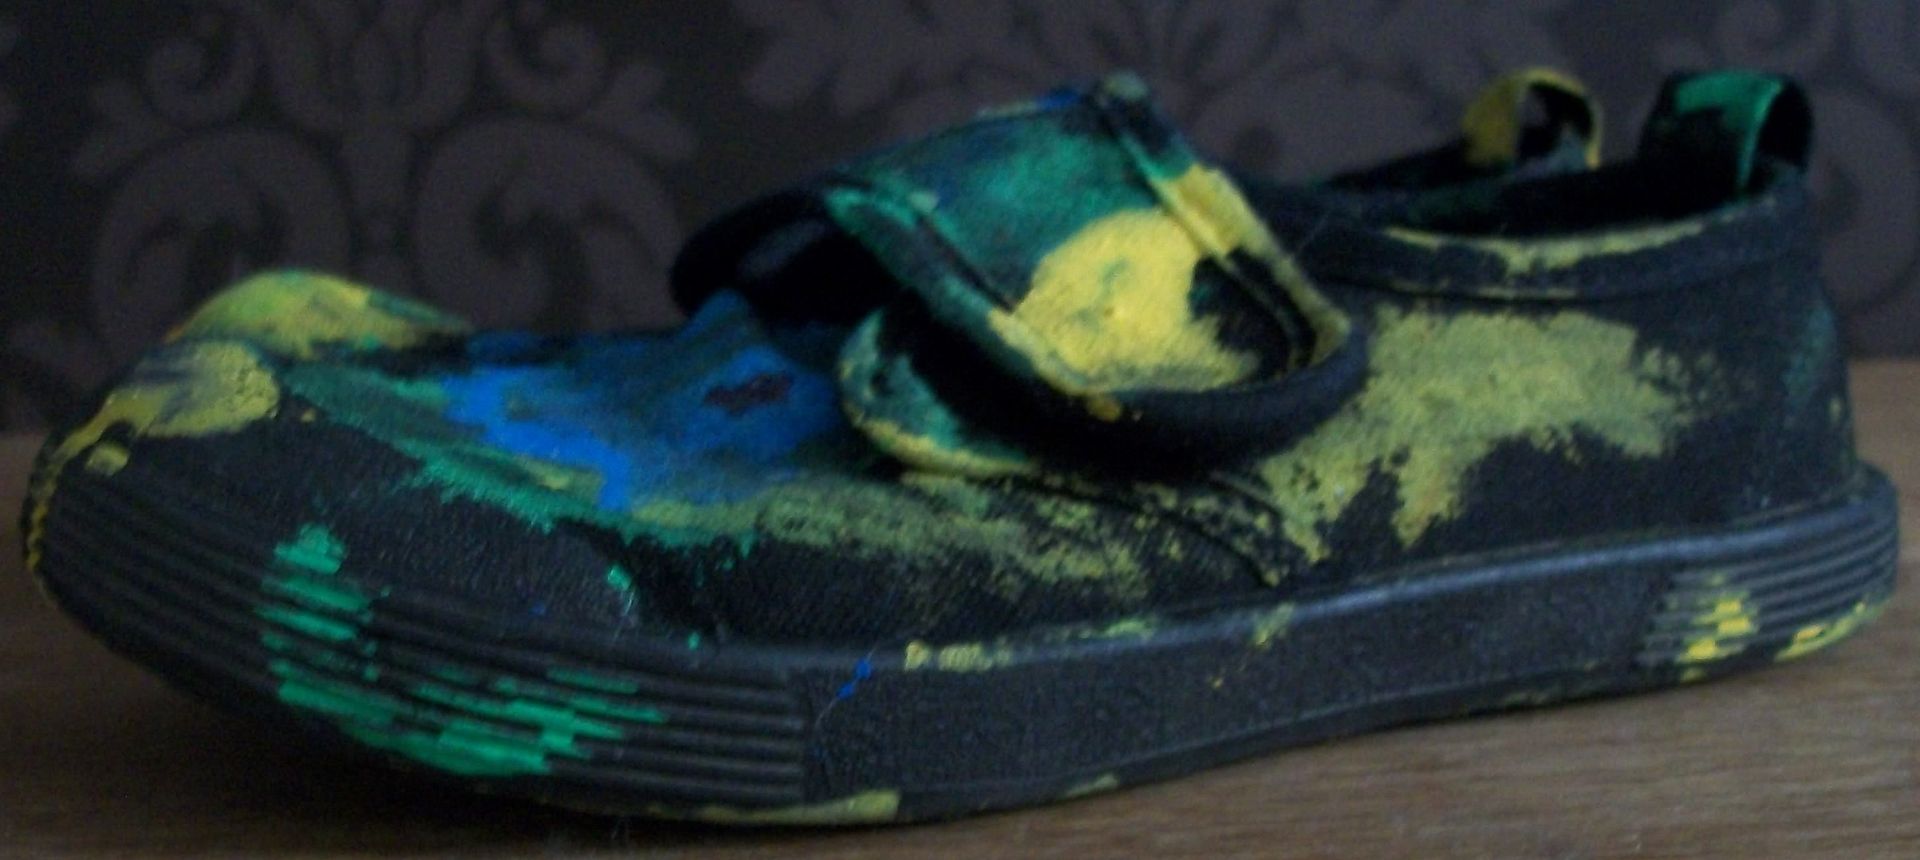


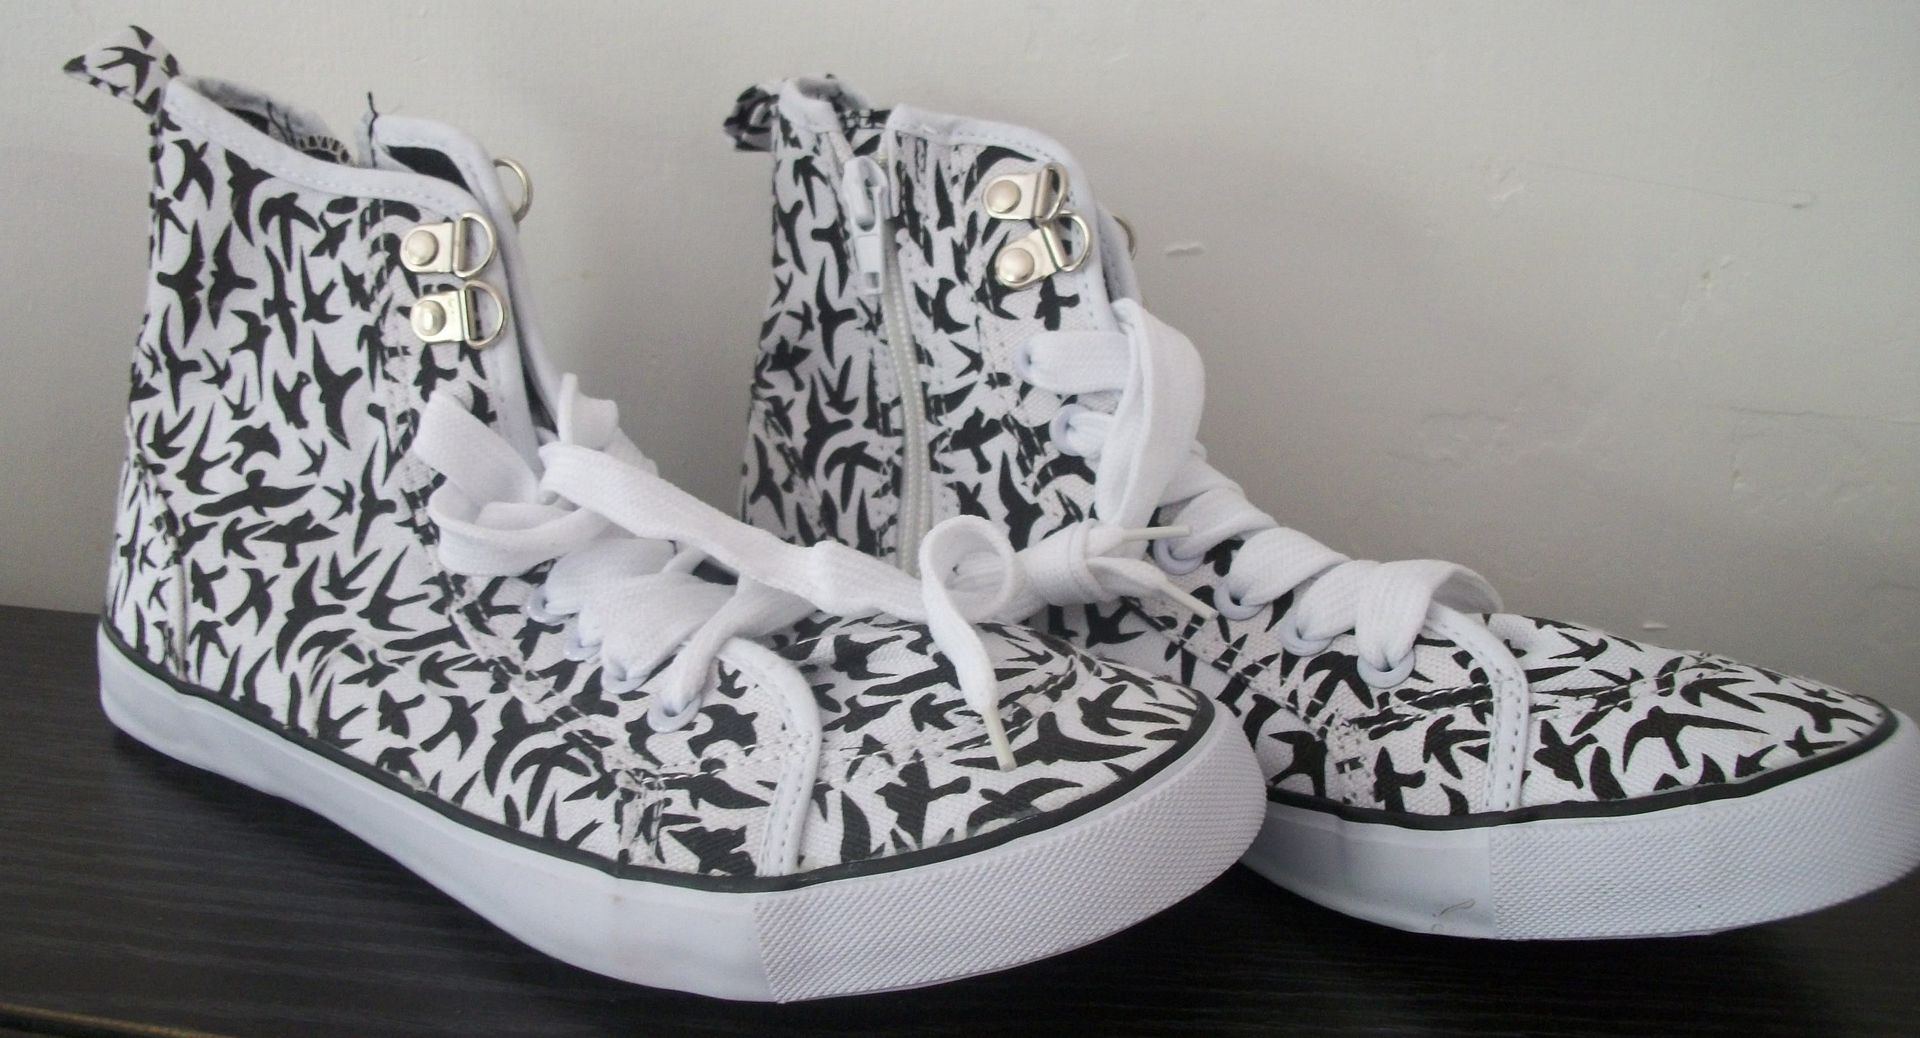
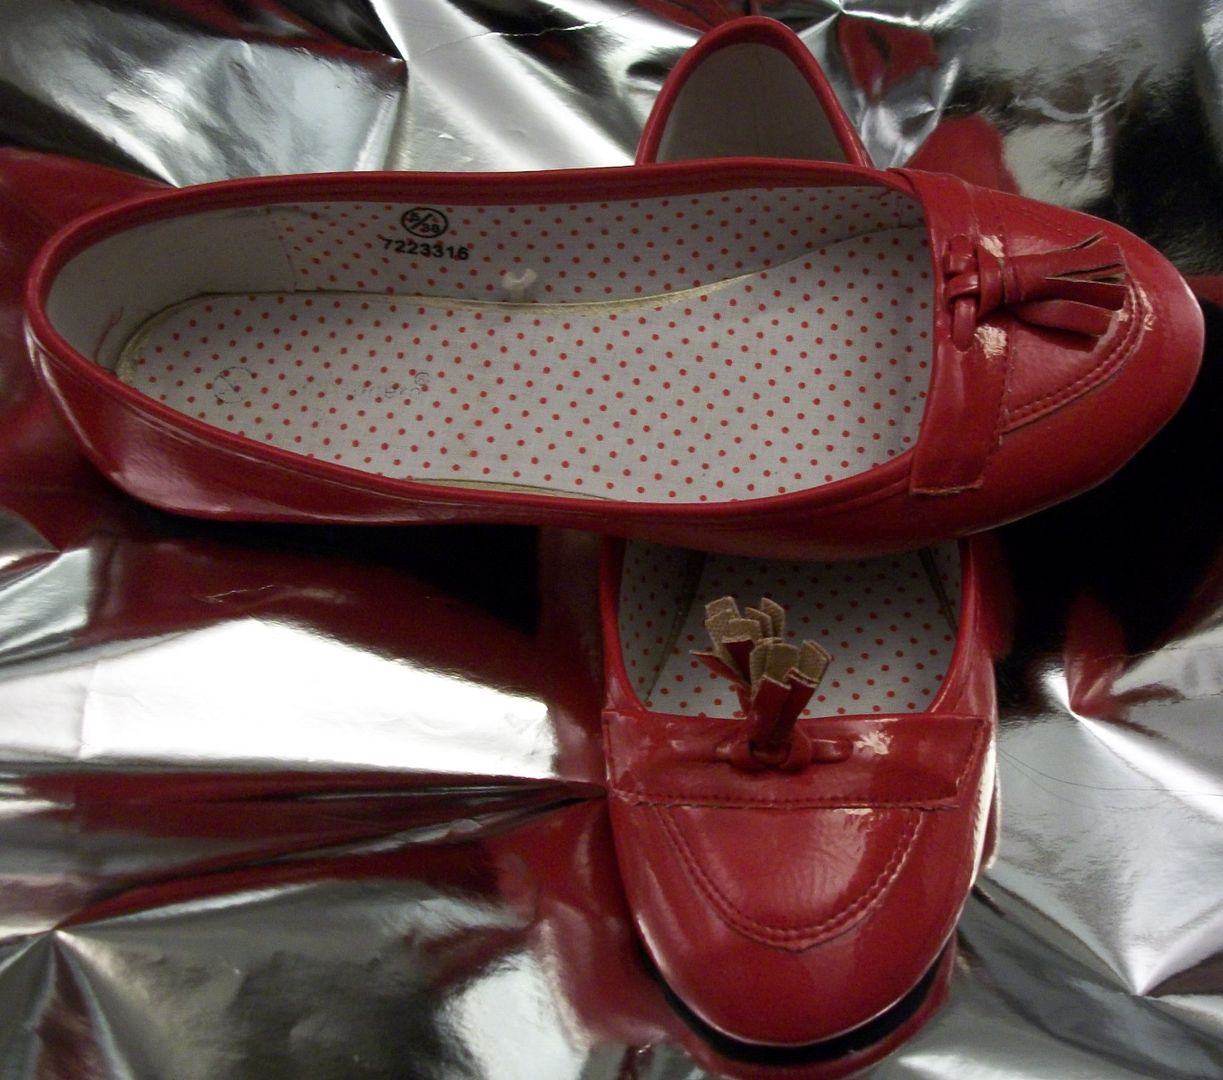 The tassle bits were horrible, and one wouldnt even lie straight down, but I could see that I could remove them easily, and liked the shape and colour of the actual shoe.