Welcome, welcome, welcome to my stop on the End of Summer UKS Blog Hop. You should have arrived here from the talented Suzys blog,
Sea, Glass & Sand, if you haven't, don't worry, just pop over to UKS
HERE for the full list, there are prizes to be won :)
The end of summer means the start of birthdays, the build up to both Halloween & Christmas, sitting in a warm house, crafting away & back to making cards. I've been asked how I make my Easel Arch cards, they are far simpler than they look & can be made in any size.
Whats an Easel Arch card?
An arch card that stands up using the principal of an easel card.
What do you need?
2 sheets of card
An image/topper
Embellishments
Acetate
Sticky stuff (I use double sided tape)
Something to cut with (I use a guillotine)
Something to help you fold (I use a scoring board)
Ruler
How to make the card
Take a piece of card & cut to the size that you want your finished card to be. Then cut the other piece of card to the same WIDTH as this, leaving the length.
Cut the top into a semi circle, this can be with a punch, plate & knife, a circle die half hanging off your cutting plates, a circle cutter, whatever works for you - this time I used a friends patterned circle punch.
Do the same to the bottom of the other piece of card.
Now you need to complete the arch shape, I do this by putting a circular die in the center of the semi circle, cutting it out & then using the guillotine to carefully cut from the bottom up in line with the circle so you get 2 pillars, be careful not to cut all the way - it should end up looking like this...
Now you need a couple of measurements, measure the length from the bottom of the arch to the bottom of the pillar, like this
Its better to be a little bit under with this measurement than over.
Now get your other piece of card. measure 1 inch (2.5cm) from the bottom of the arch & put a fold straight across here. Then add your measurement from the 1st piece of card here & make another fold, add this measurement again after the fold & cut across here to shorten the card (I'll show you a photo in a moment, bare with me)
Take your first piece of card & measure across the pillar.
You need to cut columns the same width as this on your second piece of card. Cut from the top on your second piece of card (the unarched part) down to the second fold on both sides of the card remembering to use your measurement to define the width of these new columns. Then cut along the second fold, in between the columns so it looks like this....
Add sticky to the bottom "flaps" of the columns (from the first fold down)
Stick the acetate onto the back of your first piece of the card.
Then stick this onto the 2nd piece of card, nice side up, so the bottoms & sides of the columns line up like this....
If you now flip it over & fold it up it should look like this ....
Now you need to decorate it remembering to put 2 raised embellishments in front of the columns, just over an inch from the folds so that they catch on them when its stood up. On mine I used a couple of ribbon roses.
Ta daaaa, you are all done! If you have any questions please feel free to ask in the comments section or click on "Contact me" at the top right of my blog, I'll be happy to answer you.
There are many variations you can make for all sorts of different occasions, you can emboss the card for a different look, remove the acetate & suspend things from the arch, I'd love to see what you come up with so if you do have a go please send me a link so I can see it.
Now on you go with the blog hop, off to Wannabe Rebels blog
Scrapbook Printables
Just before you disappear, remember to leave me a comment (as with everyone elses blog) to be in with a chance of winning the prizes on UKS along with your UKS user name.


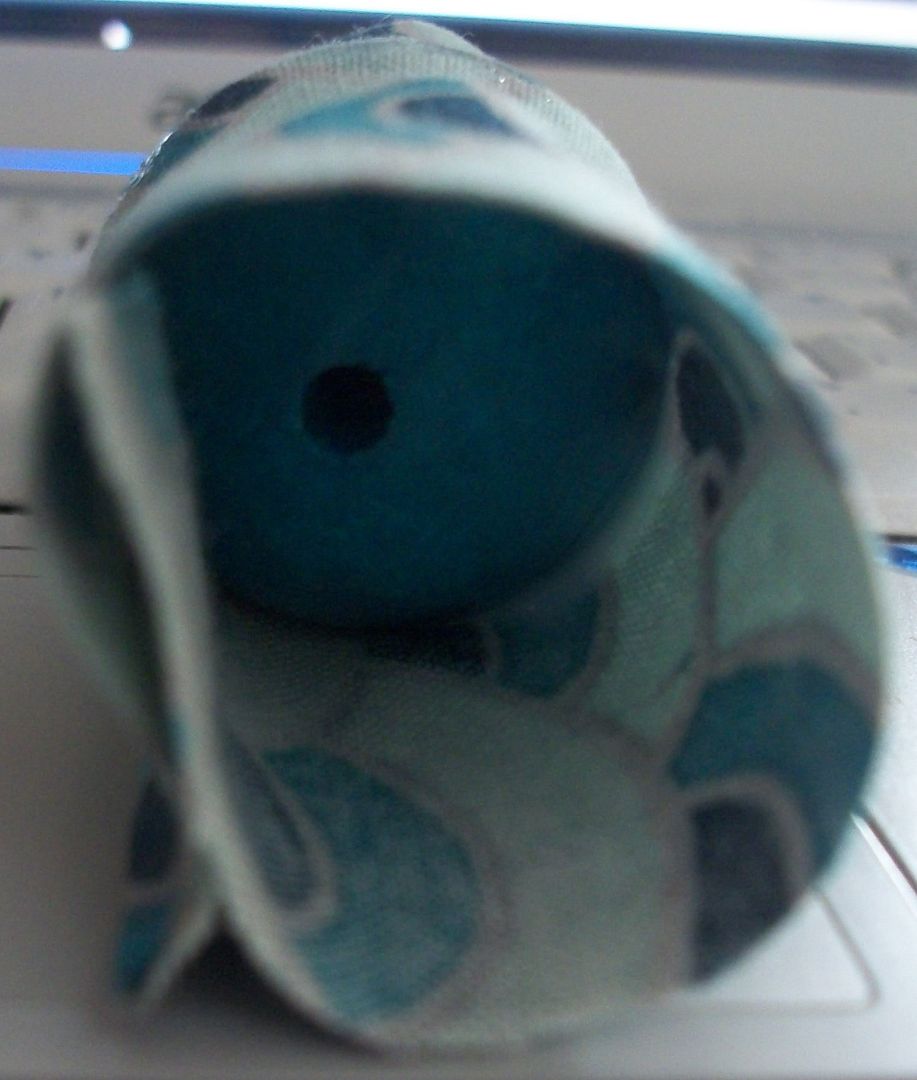

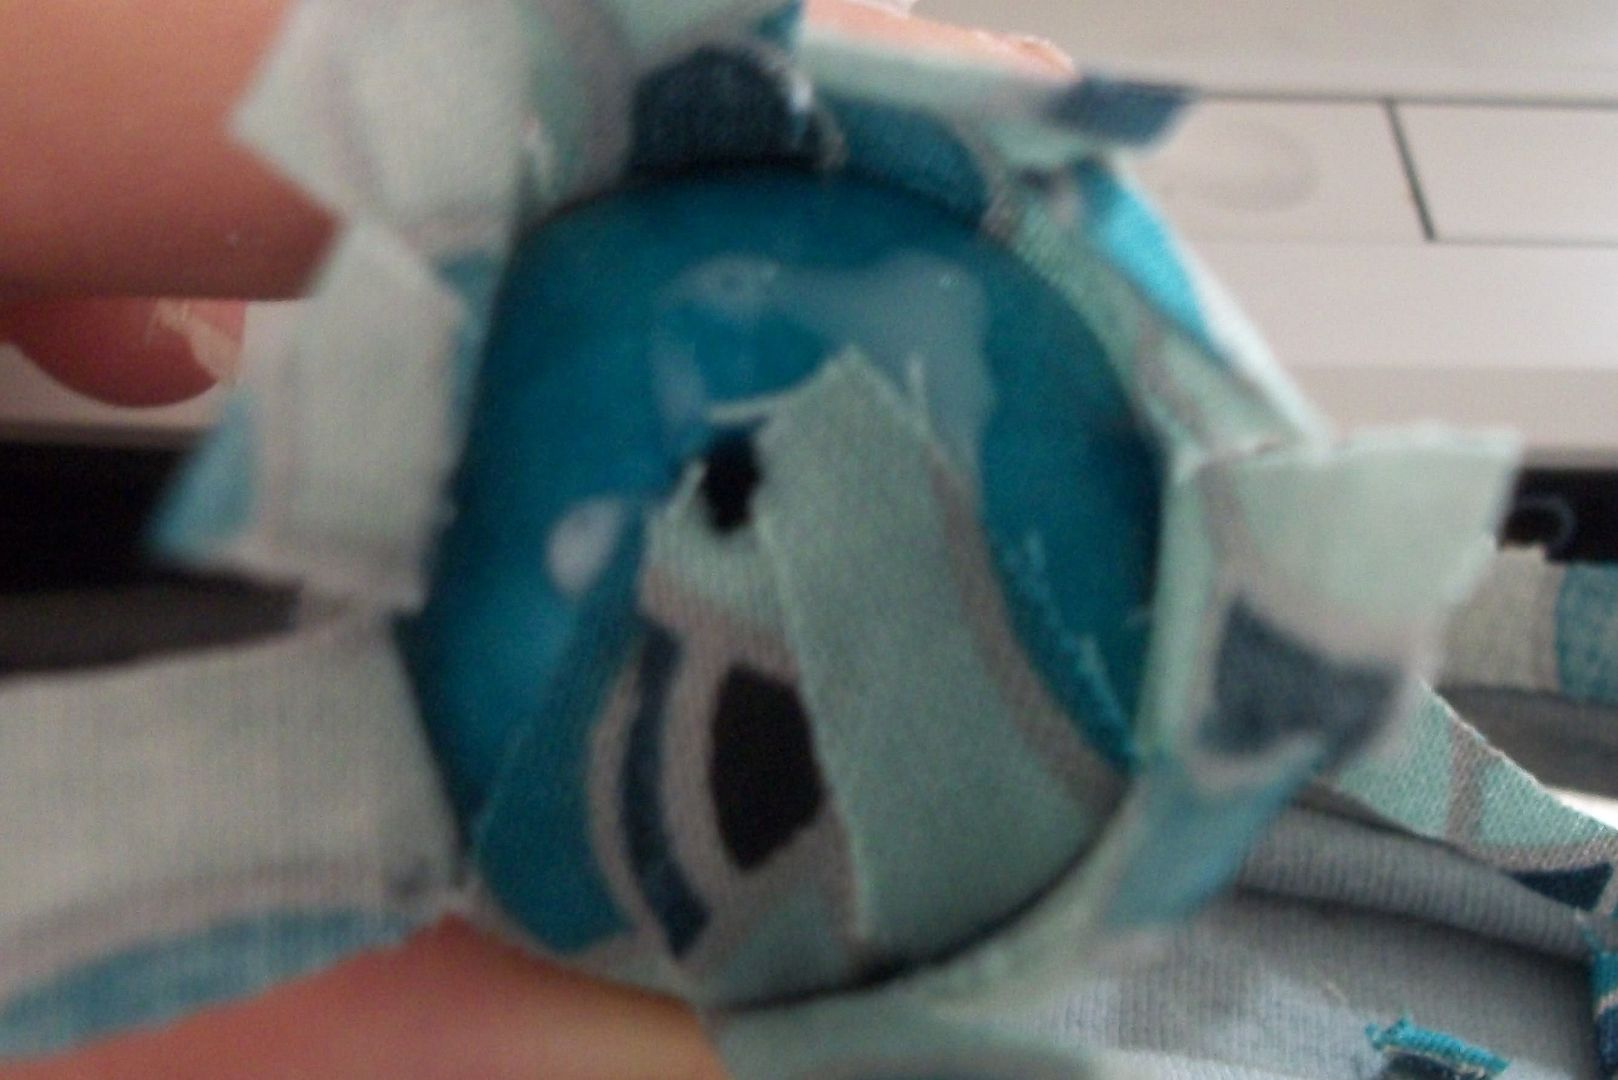
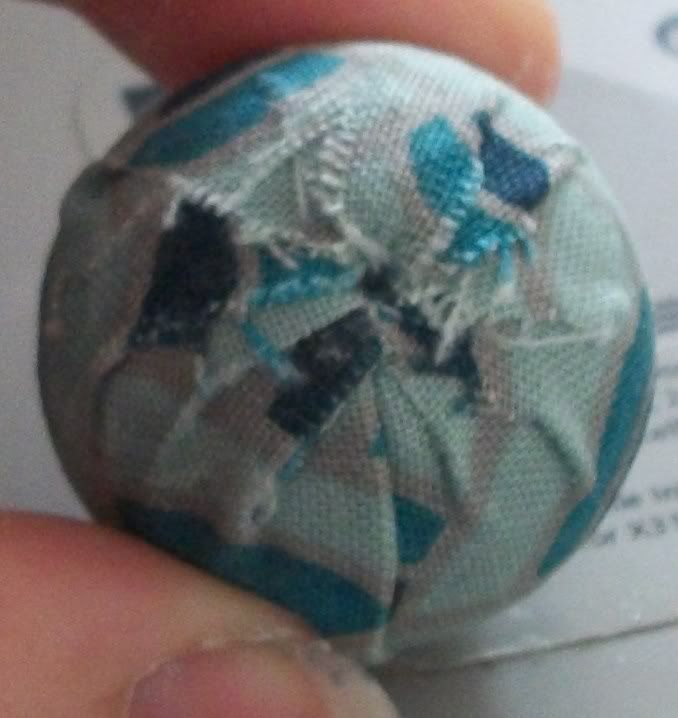
 As you can see you dont need to tuck all the edges in, as long as the hole is free, and the bead fairly neat.