Showing posts with label Present. Show all posts

Tuesday, 17 January 2012

Home made Baileys

One of the gifts we gave at Christmas was Home made Baileys
400g (1 tin) sweetened condensed milk
375ml (1 tin) carnation creamy evaporated milk
2tsp Vanilla extract
2tsp glycerine (optional but gives it a smoother feel)
1tbsp coffee granules mixed with 1tbsp off-the-boil hot water
Whisky (quantity to taste)

Mix everything together except the alcohol, add this a bit at a time, tasting as you go.
I added Tia Maria instead of Whisky as I prefer the taste.

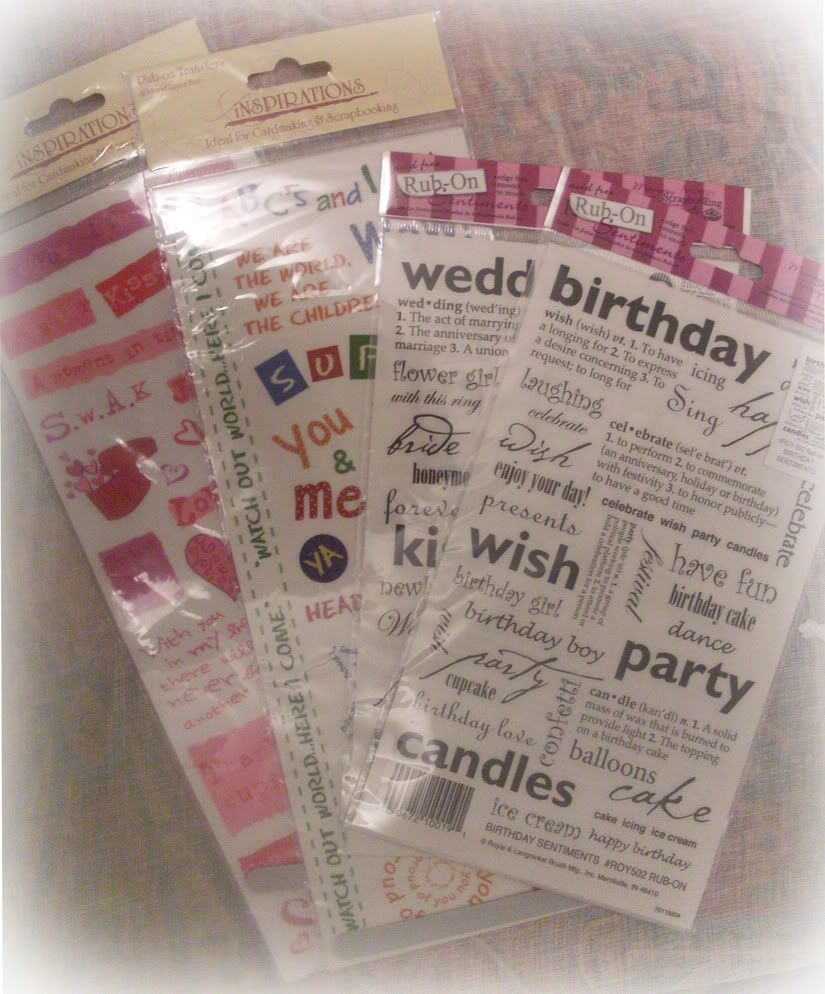
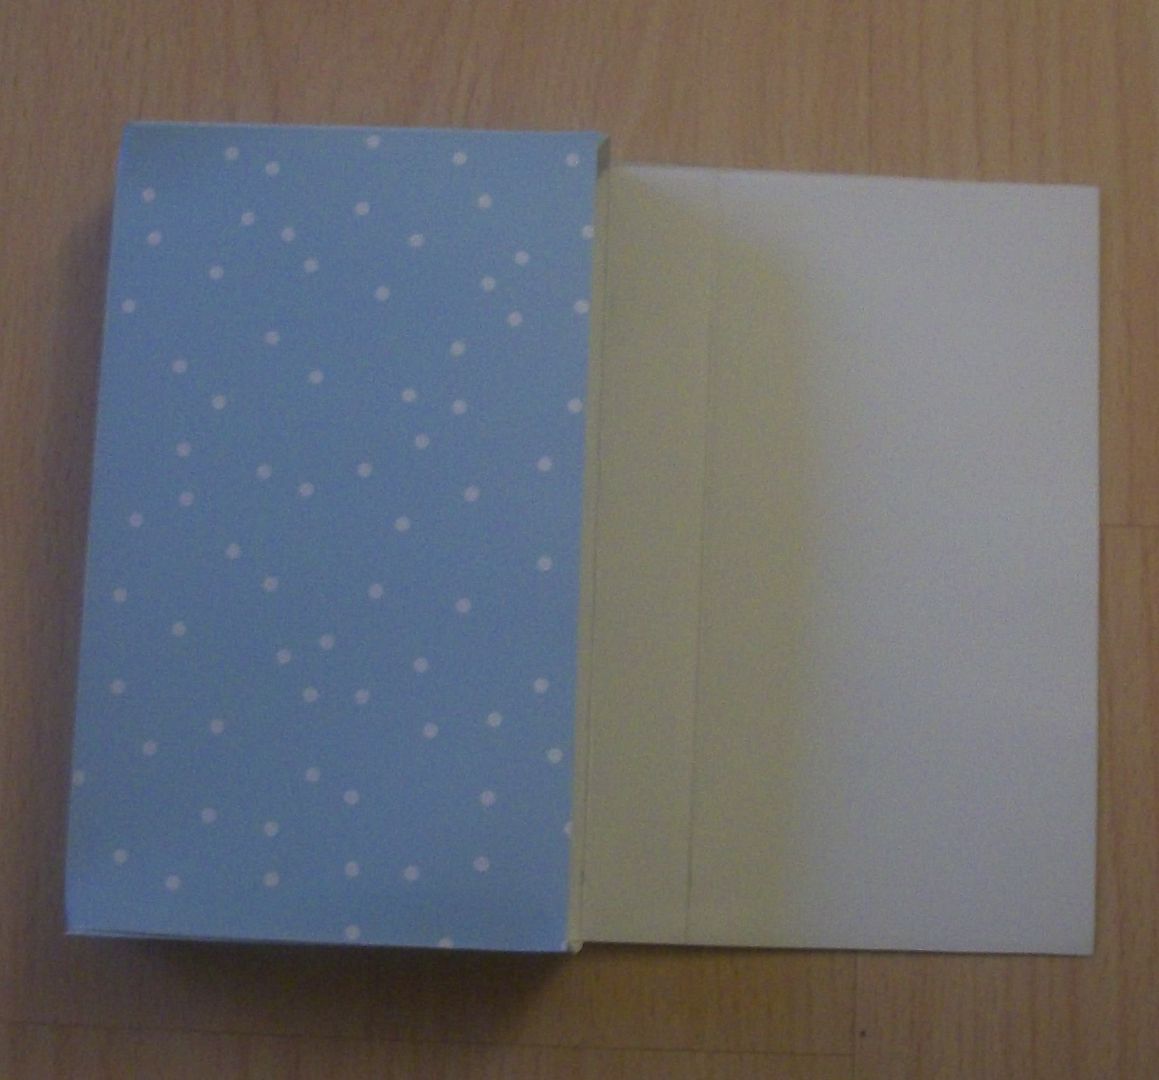
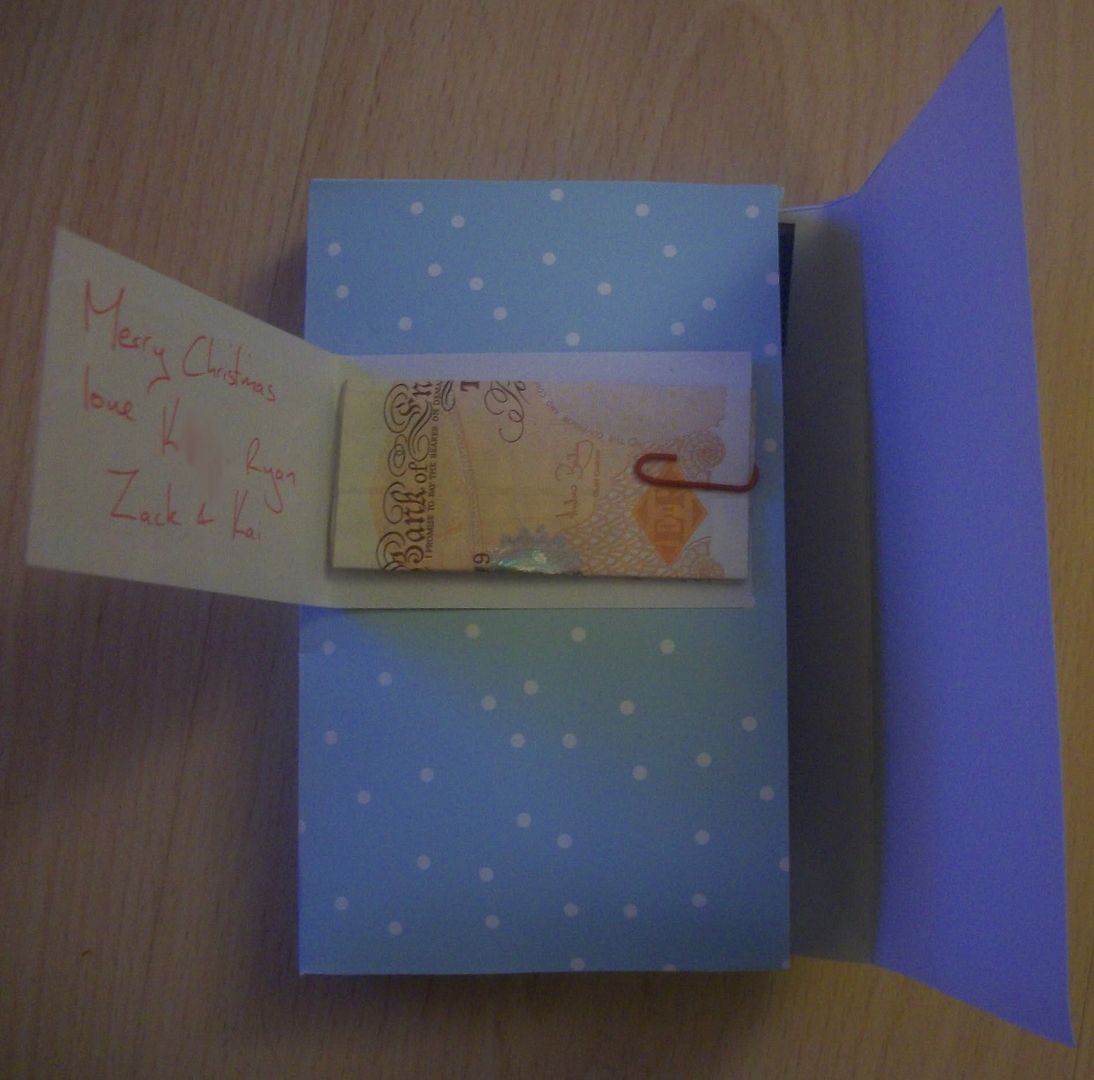
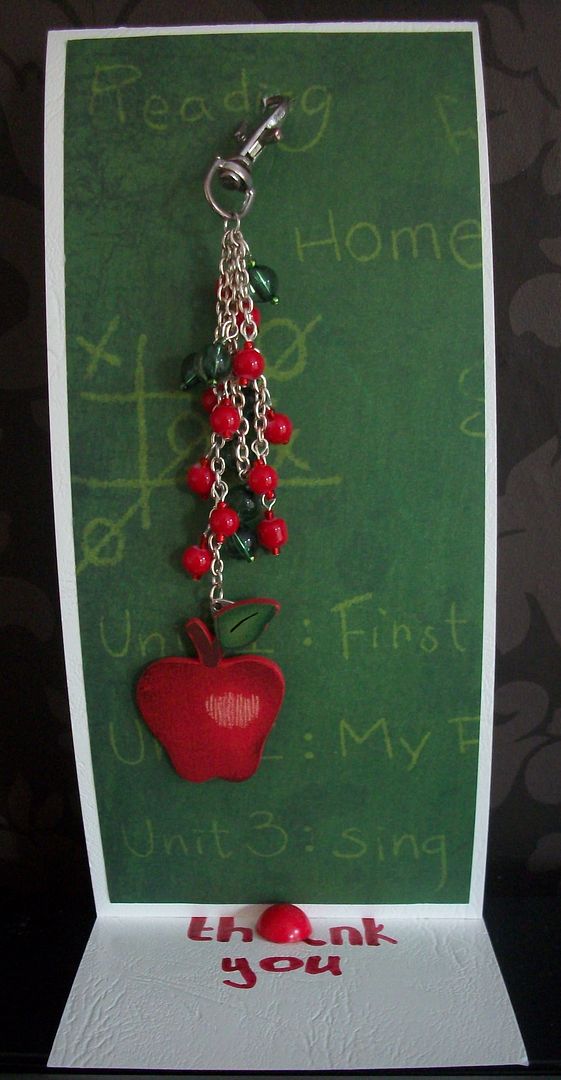
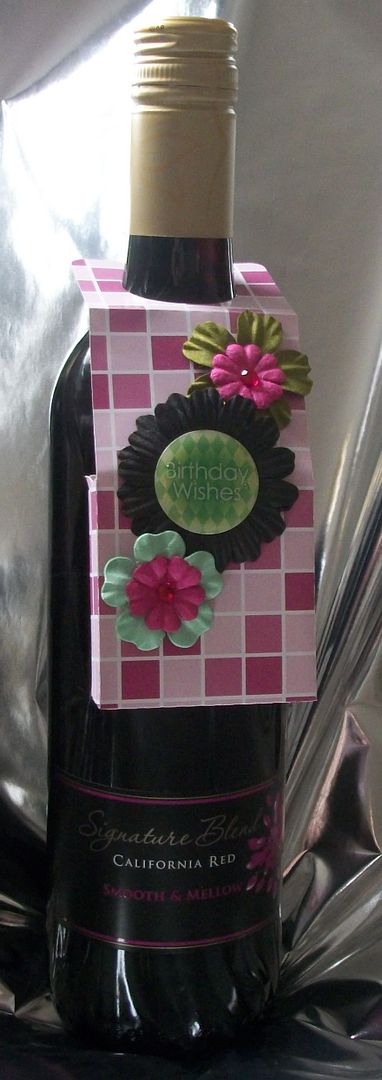
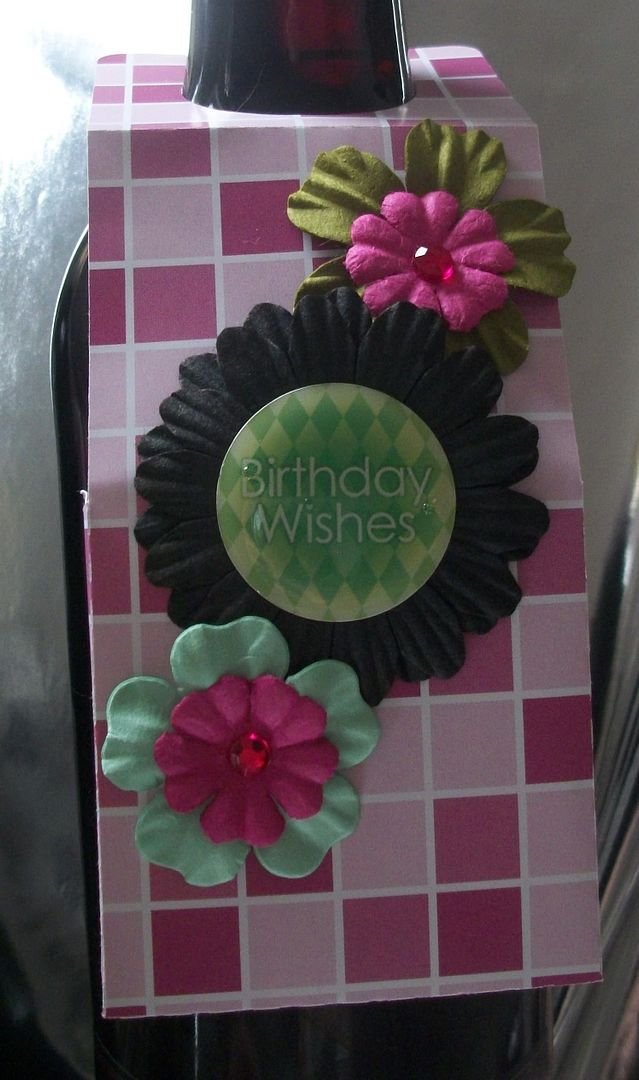
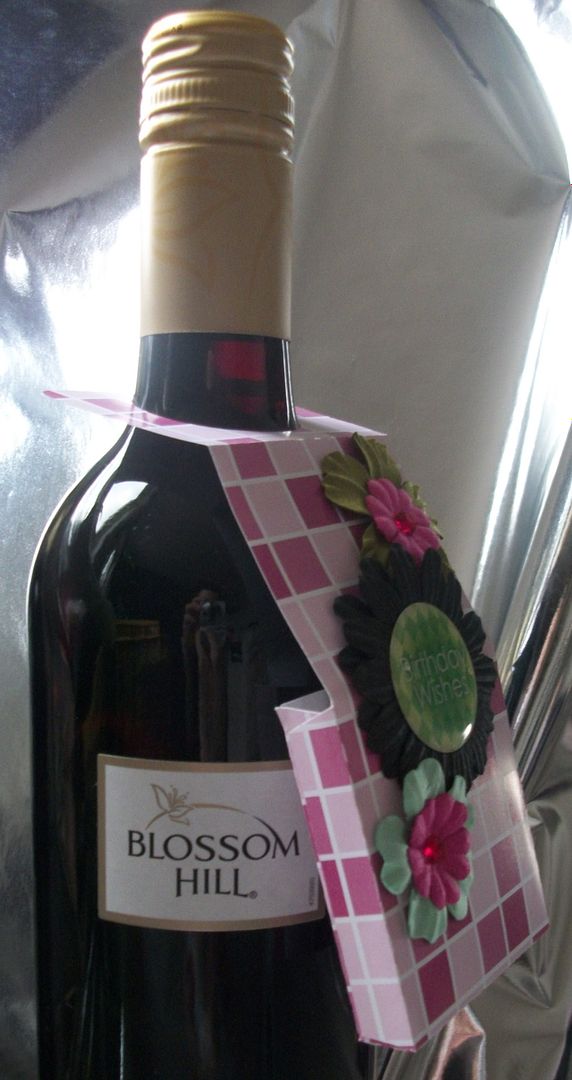
As soon as I find the link I'll let you know which blog I got the design for the stickers from as they truely are beautiful and came in very handy over Christmas.

Mmmmmmm, homemade baileys really is delicious, though its not particularly good for your waistline :-)

Tuesday, 26 July 2011

A little extra for teacher.


I made a bookmark / keyring for Kai's teacher as a thank you for all her hardwork, support & kindness this school year.

I thought as a Pre-school teacher the jumping child pendant with a heart was perfect for her.

It is made from a strip of ribbon that can be placed within a book to keep her page, but is also long enough so if she isnt an avid reader she can use it as a keyring due to its large lobster clip end.

Finally I made a little backing card for it to slip on to give it a bit of proffessionalism
Tomorrow I'll is the last part of the "teachers" trilogy & I'll be showing you the cards I made for the teachers

Monday, 25 July 2011

A thank you gift for teacher.

I spotted some blackboard mugs in The Works & thought what a FAB idea for teachers.
Unfortunately I'd forgotten to buy wrapping paper :-( Then **ting!** I had an idea....
What wrapping paper could be more precious than paper decorated by Kai himself so I set him on a looooooong piece of paper with stamps & ink pad. It worked perfectly.

Tomorrow I'll show you the little extra pressie I made for the teacher that had Kai's group & therefore had the most to do with him, plus she is lovely :-)

Saturday, 8 January 2011

Gifted Food Hampers

I totally forgot to take photos of my finished hampers, all but one which was hurried as I'd got minutes to wrap it before its recipients were due to arrive
Heres the one for my older bro & his other half - they have a fire so I put scented firecones instead of mince pies.
As baskets are usually so expensive I used a cat litter tray from poundland, brand new so nice & clean ;-p & they look just like draws, or deep trays.
Inside is firecone scented firelighters , Shortbread, Blackberry & Eldberry Jam, Chutney, Elderflower Champagne, Raspberry Vinegar and Gingerbread men. I would have liked time to add more, or even present it better but time got away from me.

Friday, 7 January 2011

Box of goodies

I always find it hard to buy presents for my niece and nephews, I dont want to get them something someone else has bought them, I want to get something they'll appreciate and use - so for Christmas I opt for sweets and money :) I know at there age I'd appreciate it, they have sweets so they have something to unwrap & use on the day, and money to buy something they really want but havent received yet.

I do put a lot of love & thought into it as each year I try to present them a little bit differently.

After seeing Nickys (Qwiksave's) Gift card card I decided to try & figure out how to do similar but in a box style.

Heres the net I invented, cut out of shiny snowy card.
I applied double sided tape to the tabs.
Here it is partially made up, you can see it has a flap to fold over.

I attach a little card with a paperclip on it to hold the money. Slip in the packet of sweets (snowballs). The box flap closes and then the card does

I finished off by sealing the box with peel offs.
(apologies for the poor quality pics, I was taking the piccies in the evening & electric lighting is not my friend)

If you want the measurements for the net of the box they are HERE.

Monday, 3 January 2011

Christmassy Bag Charms

As I cant see myself getting much time to craft this week I thought I'd share with you some more of the gifts I made people for Christmas

I started off by making the fimo charms - a gingerbread man, candy cane, christmas tree, wreath & wrapped present. I then attached these & beads along a few chains before adding the clasp
Each one is slightly different making it unique.

Friday, 23 July 2010

An Apple for the Teacher

Its Zacks last day at his Primary School today, so we decided to make his teacher a present to say thank you for teaching him & taking care of him. Shes most definately been a fair teacher, scolding when necessary & turning a blind eye when appropriate.

I asked him if he'd like me to make her a bag charm/keyring and explained my idea. He liked it so I set about making it.

Once that was finished we decided it would look nice as the main embellishment on her card so I made an easle card, went through my scraps for a suitable background & then finally went through my pile of buttons for a "stopper".

I fastened all together and turned the red button I'd found into the "a" of thank you.

The thought behind it all was the saying "an apple for the teacher" , and having found a wooden apple I'd received as part of a RAK years ago I thought it was perfect.


Thursday, 10 June 2010

Glass Tile Pendants - my turn

Earlier in the year I was inspired by the glass tile art people were making & had to try it myself.
They are very simple to make but very effective.

1. cover the back of the tile (rough side) with a thin layer of glossy accents (or similar)
2. Place onto your background image, wiping away any excess glossy accents that may squeeze out. Allow to dry
3. If you've used a larger picture than the tile then I find this the best time to cut off the excess.
4. Seal the back of the image with another layer of glossy accents, and place on the bail (the glossy accents will stick it nicely. Leave to dry
5. Add any embellishments you want to the front.The tile at the top is a picture of my youngest a few hours old, embellished with a tiny feet charm.
The tile on the left was done with using dried flowers and leaves on the back, and embellished by a small butterfly on the front.
The pendant on the bottom is an image from Laura Ashleys "Traditional" 6x6 designer paper pack.
Finally the image on the left is of oriental writing, I have used a lucky coin instead of a bail. It isnt quite complete yet as I was to put a red tassle behind it.

These are now ready to be threaded onto chain, ribbon or cord as necklaces..
..or onto key ring chains as keyrings.


Try it yourself....

If you want to try these yourself I am selling 2cm square clear glass tiles with bails on ebay, buy 4 at the same time & receive a 5th free. If I've sold out and you want some you can contact me by email (link is in my left sidebar)

Wednesday, 9 June 2010

Magnetic Tray

This is a simple idea but one that I want to try.
You take a magnetic tray (ones used here are baking trays) and decorate it. It is then used as a noticeboard, or maybe even a childs play board.

I'm keeping my eyes open for a decorative metal tray to use, possibly keeping it simple, using the magnets as decoration.
I think they'd also make wonderful presents.

Friday, 9 April 2010

Sweet boxes

Every year we have problems trying to decide what to get our nephews so this year we decided upon letting them buy their own. We also thought it would be disappointing if they didnt have anything to open from us on Christmas Day so agree'd we should put the money with some sweets.

I found some little tool boxes, the sort you could keep screws in with little screw drivers or such like, and decided this was perfect for putting sweets in.

Thursday, 8 April 2010

Bottle Hanger

The lovely Rusty kindly shared with me the template she used to make her bottle hanger.
I used it to add to a bottle of red wine we'd got my SIL for her birthday so we could put a little bit of money with it to treat herself to something to go with it such as a chinese.

I made it to go the opposite way to Rustys so you couldnt see the money, and decorated the front with flowers and a "birthday wishes" sticker.

Friday, 2 April 2010

Hampers

I love making hampers they make lovely gifts and can be so personal for the person they are made for, plus, if your making them yourself they work out a fraction of the price of bought ones normally. Hampers arent normally seen as a "craft" but I think they are, to make a very nice looking on anyway. It takes time and effort to match colours, organise the layout, let alone choosing what items to go into it.


For example

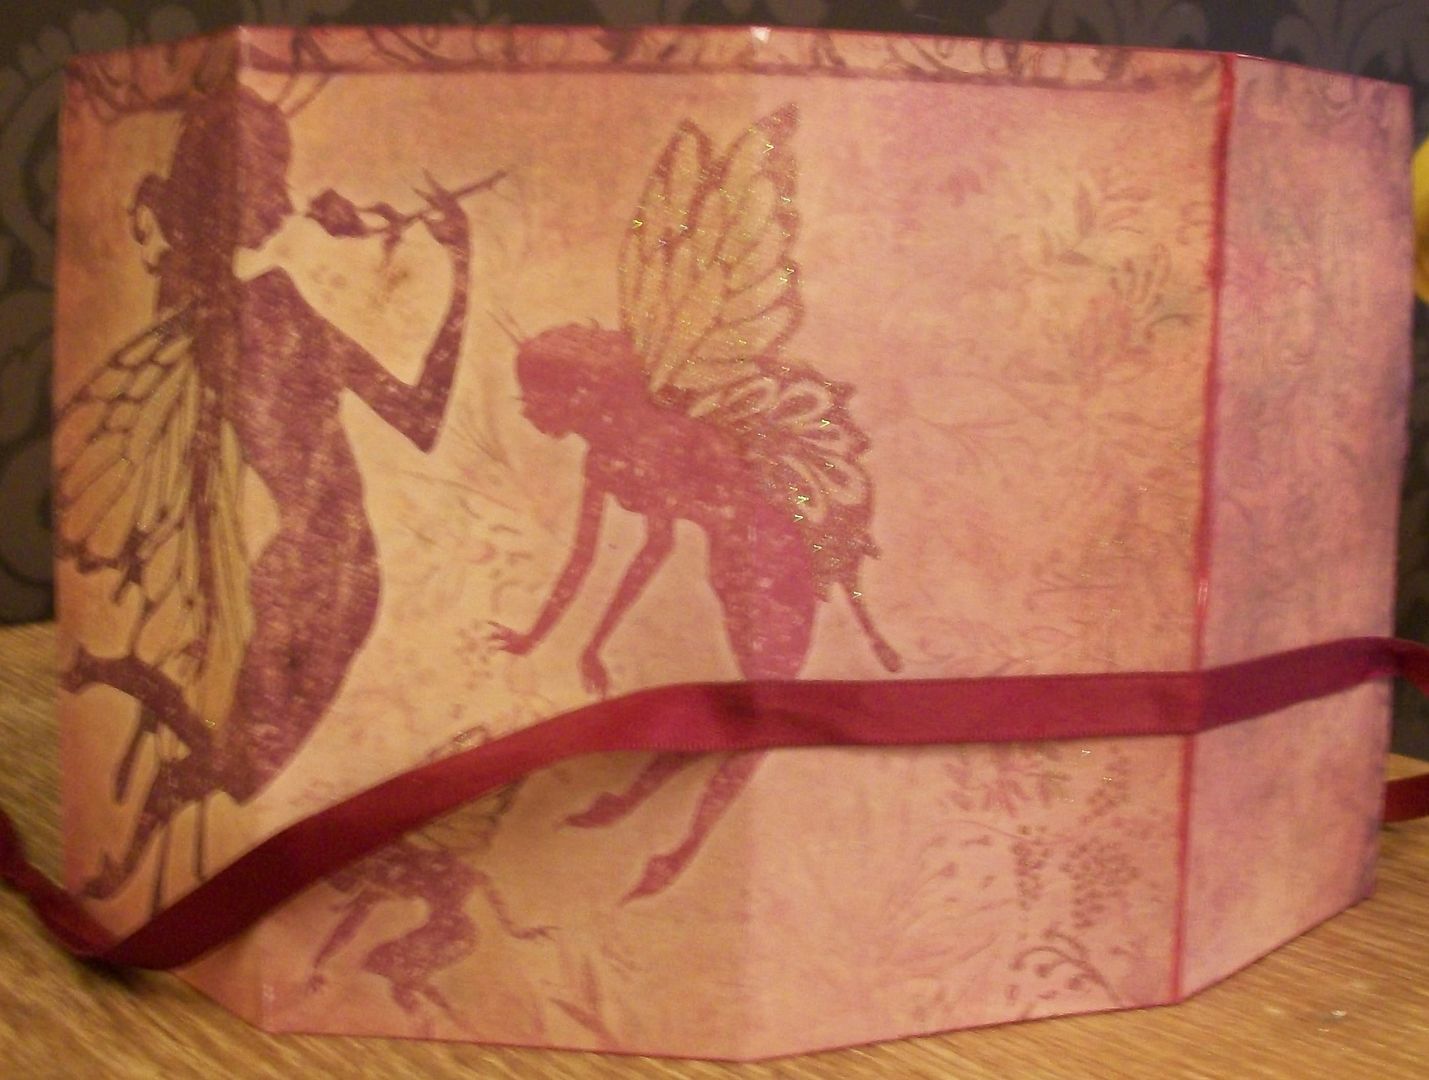
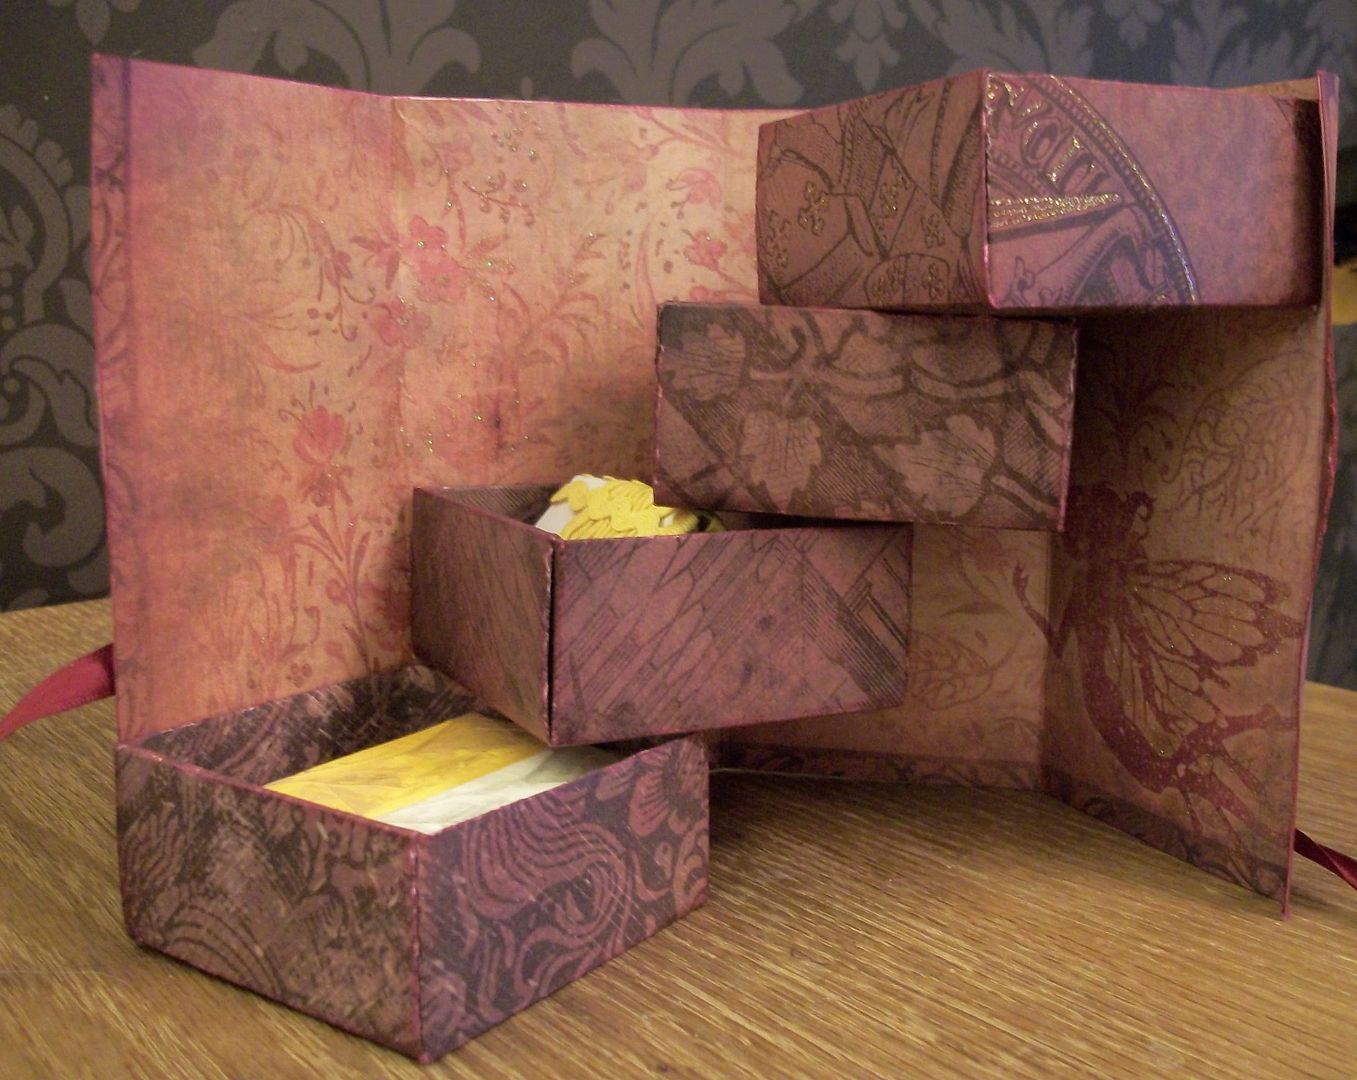
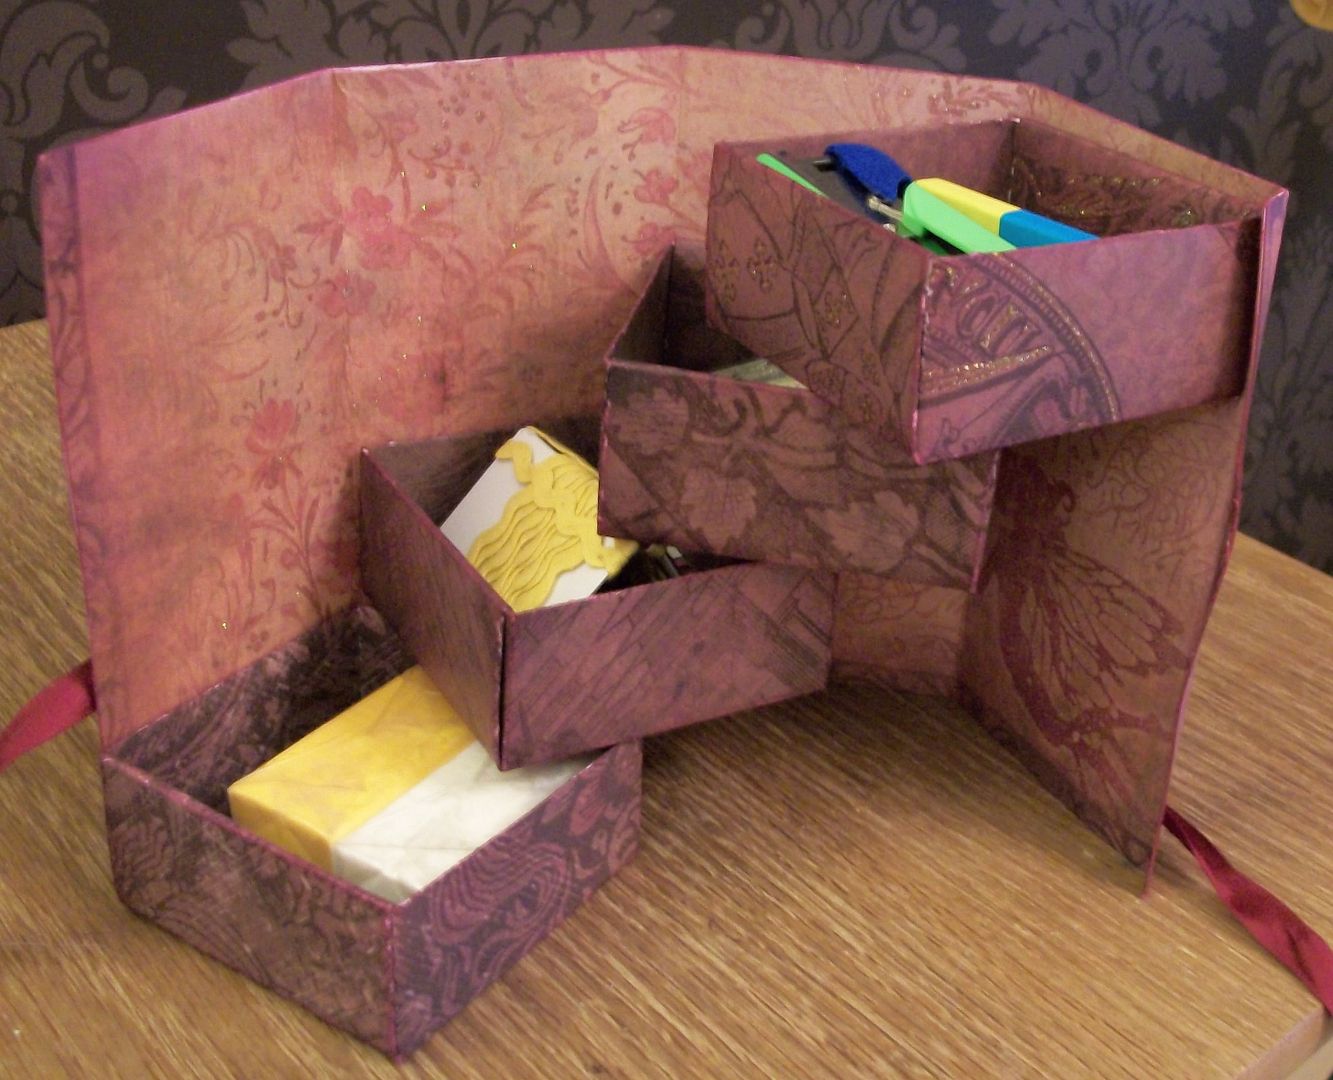
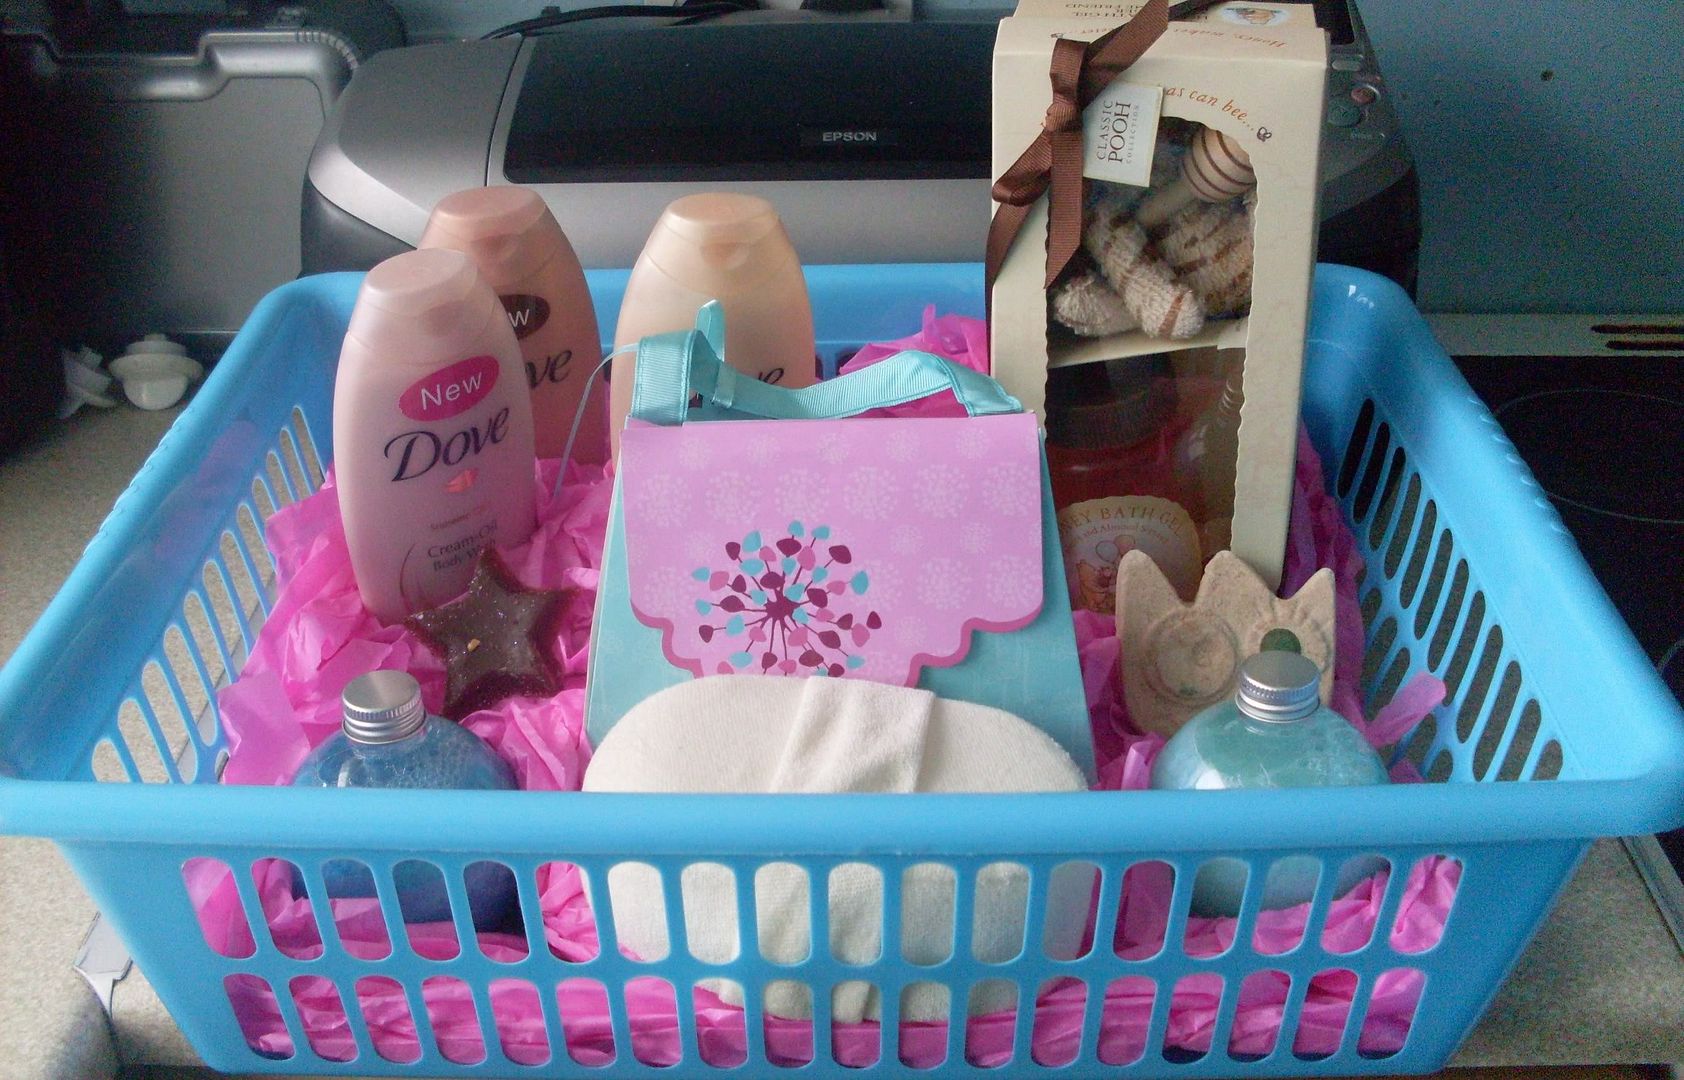
My mother-in-laws birthday present last year. It was a pamper hamper. I took the colours from the box handbag as my inspiration. I couldnt find a decently priced wicker basket so chose this one, especially as the colour went perfectly. The pink tissue paper contrasted nicely against it.
The bottles at the front contain imperial leather and again match the colours. I know my MIL likes Lush and winnie the pooh so kept this in mind when buying products to go in the hamper.

When finished I normally wrap the hampers in celephane and tie with first an elastic band and then hide this with ribbon. This makes it look neater and more professional

Thursday, 1 April 2010

Box of 4 levels

While blog hopping I came across a box that opened up and had 4 shelved boxes inside, I didnt remember to save the site, or even a picture if it, but the image remained in my head and I decided I had to make one. Noonies birthday was the perfect excuse to give it a go, and knowing how much she loves her "Once Upon A Time" papers I decided to use mine to make it.

The Top view...

The front of the outside when the box is closed..
Round to the rather dull side..
To the back - all edges were inked in red


And finally The other side. The ribbon is attached on 2 sides so it stays in place when untied.

The back when the box has been opened shows the beautiful fairy design

And the inside. The main part of the box is made out of 2 halves of the 12x12 fairy sheet stuck together so you can see the design on both sides.


I made the draws out of 8x8 sheets (or rather I cut 12x12s down to make 8x8s)
Each one is stuck with permanent sticky dots as they just kept coming off with double sided tape.

Inside I put 4 different colours of fimo as I knew Noonie hadnt used it before and thought she'd enjoy playing with it. In the second draw from the bottom is yellow wavy ribbon, 3rd draw up has a little set of clear stamps and finally the top draw holds a mini stapler with coloured staples.
I'm happy to make a tutorial if any ones interested.

Thursday, 24 December 2009

On the 23rd day of Christmas I got for Choccy...

...a collection of seed cards


As Choccy is a keen gardener I decided to give her some seeds. In my shed I have envelopes with seeds I've collected from my own plants. I put some of these into small clear bags and created cards with images of the plants and growing instructions on them. I laminated the cards so the bags could be stuck to them but also be removed without harming the instructions.

On the 22nd day of Christmas I gave to Choccy & Furry..

...a 2010 calender
This is where my stalker powers and (rather small) internet knowledge came in handy. I found some photos of Furry and her family - this is what happens when people put photos up on the internet, people like me turn them into calenders, you have been warned!!!

Choccy was harder, there were few photos to find of all her family, and I didnt want to miss anyone out, so as I know she loves Magnolia Stamps I set about finding the best pictures made with these, and use those.

I made 2 totally different style calenders, both with Microsoft Publisher, printed them out (which working out which way to put the card so it printed the right way, back on back, in what order etc was mind numbing late at night) and used a binder to fasten them together. I then punched a hole at the top so it can be hung up.


To see what I received check out my other blog.

Sunday, 20 December 2009

On the 19th day of Christmas I gave to Choccy & Furry

...a jar of bath fizzers


Another idea originally from Martha Stewart, I made a bath bomb mix and added Fairy dust scent, and a little red colouring. I then pushed it into a silicon ice cube tray and waited a couple of days to ensure it was properly dry before jarring it up.

I'm planning on making similar for my brother but with ck1 scented oil for part of his christmas smellies hamper.

To see what I received check out my other blog.

On the 18th day of Christmas I gave to Choccy & Furry

....A funny little broach
A pig broach for Furry, with funky googly eyes, I enjoyed making this guy, trying to give shape to his face, character to his ears, and the stereotypical curly tail.

And a nakey Santa for Choccy. I had a pair of ear rings with a simpler design when I was younger and loved them, they were a cheeky joke. I had great fun trying to make his curly hair/beard and give him white chest hair but not make it too prodominant.

I pushed an old charity pins into the back of each to make an imprint, baked the fimo, and then glued the pins in place, creating new "pins" out of old ones I wasnt using.

To see what I received check out my other blog.

Thursday, 17 December 2009

Tuesday, 15 December 2009

On the 15th Day of Christmas I gave to Furry & Choccy..

...a post it note holder and matching address book


I'd been wanting to make one of these Post it note holders, and thought an address book was a good idea to go with it, in my head telephone messages (when not on a machine) are frequently written on post it notes, so here would be your address book all ready incase you needed to call them back, or contact someone about the message.

I took a thick piece of card and cut it into a square shape. I covered the front with paper (brown in Ruths favourite colour, and I know Oona likes chinese themes), then added a looped strip of paper and fastened to the back to hold a pen. I then placed a matching piece of paper to the back to hide any of the card and secure the loop of paper even more. I placed the post it note pad on the front and fastened with a bull dog clip which also allows it to be hung up if wanted.

The address books I took apart and recovered, adding a couple of stars/chinese image to the front so it didnt look so plain.

Too see what I received check out my other blog.

On the 14th day of Christmas I gave to Furry & Choccy..

...a slice of Loofah Soap

I read up on soap making and decided it was best I tried Melt and pour soap. I saw some soaps with a loofah on them, good for the circulation, exfoliates as you soap, and they looked fab!

I read & read & read, and the main point I came across was that you could use any water tight container for soap moulds as long as it was clean & you could get the soap out of it. I thought a pringle container was perfect if I could fit a loofah in it.

I bought some melt & pour soap off ebay, with a goats milk base and no sls. I then went loofah hunting. Loofahs are made from the fruit of a plant, I have to admit I used to think they were made from sea cucumbers and am very thankful I learnt otherwise. They arent scarce, except in shops!!!! Online p&p make them silly prices so I visited a lot of shops to find one. Shops now adays like back scrubbers, or hand loofahs, mits etc, not old fashioned loofahs. I finally found one in a Tesco Extra store, or rather I found half one.

I cut it in half and pushed it into the pringles tub, or should I say pushed, and pushed, and shoved, it was a very tight fit.
I melted the soap in a melting pot (a stainless steel indian food dish over a saucepan of hot water) and using a food thermometer to stir got it to optimum melting point, and took it off the heat. I stirred in scent and a small amount of Mica glitter (used in beauty products), then poured it over the loofah quickly.

I then left it for 48 hours (with the pringle lid on) to set.

When set I ripped off the pringle tub and sliced into soap sized pieces. I wrapped it up in baking parchment to keep it clean but allow it to sweat a bit if need be.


To see what I received check out my other blog.

Linkwithin

Related Posts Plugin for WordPress, Blogger...