Showing posts with label Jewellery. Show all posts

Friday, 14 November 2014

Christmas Earrings

As many of my regular readers know, I love making my own Christmas earrings and have more than enough for a different pair for each day in December, and yet I still like to make more. Yesterday Jennifers posts on her Frosty Festivities event spurred me to get cracking on this years. Jennifer herself is a Jewellery maker.

So today I'll be showing you 3 posts with the 3 stages I went through.

I started off thinking "Robins", which lead to "Robin Red Breast"


These are wooden robins with red felt on the back which shows through the gap to give them a red breast. The large ones are dangly earrings whereas the smaller ones are studs.
I made 2 pairs of the dangly robins, one for myself & one to gift to a stranger who finds them on black friday ... to learn more about this and the artists joining in check out the facebook page HERE, maybe you'd like to join in yourself.

I then started thinking about the prompt given for using a flower on top of a Christmas tree...
I attached the flowers & the stars to stud earrings, they can be worn with or without the christmas trees which just slide on & off the earring, I can chop & change them so they are both seasonal & can be worn at any time.

While looking at my supplies I also came up with....


Each of these pairs of earrings can be made for you & bought for £1.50p each plus a one off payment, regardless of how many you buy, of 50p to cover p&p. Just get in touch with me at blackangel (at) blueyonder (dot) co (dot) uk

Each block of words in red leads to Jennifer Grace Creates, Frosty Festivities where I've taken inspiration.

Thursday, 2 January 2014

What to give a Harry Potter Fan?

Some of you may know that my friend Ruth is a huge Harry Potter fan so I wanted to make her some Hp themed pressies for christmas.

Having recently decorated a jewellery box (HERE) I thought a similar item would work well..... it worked very well.


I think this is the best thing I've ever altered / made / decorated. I was so please after it had been covered, painted (multiple times) masked, aged, stamped, varnished.

Of course you cant leave such a box empty so inside went....
A snitch bracelet

An Albus Dumbledore quote necklace 

 And radish earrings, the same sort that Luna Lovegood wears in the movie
The actress who plays Luna (Evanna Lynch) actually made her own earrings for the movie.

Tuesday, 6 September 2011

Tree of Life Necklace

I've seen quite a few tree of life necklaces around the blogesphere & etsy for a while now & kept thinking "My big bro used to make BIIIIIG tree's of life (or rather wire trees as we called them), I'm sure I could make a pendant one". So I did.


I'm not sure of the chain I've put it on, maybe I should try a black one, & maybe it should be a pendant rather than at the side of the necklace. I shall look it on occassion for a few days to see if I either grown to love it or have a blast of inspiration.
Tuesday, 26 July 2011

A little extra for teacher.


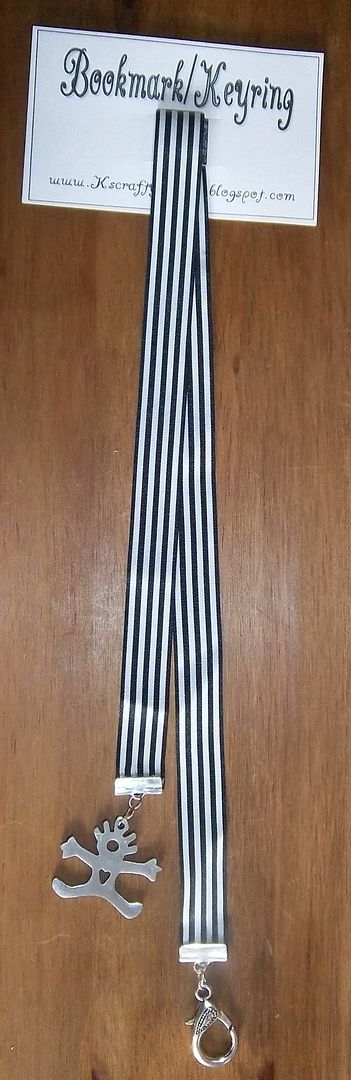
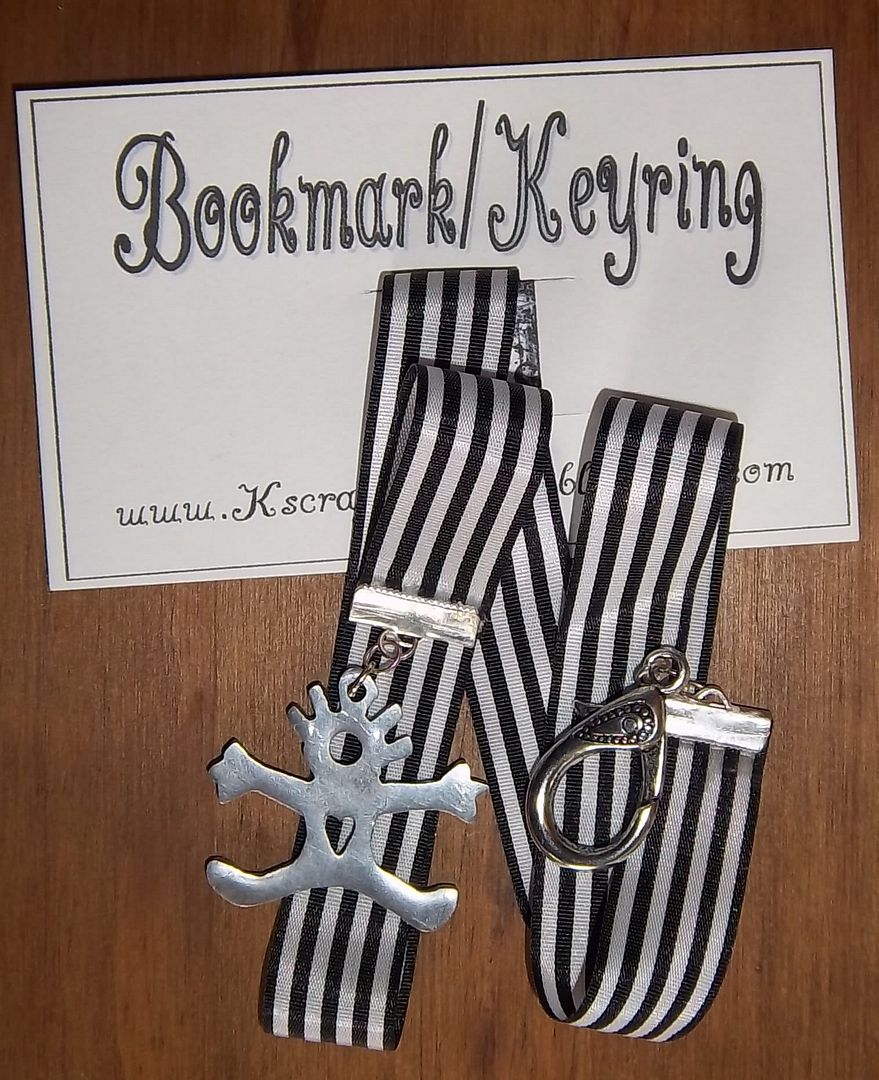
I made a bookmark / keyring for Kai's teacher as a thank you for all her hardwork, support & kindness this school year.

I thought as a Pre-school teacher the jumping child pendant with a heart was perfect for her.

It is made from a strip of ribbon that can be placed within a book to keep her page, but is also long enough so if she isnt an avid reader she can use it as a keyring due to its large lobster clip end.

Finally I made a little backing card for it to slip on to give it a bit of proffessionalism
Tomorrow I'll is the last part of the "teachers" trilogy & I'll be showing you the cards I made for the teachers

Monday, 3 January 2011

Christmassy Bag Charms

As I cant see myself getting much time to craft this week I thought I'd share with you some more of the gifts I made people for Christmas

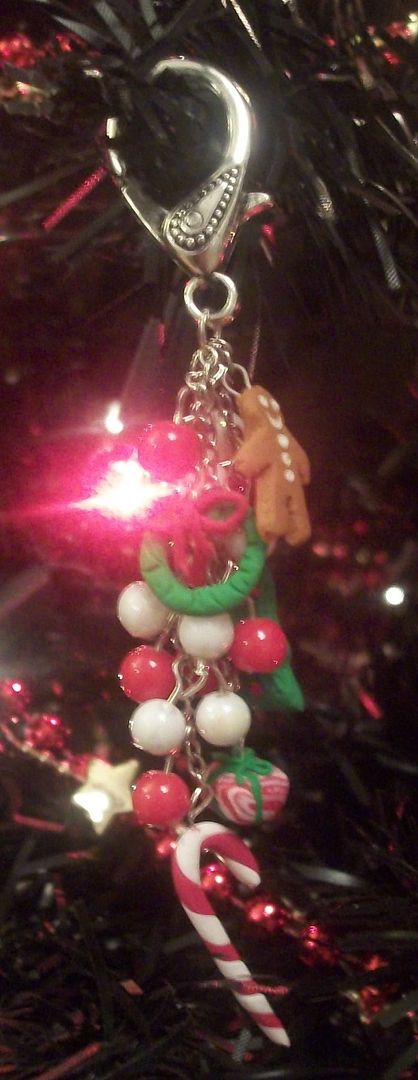
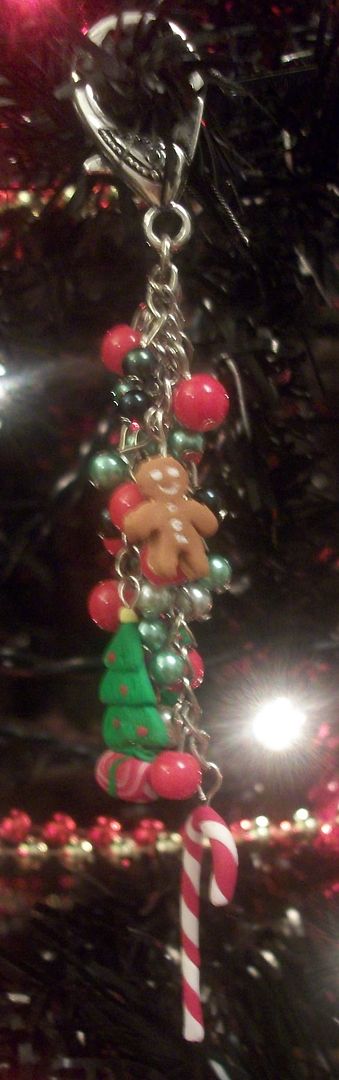
I started off by making the fimo charms - a gingerbread man, candy cane, christmas tree, wreath & wrapped present. I then attached these & beads along a few chains before adding the clasp
Each one is slightly different making it unique.

Monday, 20 December 2010

Holly & the .... skull!

I gave Carmen a sneak peak at one of my Christmas cards, and began whittling onto her how the digital stamp I'd used was inspiring me to make a certain type of hair clip - the girl on the digi stamp was wearing a head band decorated with them, I shall show you these cards tomorrow, I just want to give them a chance to reach their new owners first
.
Carmen loved the idea and said once done she'd like to buy one off me ... so I decided to make her 2 as a christmas pressie instead.
Holly but instead of berries theres a skull! These are attached to simple black hairclips.

I made myself a larger one to attach to an alice band.
I'm loving finding ways to get skulls into Christmas :)

Sunday, 19 December 2010

Modern Vintage Pearl Bracelet

So a few pressies are filtering through the postal system and are finding their way to their owners ... one of which found its way to my polar opposite Kate from Liberty Cottage. If Kate & I were in a super hero movie we'd definately be arch enemies, thats how different we are, but we're not in a movie so we get on great instead :)

Kate mentioned on her blog a few weeks ago she liked this pearl bracelet, having learnt she likes these kind of bracelets I decided to make her one of the ones I make.
The flower is actually a brooch so can be worn with the bracelet or removed. The bracelets can then be worn as 1, 2 or all 3. Kat could even tie a ribbon aound them and into a bow as is the fashion at the moment.
The brooch was formed by a piece of lace sewn onto a circular piece of material and 3 "pearls" added. I added a brooch pin to the back to complete it. It easily goes over the 3 bracelets.

I love making pieces that people can easily change the look of to go with the style they are wearing and I think this bracelet does it quite well :)

Tuesday, 9 November 2010

Fimo cupcake keyring

The lovely Hayley from Rainbow Delicious Bakery sent me some of her cakes to try out (& to see how well they travel), ooo, they were definately delicious! I'm now having to bake all kinds of cupcakes to try & win my familys cake love back!!!!

As a thank you I made her this keyring
I also made a few smaller fimo cupcakes as well which I'm planning on making into pendants or earrings.

Friday, 23 July 2010

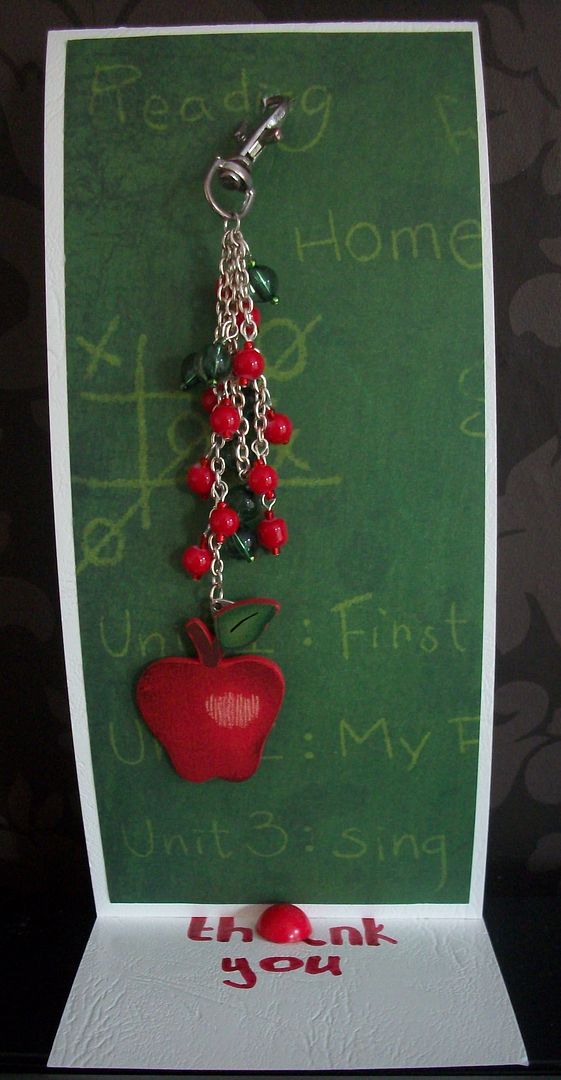
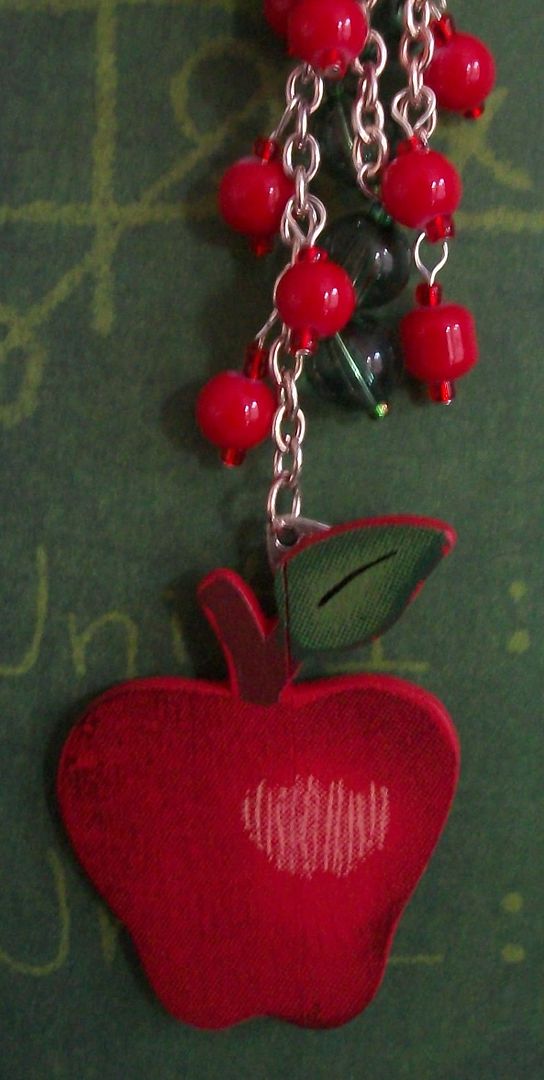
An Apple for the Teacher

Its Zacks last day at his Primary School today, so we decided to make his teacher a present to say thank you for teaching him & taking care of him. Shes most definately been a fair teacher, scolding when necessary & turning a blind eye when appropriate.

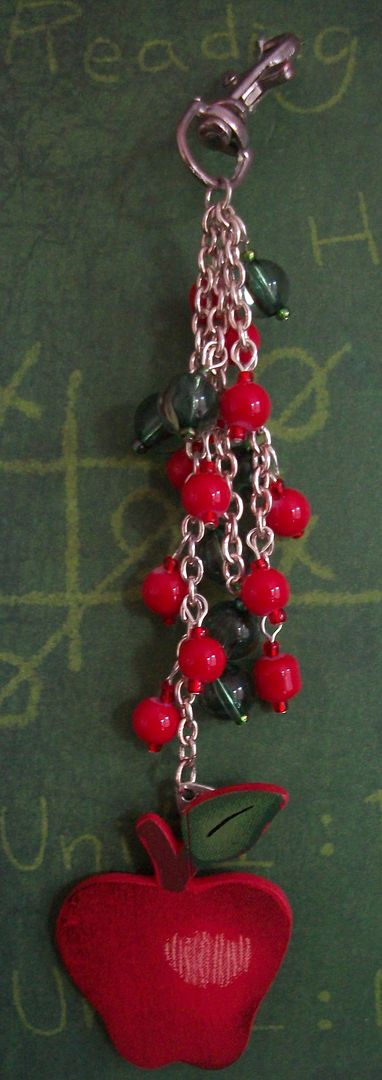
I asked him if he'd like me to make her a bag charm/keyring and explained my idea. He liked it so I set about making it.

Once that was finished we decided it would look nice as the main embellishment on her card so I made an easle card, went through my scraps for a suitable background & then finally went through my pile of buttons for a "stopper".

I fastened all together and turned the red button I'd found into the "a" of thank you.

The thought behind it all was the saying "an apple for the teacher" , and having found a wooden apple I'd received as part of a RAK years ago I thought it was perfect.


Friday, 16 July 2010

Shabby Chic necklace

I wanted to make a necklace using cream and teal ribbon, and faux pearls. I have to admit that threading the faux pearls was a huge pain in the backside. The ribbon kept fraying (even though cut diagonally) and was very hard to get through the beads. I must learn of an easier way to do this.
I wanted it to match the new dress I'd bought, so very not me, lol, but I liked it, it looked kinda vintage, and I hate being stereotyped into a "type".

Friday, 9 July 2010

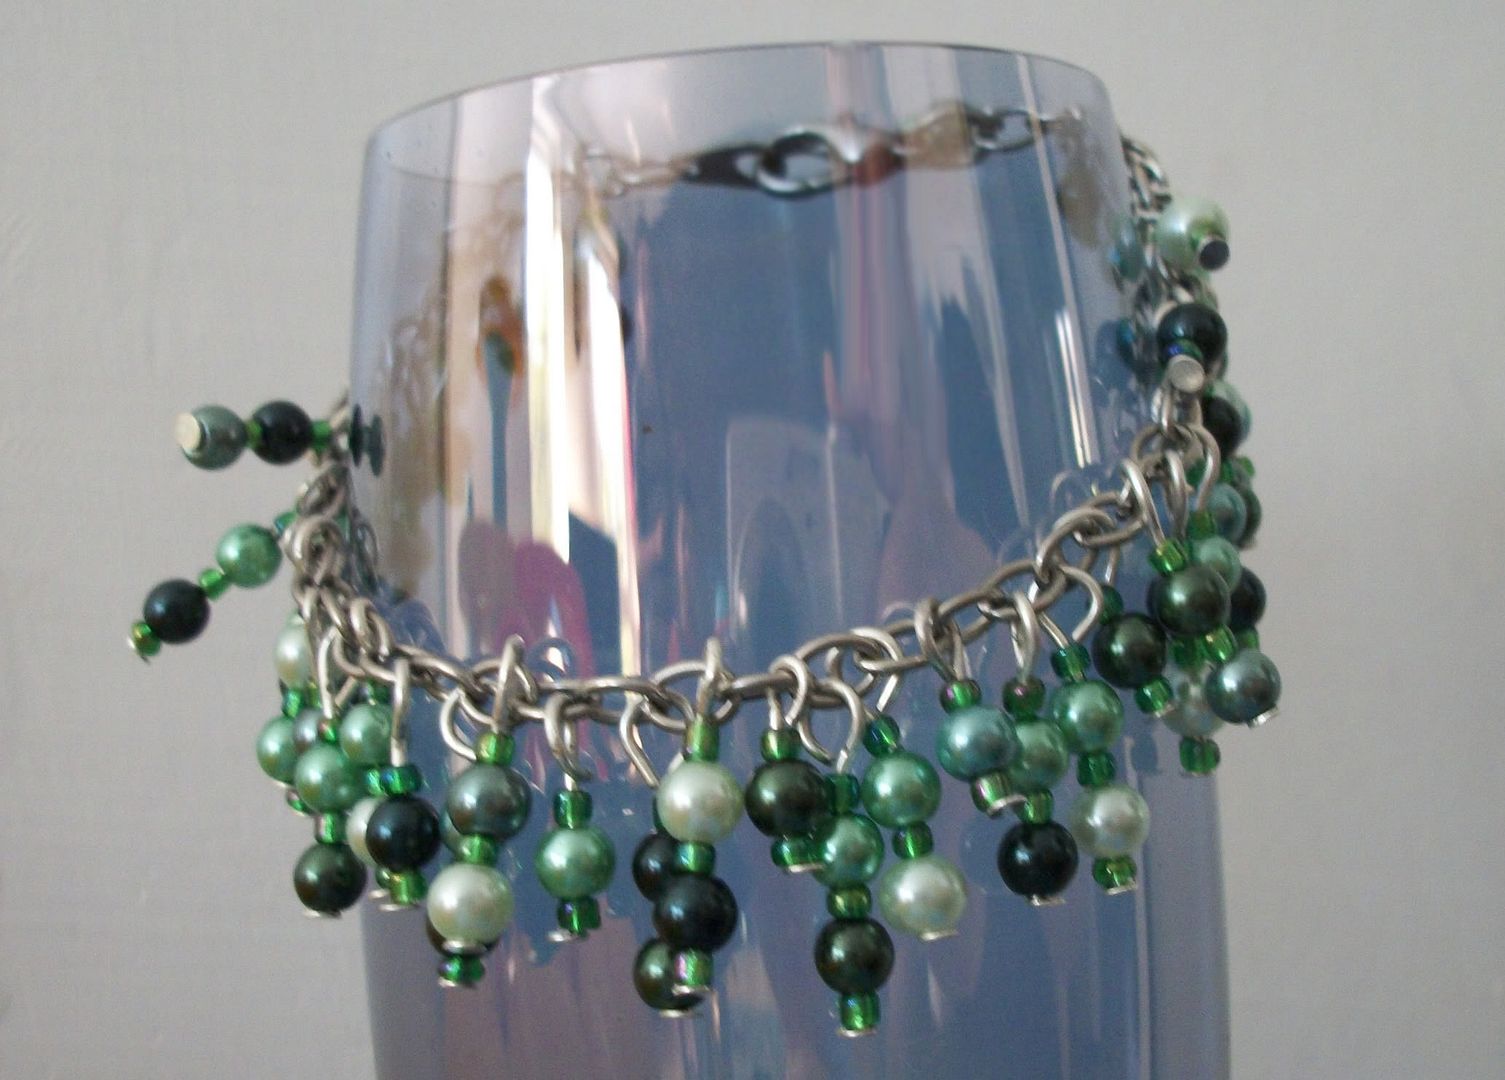
Green cluster bracelet

I made this cluster bracelet with an array of same size green beads, spaced with green seed beads. It gives a slightly different look to using different sized beads like my first bracelet.
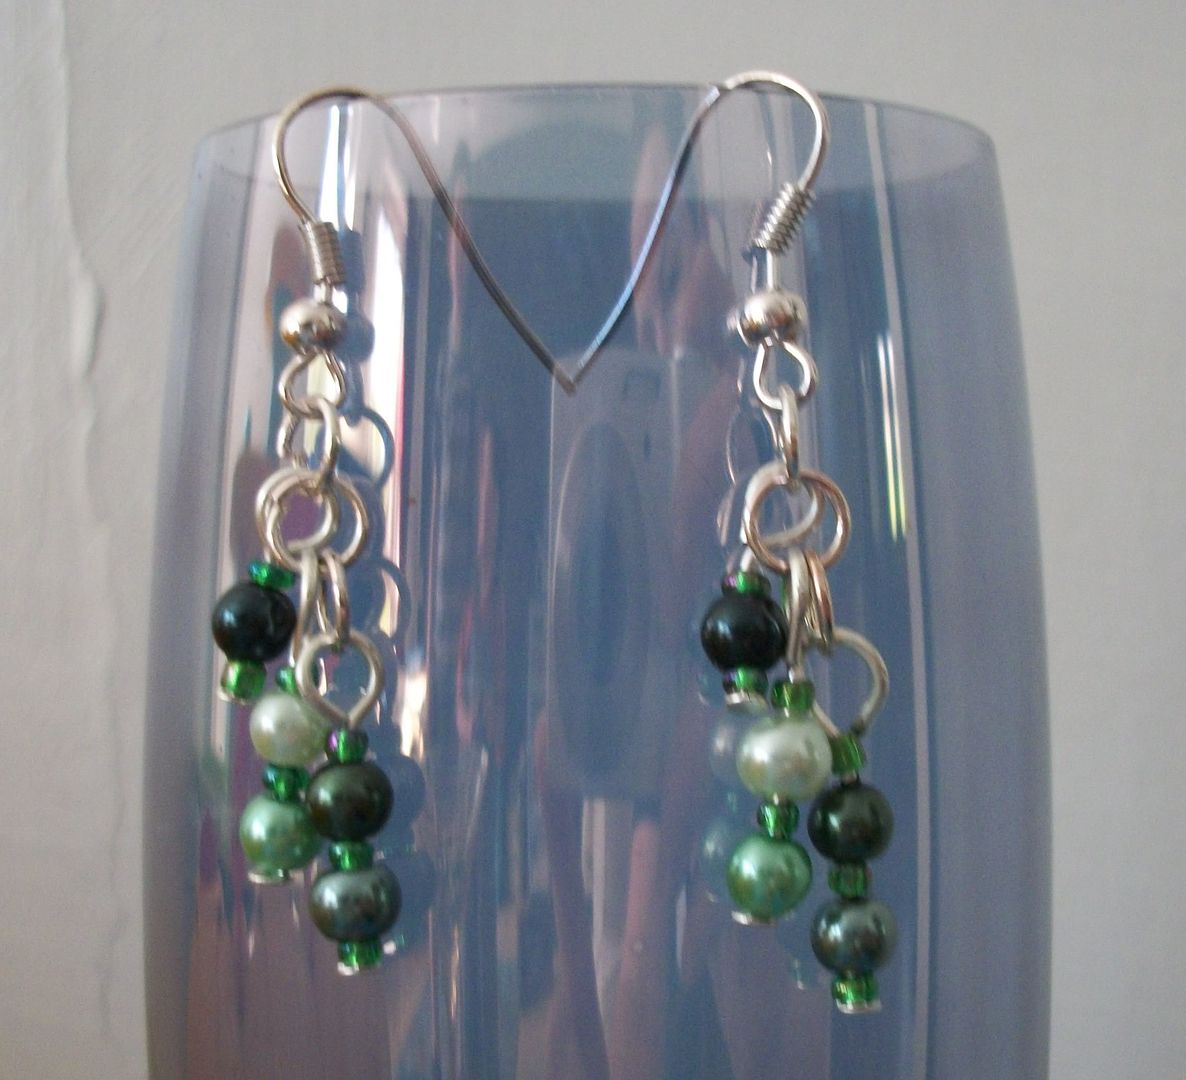
I also made some dangly earrings to go with them.

They were given by my Mom to her oldest friend (thats oldest as in time knowing her not age ;)

Friday, 2 July 2010

Memory wire necklace

I used an eyepin to attach chains of beads to a large frosted glass bead, I threaded this onto the memory wire. I then added 4 more frosted beads attached to pin heads, spaced with seed beads. I filled up the rest with seed beads and added a clasp.

I also made matching dangly earrings to go with it.

Friday, 25 June 2010

Cluster bracelet

This is the first cluster bracelet I made, and I am very happy with it :)
It took an evening to make, my hand ended up aching from cutting the headpins and bending them round

I used clear seed beads imbetween the Faux glass pearl beads

Friday, 18 June 2010

matching necklace, earrings and bracelet


I fell in love with this necklace from Primark and had to get it, but I do like my jewellery to match, and they didnt have anything that did, so I bought 2 of these necklaces, one to wear, and one to take apart and create these .....

A bracelet....

and matching earrings, I only had to add the hooks for the earrings, the rest came from the necklace.

Tuesday, 15 June 2010

Plaited Bead Headband

I bought a plaited bead headband from primark as I wanted the beads. Having used the beads I needed I had loads left and decided to put together my own.

I took 5 strands of strong thread, long enough to go round my head, minus 2.5 inches and knotted them together.

I then threaded beads onto each of them
& plaited them together (1st thread on the right goes over the 3rd from the right, 1st thread on the left goes over the 3rd thread from the left, repeat until complete), then tie the ends.

I took a piece of elastic 2.5 inches long and attached some double sided tape to each end, and stuck the tied beaded ends to it.

I then wrapped more double sided tape around it, and then ribbon to hide it.

Then the only thing left is to wear it

Pulling my hair back...

Just under my hair (what seems to be the latest fashion, though I really dont think it suits me.
Or in the 1970's over the hair way.

Friday, 11 June 2010

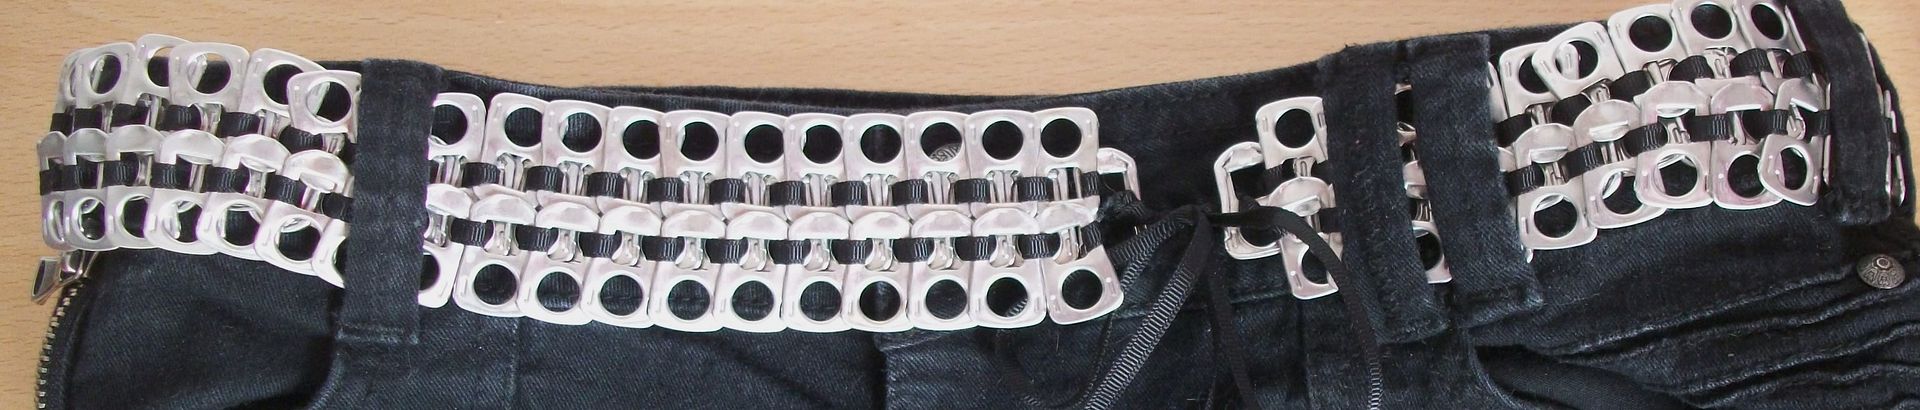
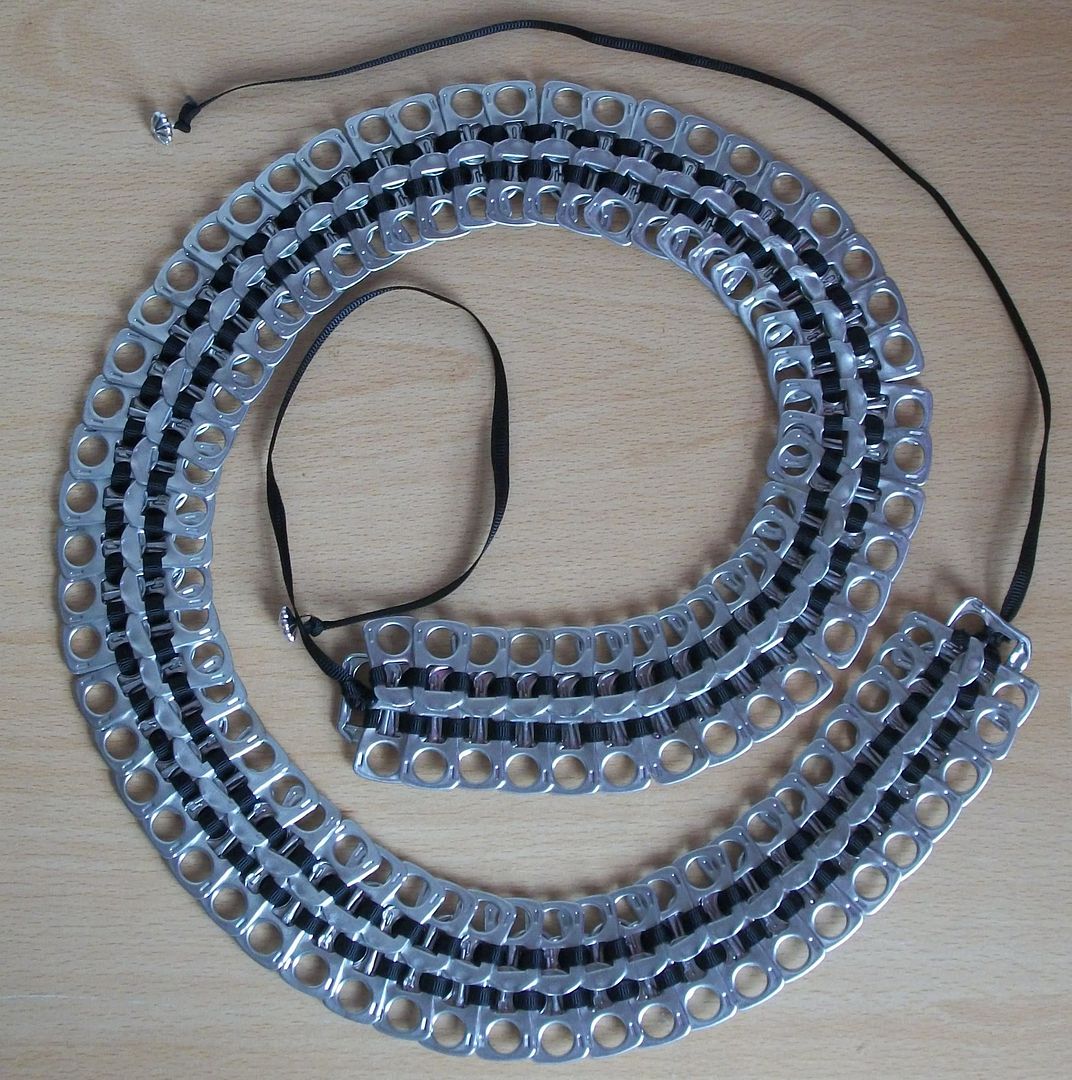
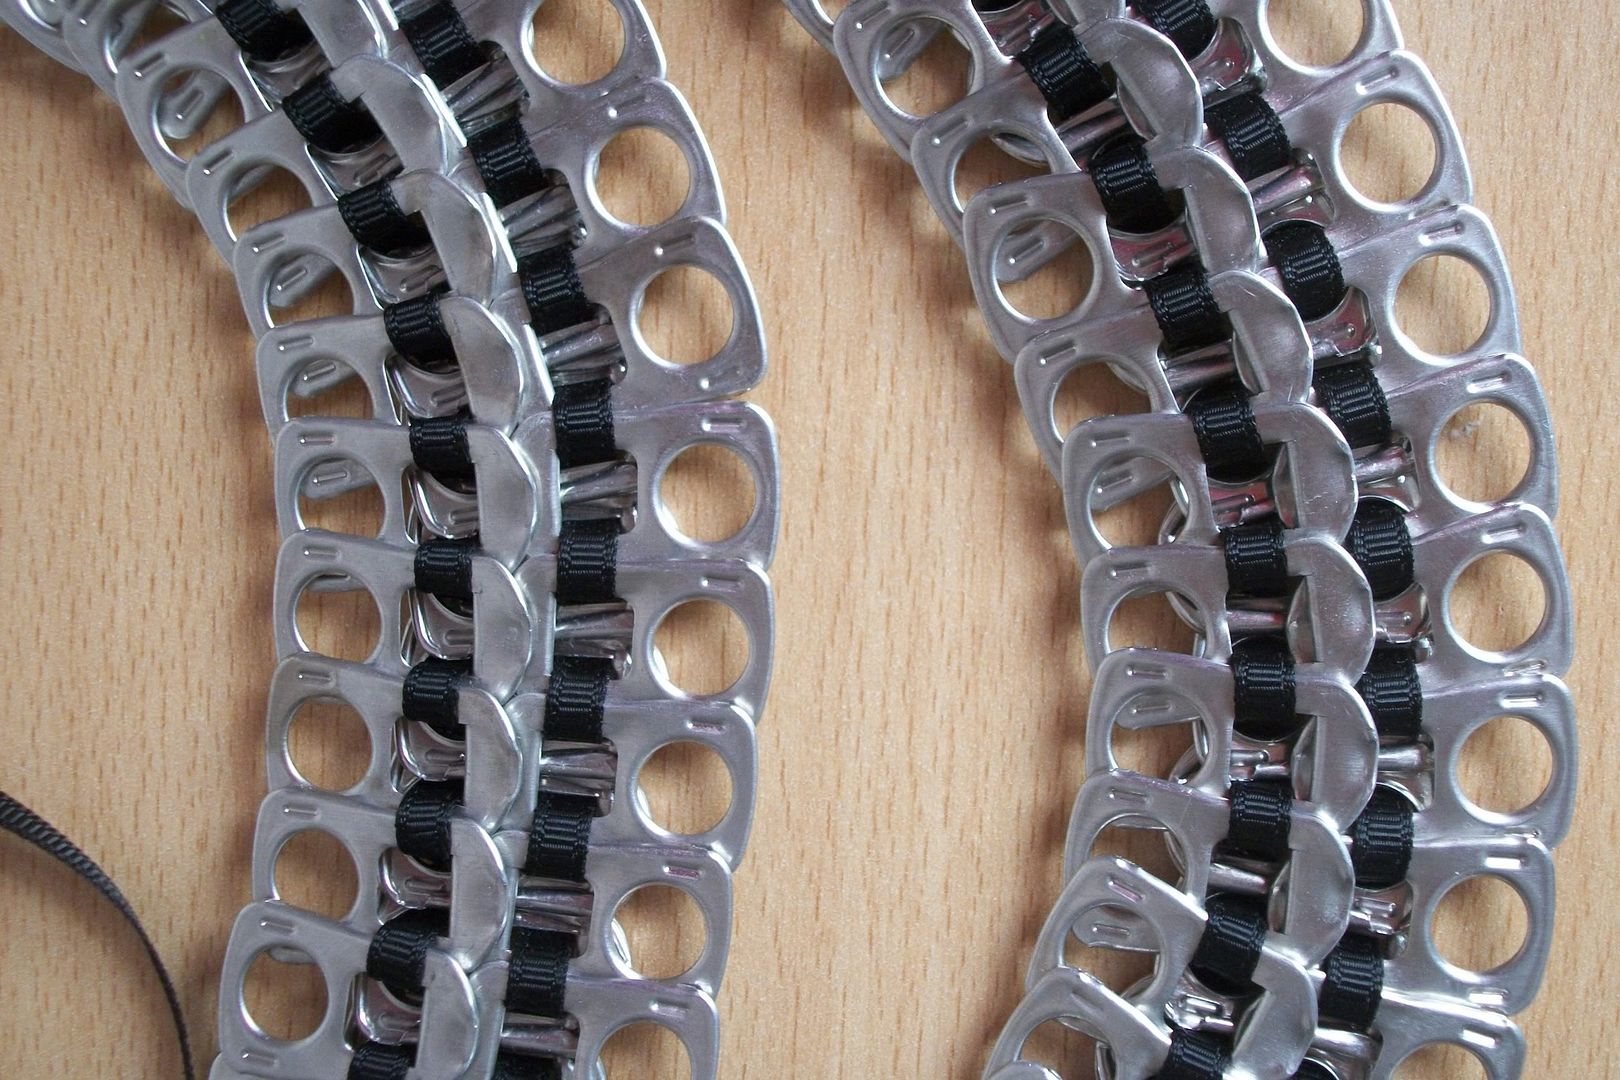
ring pull belt

You may remember I featured Ring Pull Makes on one of my Want to make wednesdays. Thanks to my good friend Choccy (& her friend Julia, many thanks to both of them) for collecting ring pulls and sending them to me I had enough to make a belt....

It took 206 ringpulls to create. This does up nicely on my size 14 jeans, but is loose when fastened around my waist (to give you an idea of size, ring pull ratio)
I used a headpin, threaded through the bead & then looped to create and end for the ties.

Linkwithin

Related Posts Plugin for WordPress, Blogger...