
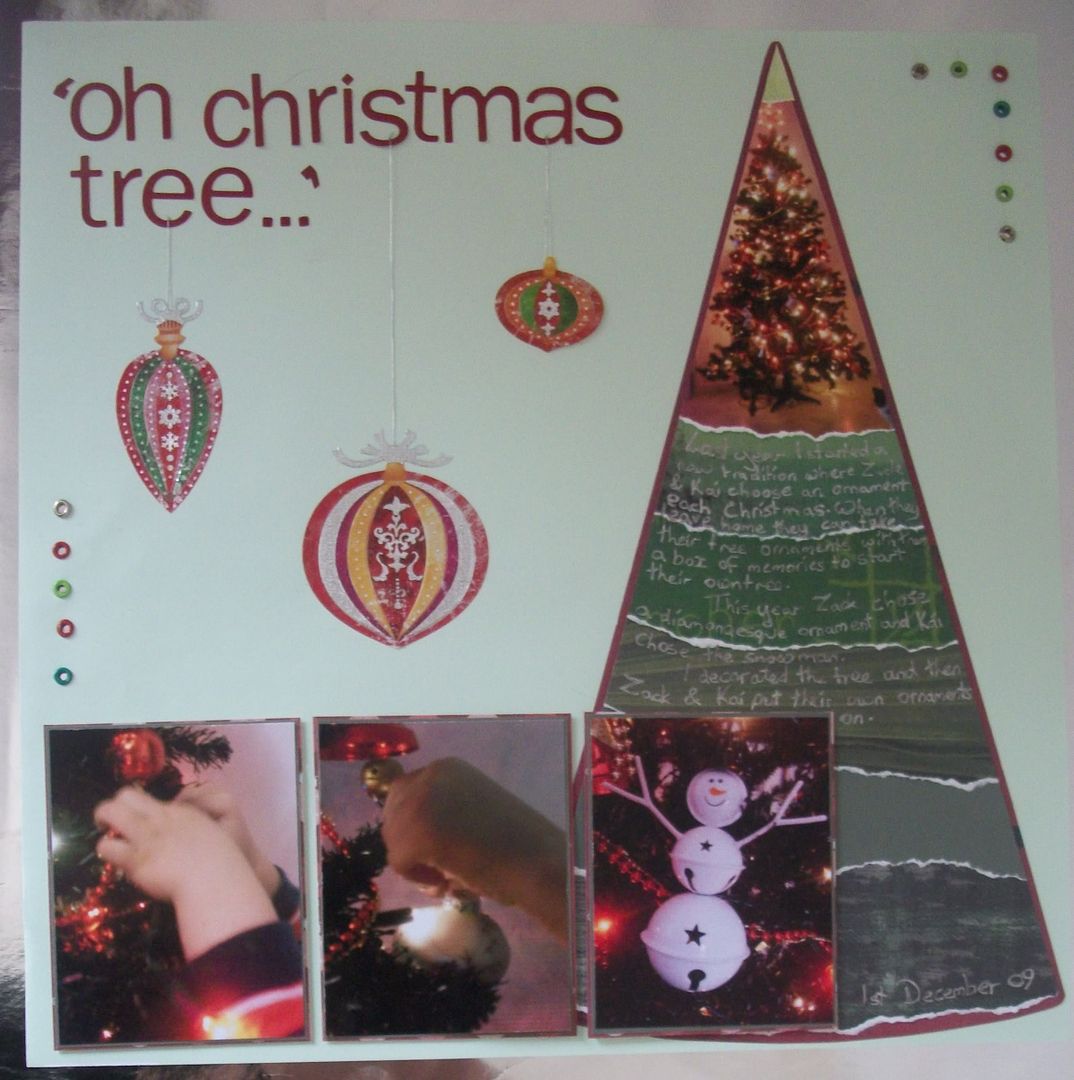
 I looked at all my green papers but they just didnt work for the tree in the background so I decided to layer them up so the greens varied, then I decided tearing the bottom edge would work best so it would look like snow and give a bit more definition to each layer. I initially stuck them together with pritt stick and then put a strip of double sided tape from the top to the very bottom of the tree on both the left and the right to help keep them secure. My photo of our tree also fitted nicely when cropped onto this layout without looking out of place which it did when rectangle. I wanted our tree to be shown but I wanted the other photos to stand out more.
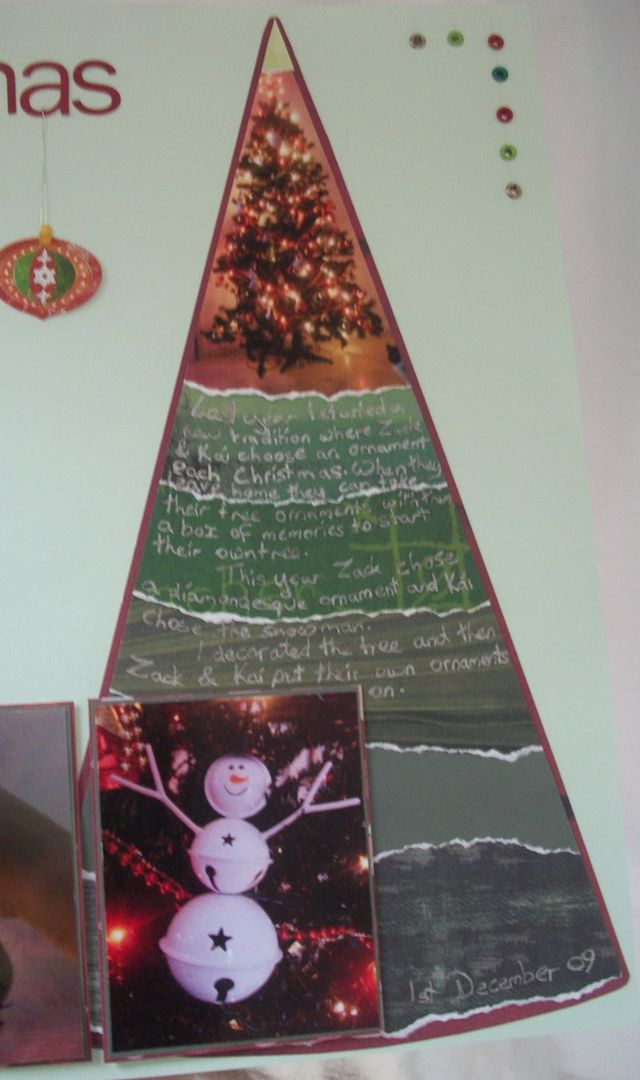
I then mounted the photos on dark green & then red to bring all the colours together.
I stuck the tree down, and then the photos which I used sticky foam strips with to raise them, giving depth to the page and making them stand out more.
I'd already thought of "Oh Christmas Tree" so cut the letters roughly out (Papermania Alphamania card stock stickers) to check the layout. I did the same with the baubles (Anita Dimensions). Something was missing, I needed something to pull the blank patches in, so opted for eyelets. I chose greens, red and silver, again using the other colours on the page and played around a little with them before deciding on where they'd finally go and punching them on. I loosely placed the baubles on and stuck the letters down except for the ones above the baubles. I made a loop out of silver thread and put the knot end over one of the non-stuck letters, as if it was hanging off it. I then stuck the other end under a bauble and stuck both onto the page. I did this with the other 2 baubles and loose letters as well
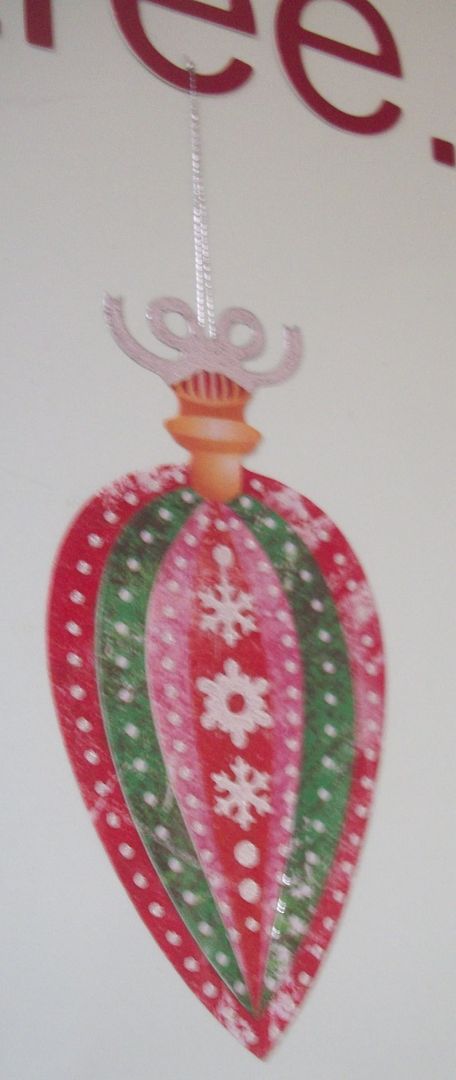 (obligatory at an angle shot!)
I finished off by writing the journalling in red pen, and then silver over it, it reads:
"Last year I started a new tradition where Zack & Kai choose an ornament each Christmas. When they leave home they can take their tree ornaments with them, a box of memories to start their own tree.
This year Zack chose a diamondesque ornament and Kai chose the snowman.
I decorated the tree and then Zack & Kai put their own ornaments on"
Having done this layout I think this Christmas I will take a photo of each of the childrens ornaments and record with them why they chose them, so that when they leave home and take them with them I will have a record of them, plus it'll be easier to sort out whose is whose with no arguments :)
This is lovely K. That tree is a stroke of genius and I love the baubles attached to the letters.
ReplyDeleteOh, I love this :-) The torn edges, the eyelets, the matting, the baubles.... So many fab details! x
ReplyDeleteanother lovely layout!
ReplyDeleteooh I love cute Christmas layouts lots of ideas that I can take inspiration from thanks for sharing
ReplyDelete